


Zucchini Bread
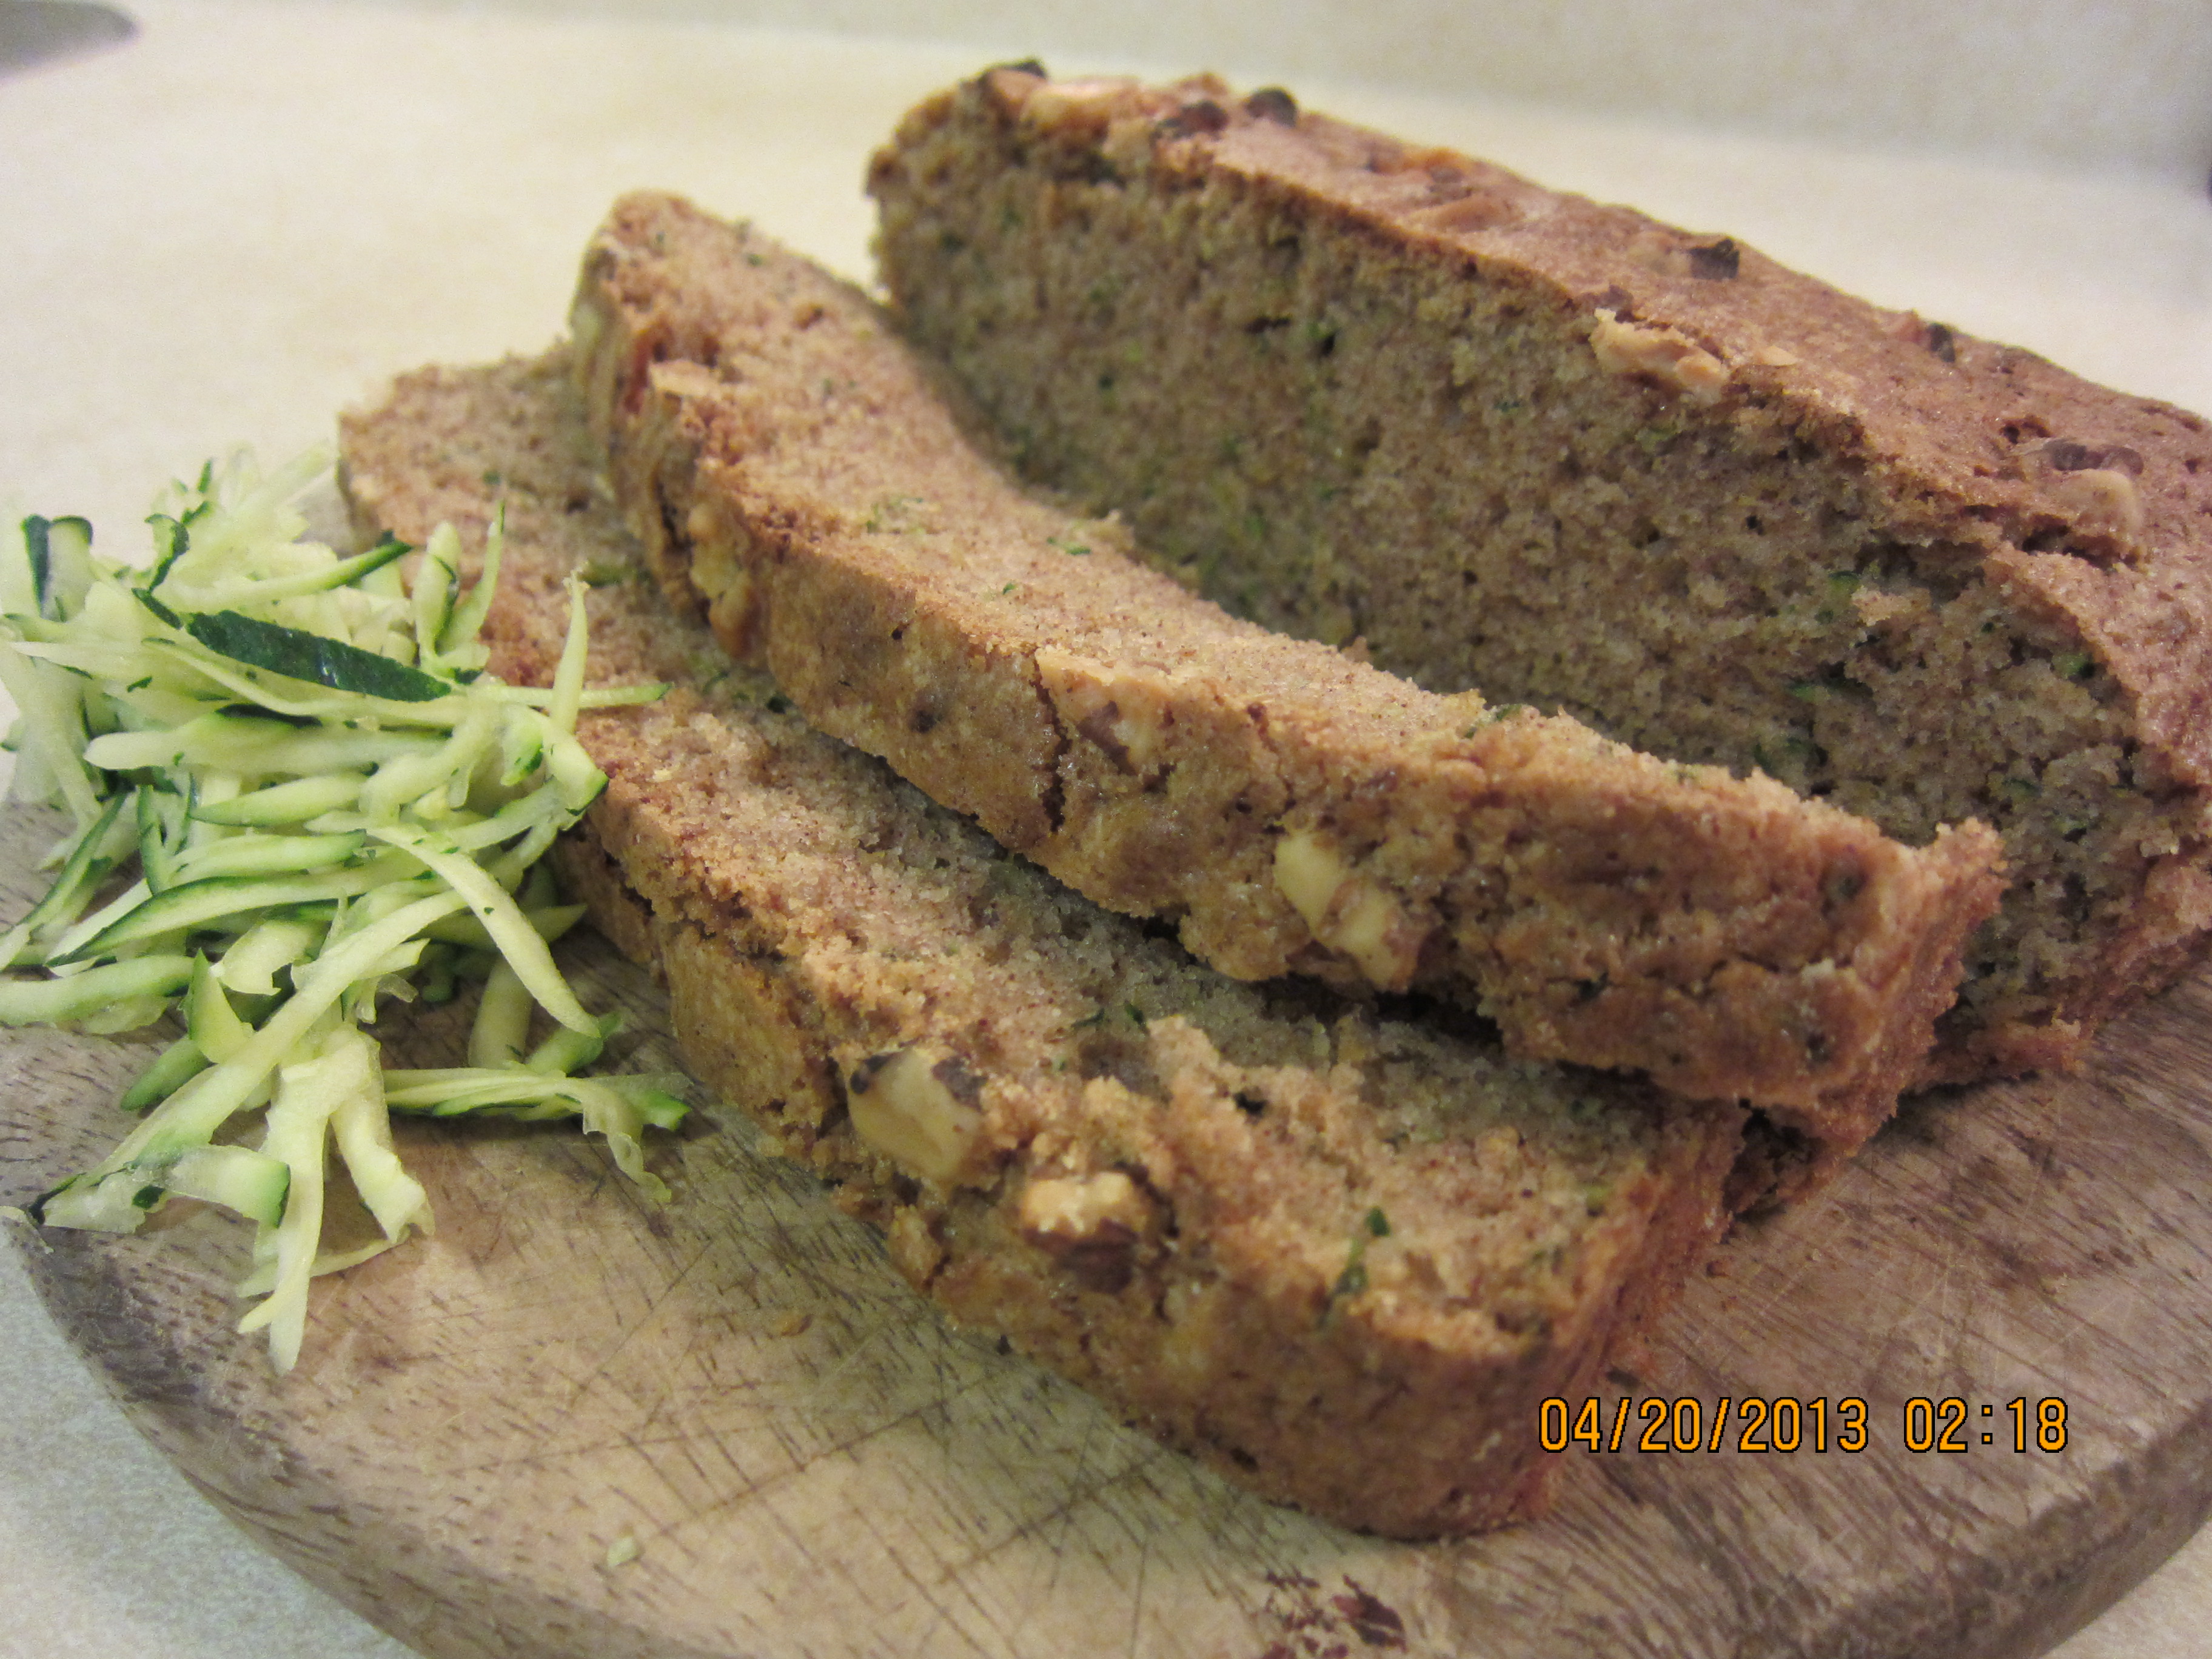
Sometimes procrastination breeds unforeseen creativity. I recall that day — April 19, 2013 — the day that my term paper was due. Being the A+ procrastinator that I am, I decided to put my paper aside and learn how to bake instead, and attempted to make zucchini bread.
With the loaves basking away in the heat, I stood in front of the oven like a restless child and walked to and fro, (im)patiently awaiting results. I must admit that when the bread cooled down and slipped effortlessly out of the pan, I was on the verge of doing the splits, and maybe a somersault or ten, because I felt very proud of myself over the finished product.
This experience was a sweet accomplishment because I baked for the first time, using my 90′s mini toaster oven. Growing up, we never had a functioning standard oven, so unlike my classmates and friends, I never had the opportunity to bake delicious goodies, even if I longed to desperately.
Since that day, I knew that if baking zucchini bread in my toaster oven turned out to be a success, then I could use it to bake anything my heart desired. And thus began my baking adventures.
Ingredients
- 3 cups all-purpose flour
- 1 teaspoon salt
- 1 teaspoon baking soda
- 1 teaspoon baking powder
- 3 teaspoons ground cinnamon
- 3 eggs
- 1 cup vegetable oil (I used olive oil)
- 2 1/4 cups white sugar
- 3 teaspoons vanilla extract
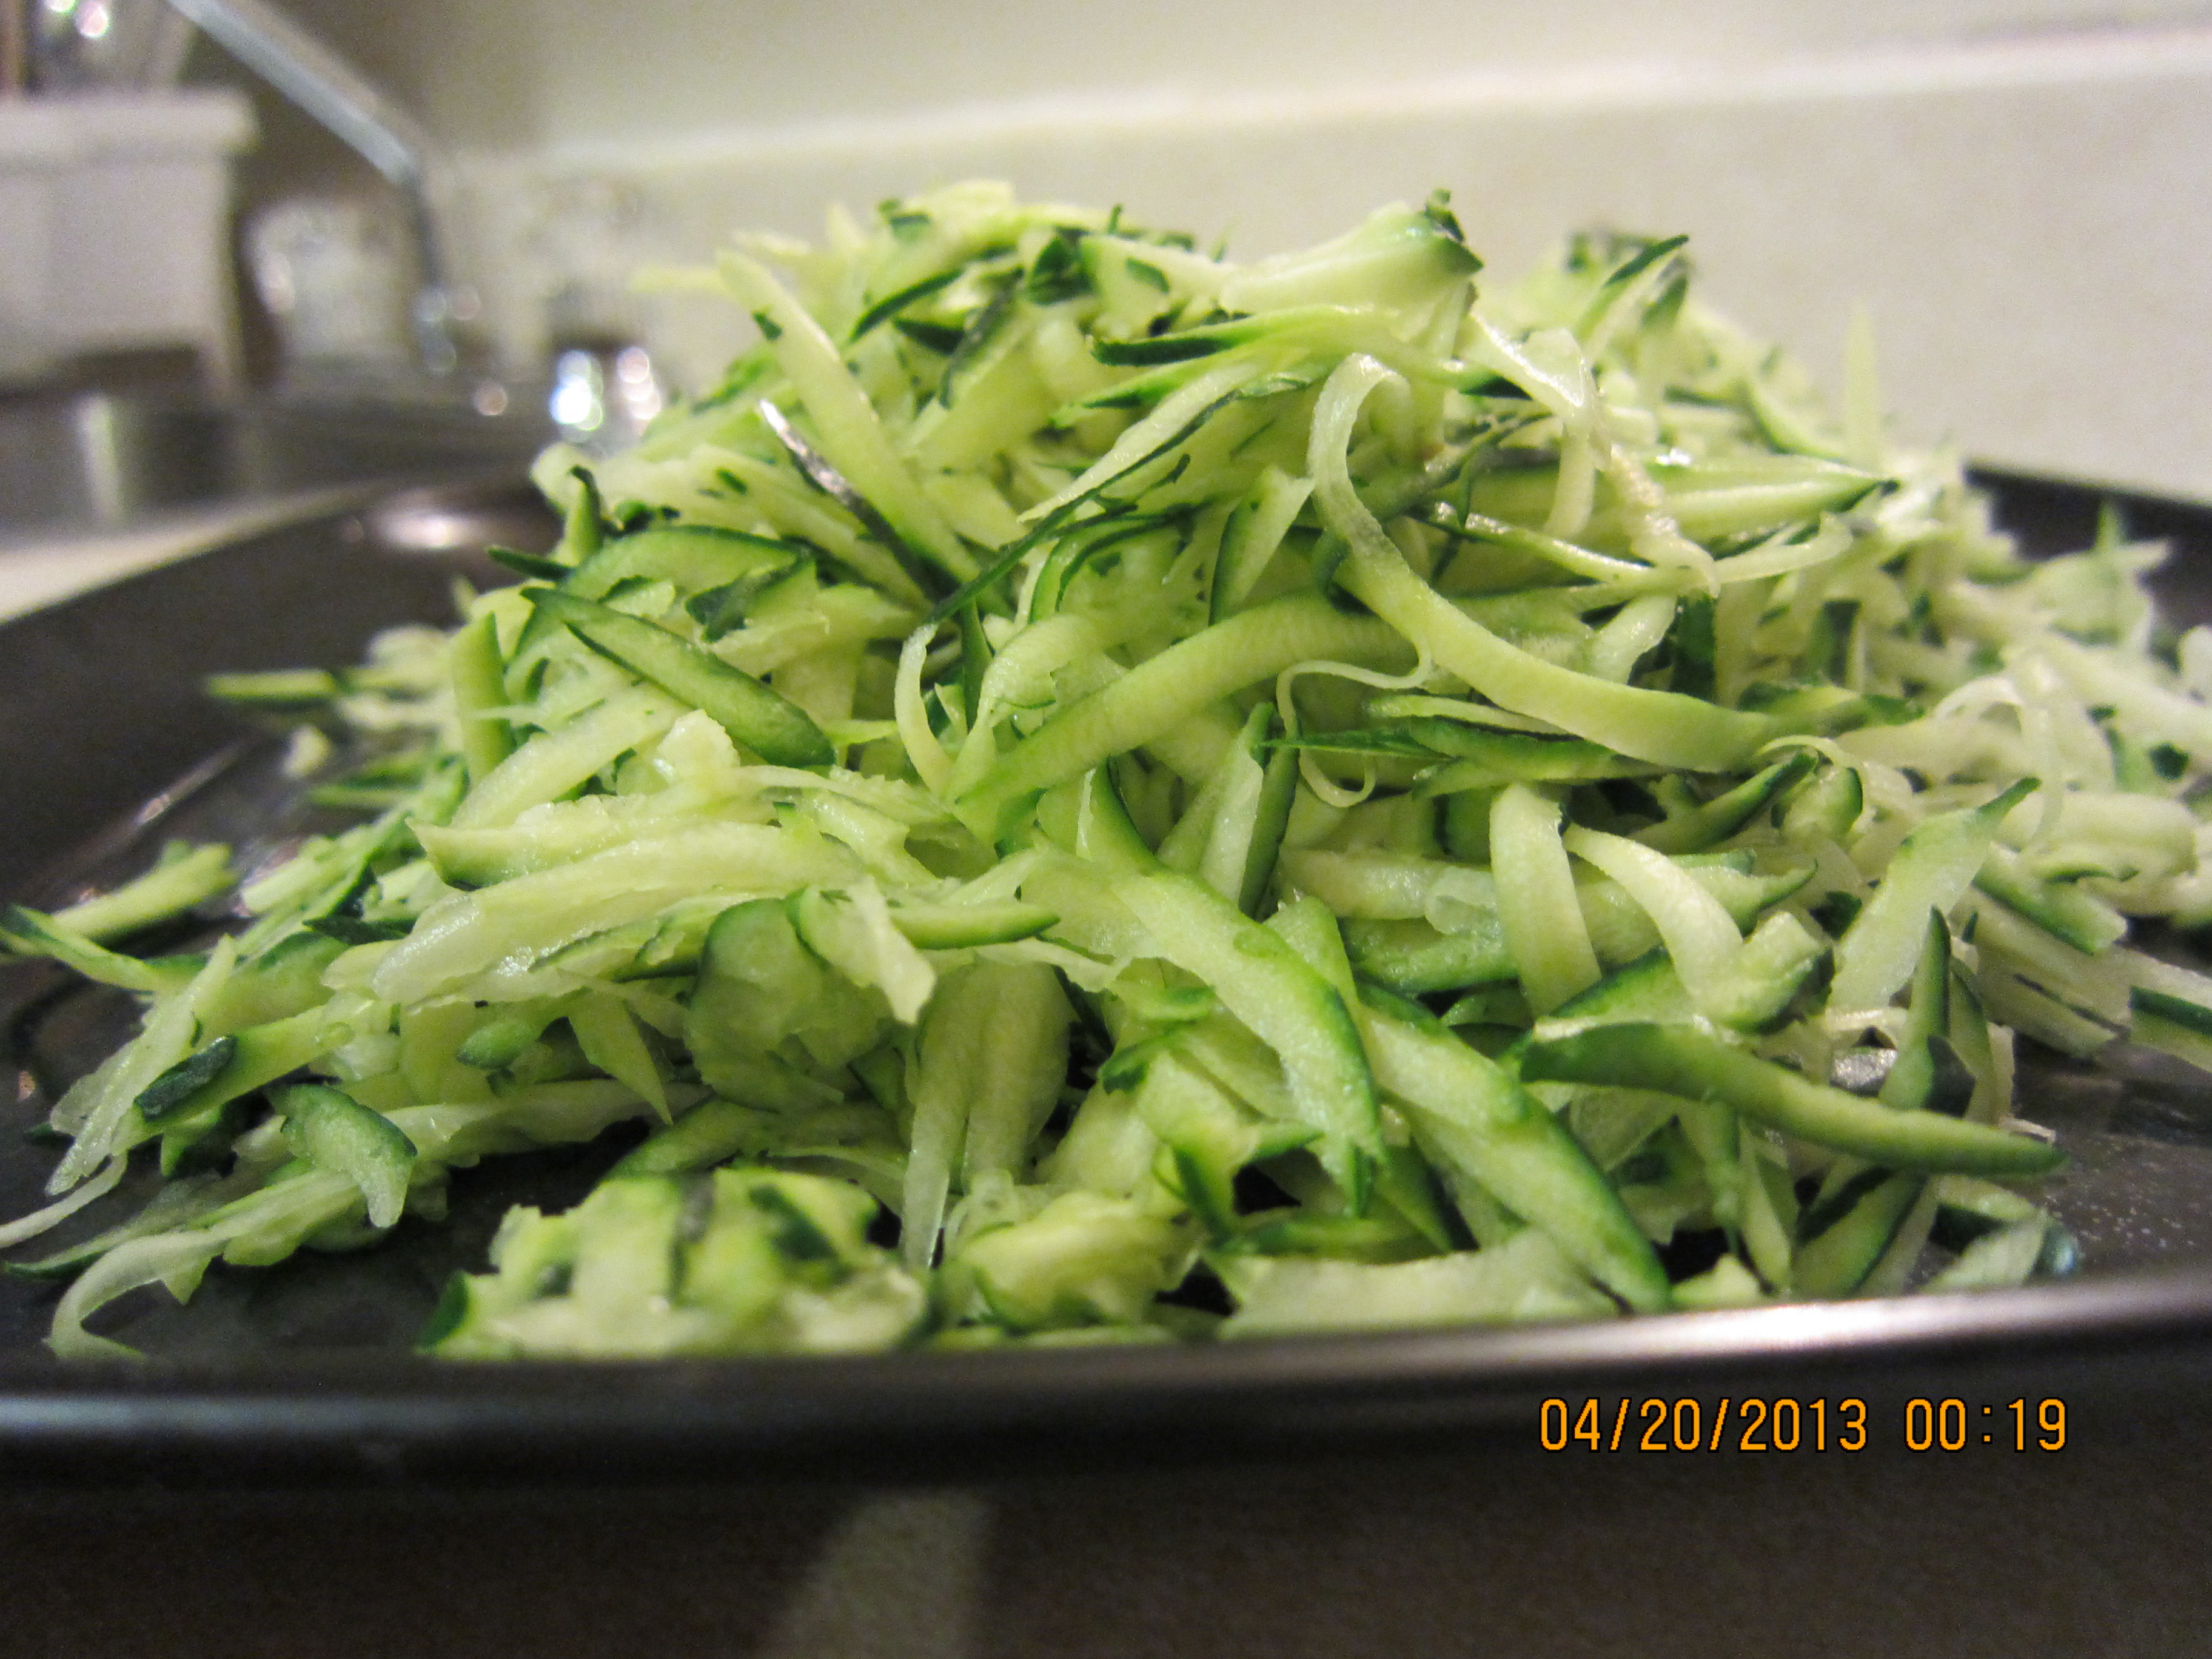
- 2 cups grated zucchini
- 1 cup chopped walnuts (optional)
Directions
- Grease and flour pans. Preheat oven to 325 degrees F (165 degrees C).
- Sift flour, salt, baking powder, baking soda, and cinnamon together in a bowl.
- Beat eggs, oil, vanilla, and sugar together in a large bowl. Add sifted ingredients to the creamed mixture, and beat well. Stir in zucchini and walnuts until well combined. Pour batter into prepared pans.
- Bake for 40 to 60 minutes, or until inserted toothpick comes out clean. Cool in pan on rack for 20 minutes. Remove bread from pan, and completely cool.
For recipe: http://allrecipes.com/recipe/moms-zucchini-bread/
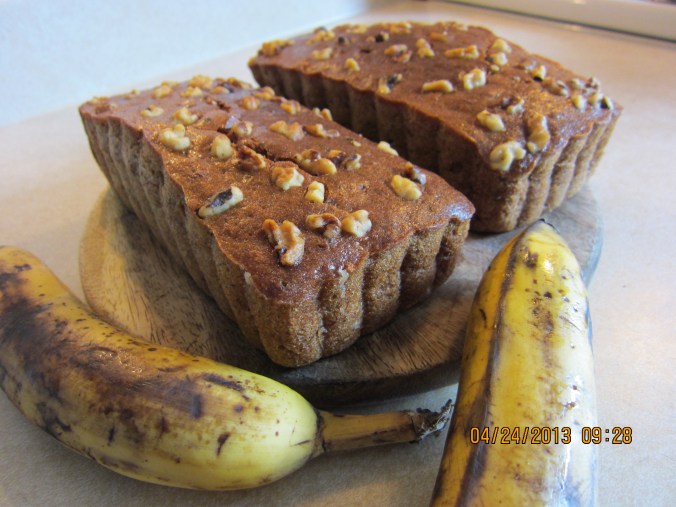


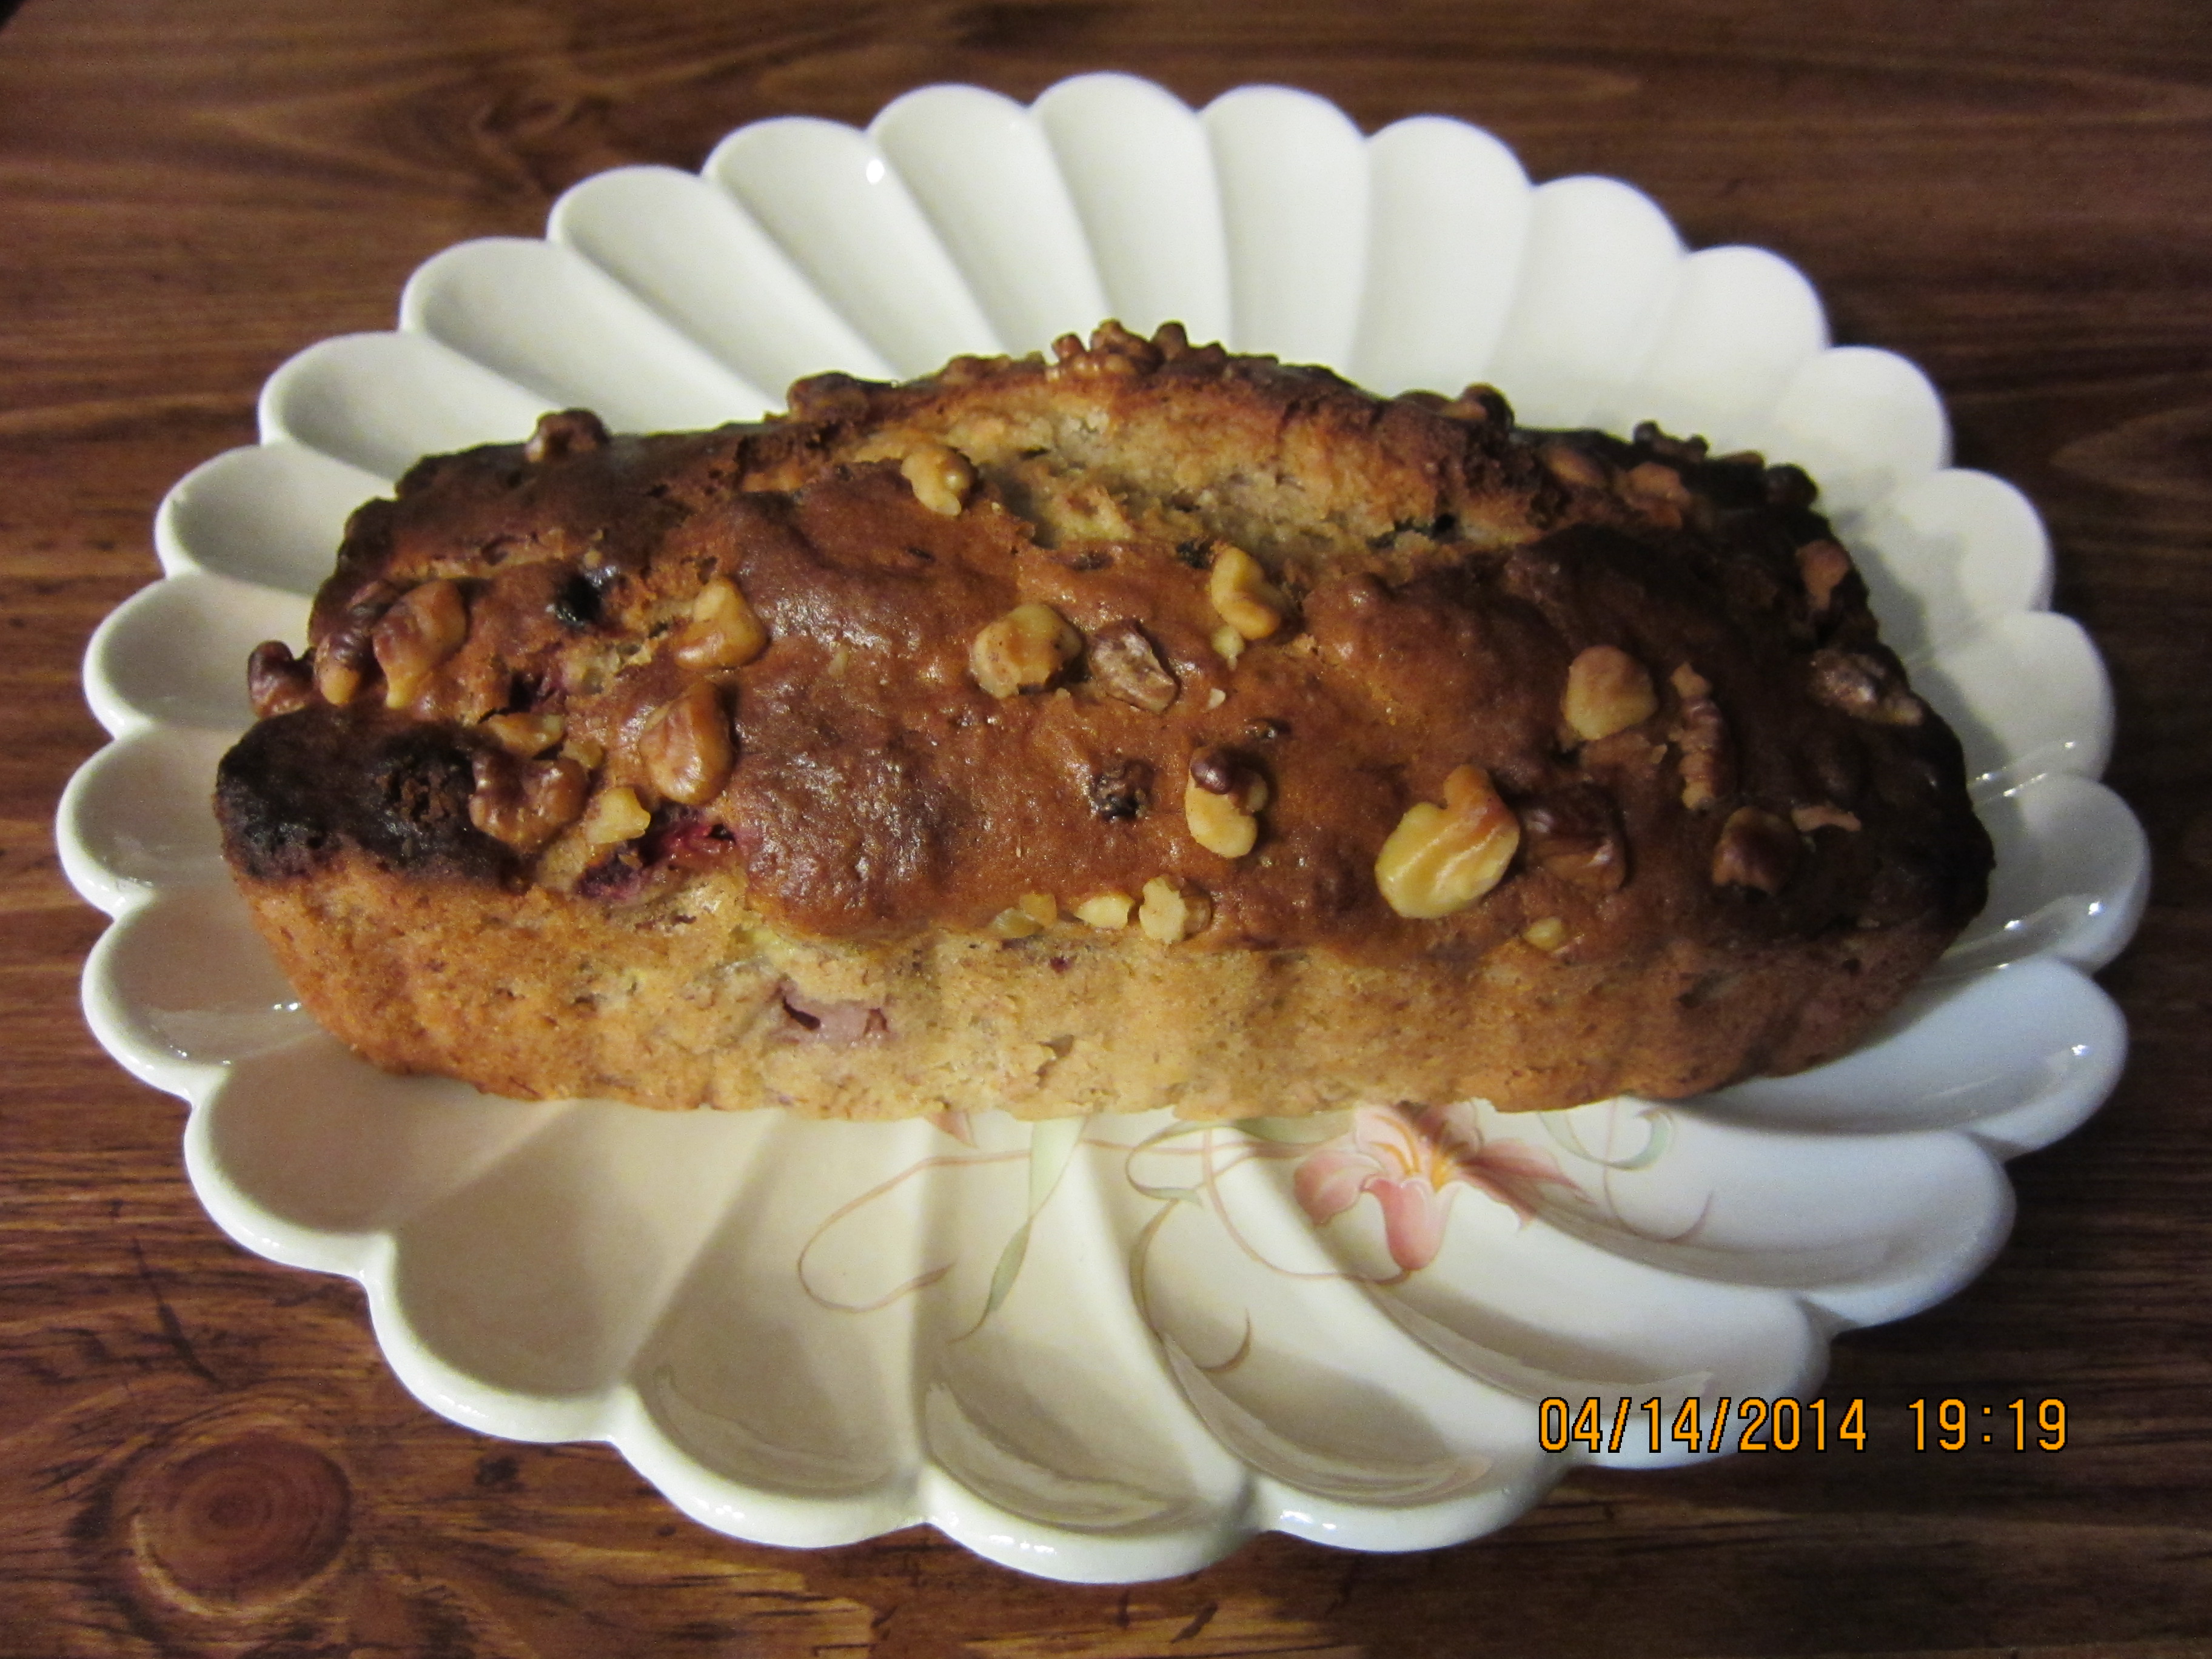
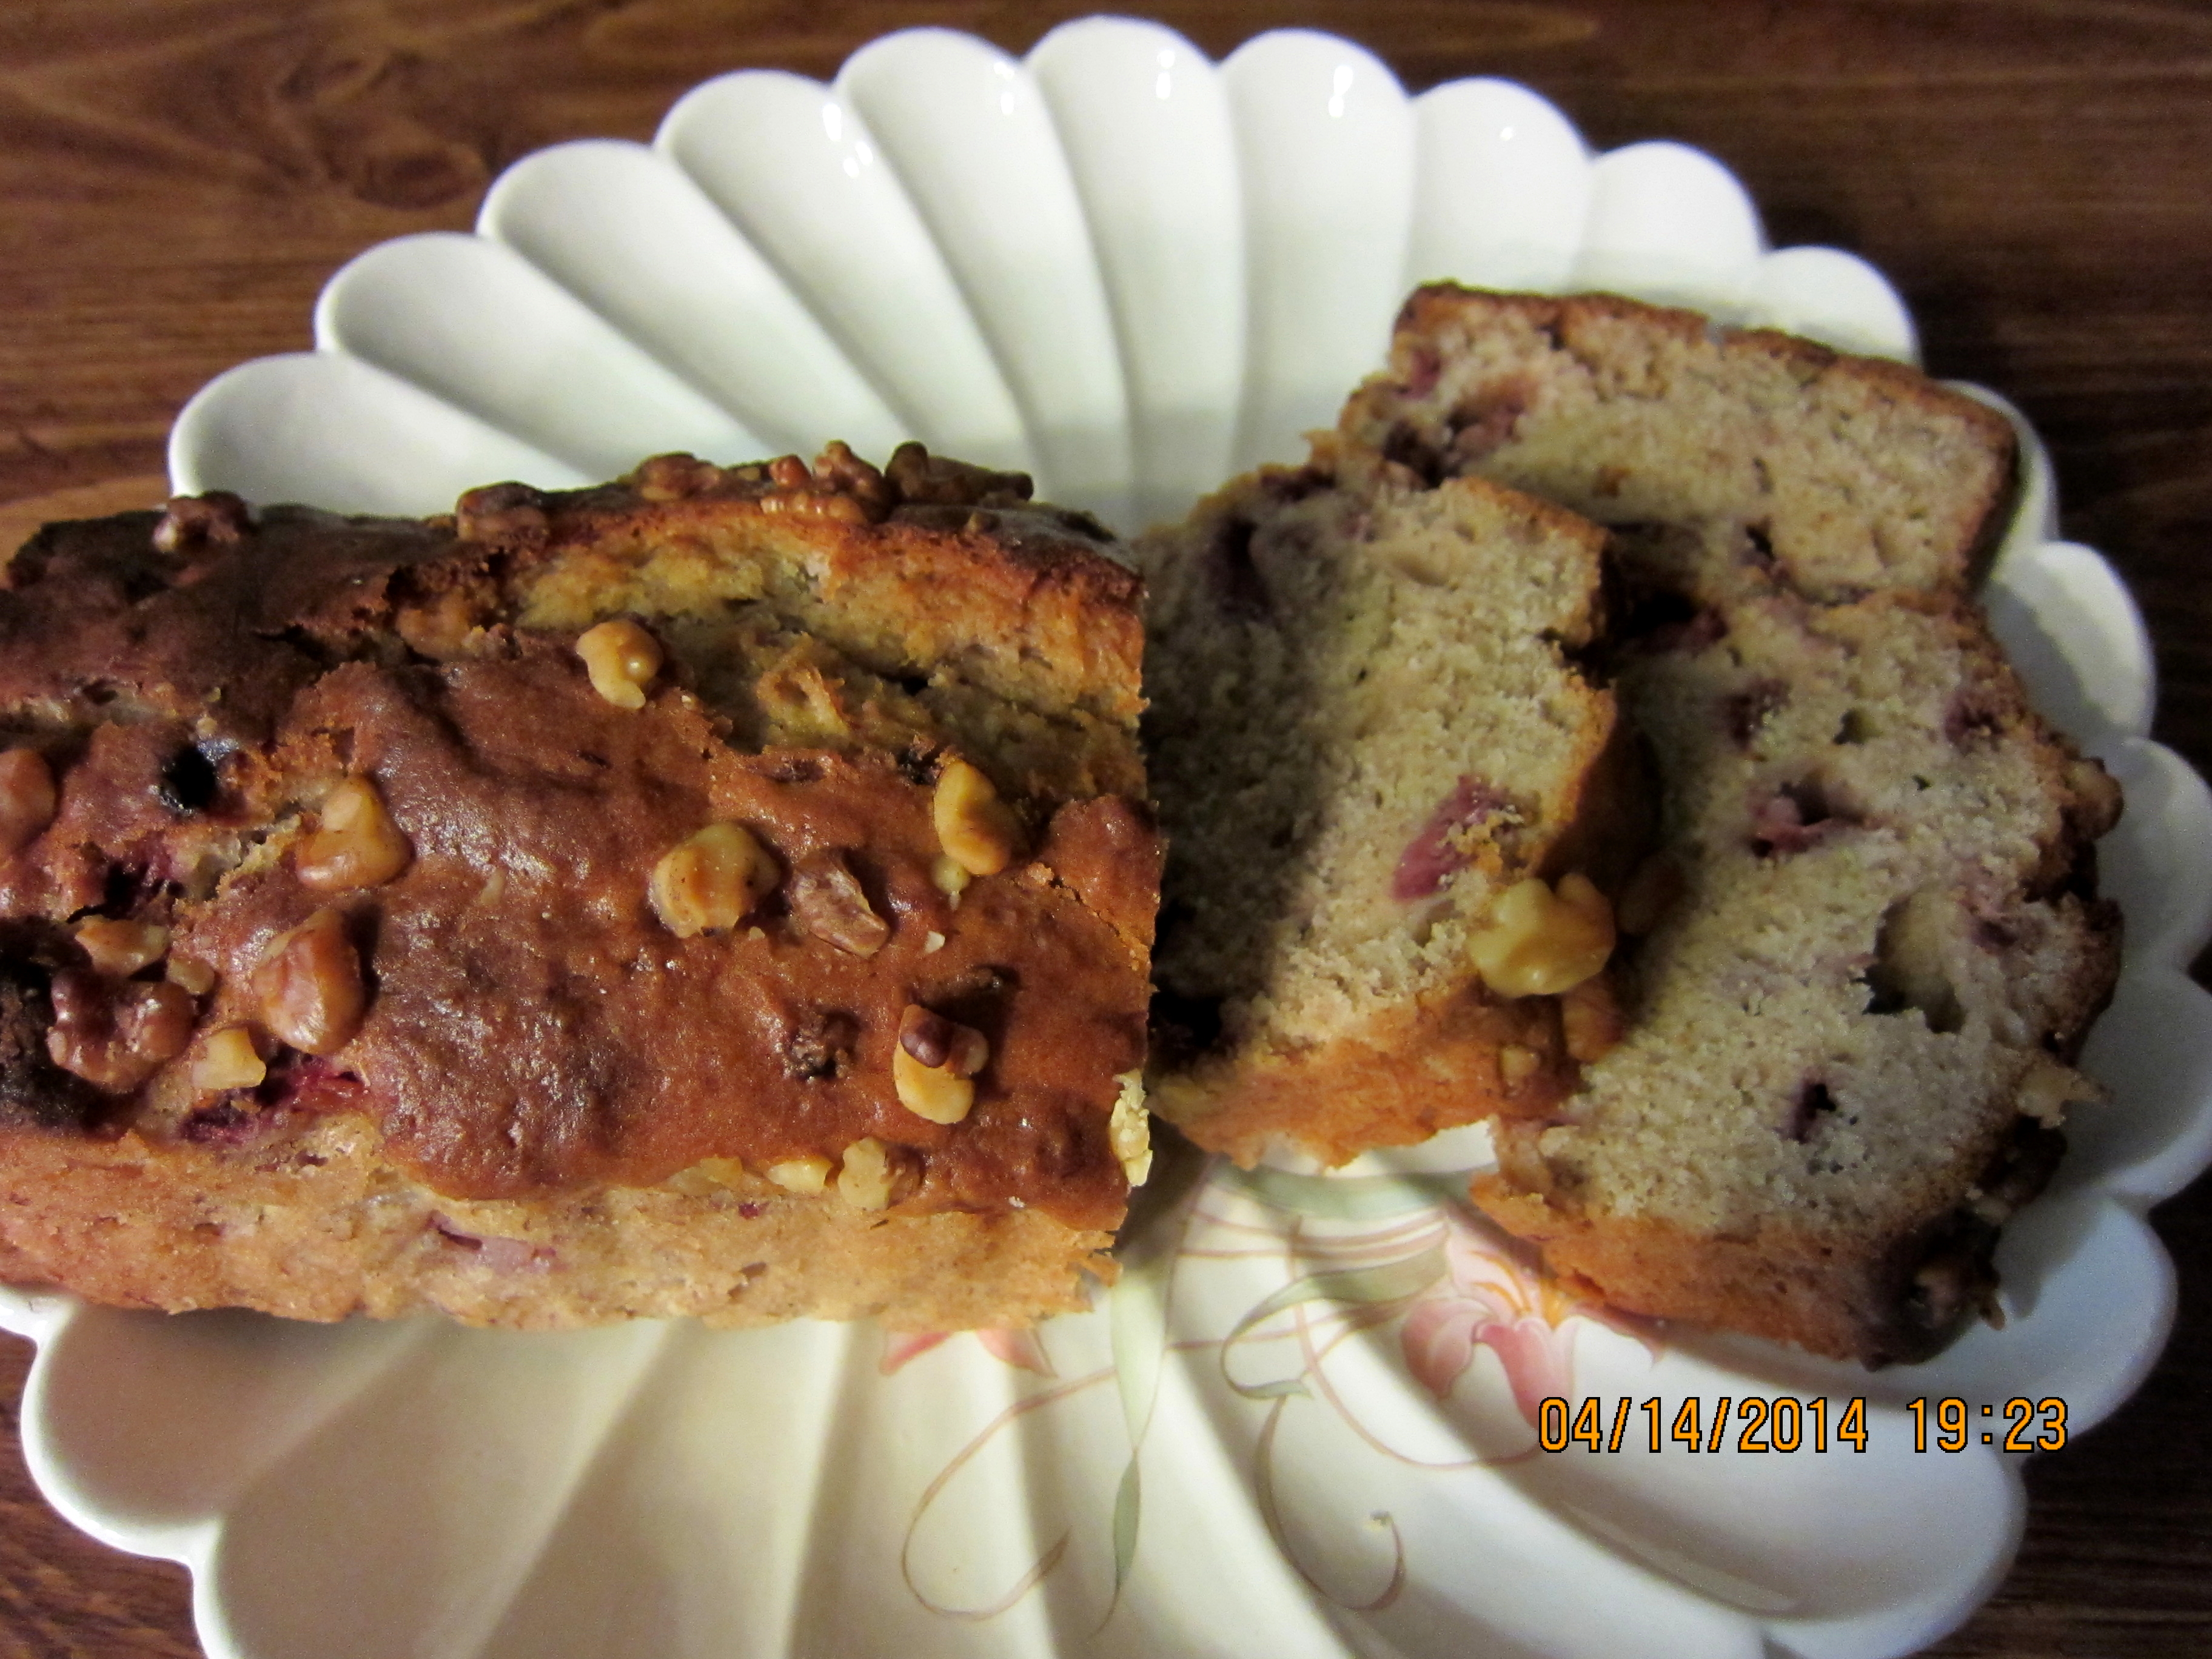
Banana Bread
Talk about a baking spree and the onset of a new addiction, because only days after baking zucchini bread, I gave baking banana bread a try! Like the zucchini bread, it tasted even better the next day, especially once the flavours have had a chance to interlace. This banana bread was very moist, dense, and flavourful.
Ingredients
- 1 cup unsalted butter, softened
- 2 cups white sugar
- 3 eggs
- 6 ripe bananas
- 1 (16 ounce) sour cream container
- 2 teaspoons vanilla extract
- 2 teaspoons ground cinnamon
- 3 teaspoons baking soda
- 4 cups all-purpose flour
- 1 cup walnuts (optional)
Directions
- Preheat oven to 300 degrees F (150 degrees C). Grease pans.
- Mash bananas with a fork. In a large bowl, add butter and sugar, and blend. Crack eggs and continue to blend. Add mashed bananas and continue to blend. Add sour cream and mix. Add vanilla extract, ground cinnamon, baking soda, and flour, and blend until completely mixed.
- Bake for approx. 60 minutes, or until inserted toothpick comes out clean.
For recipe: See YouTube’s CookWithApril’s “Best Banana Bread Recipe!”
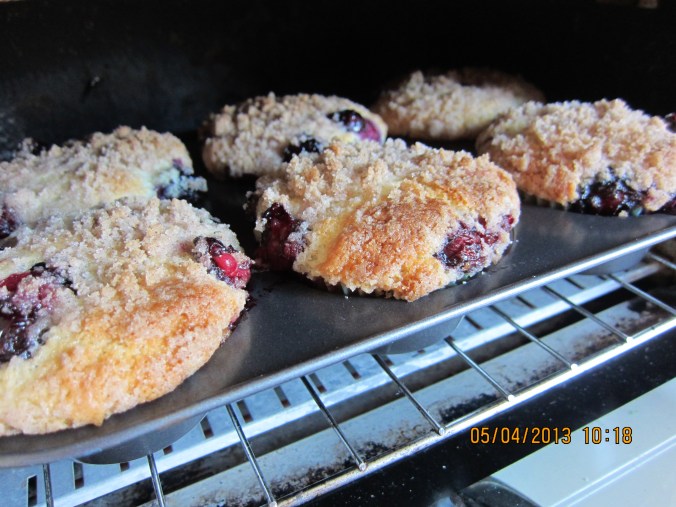


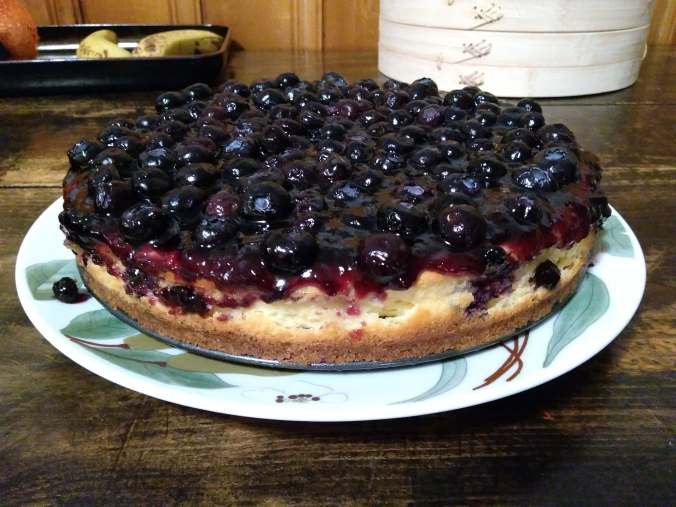
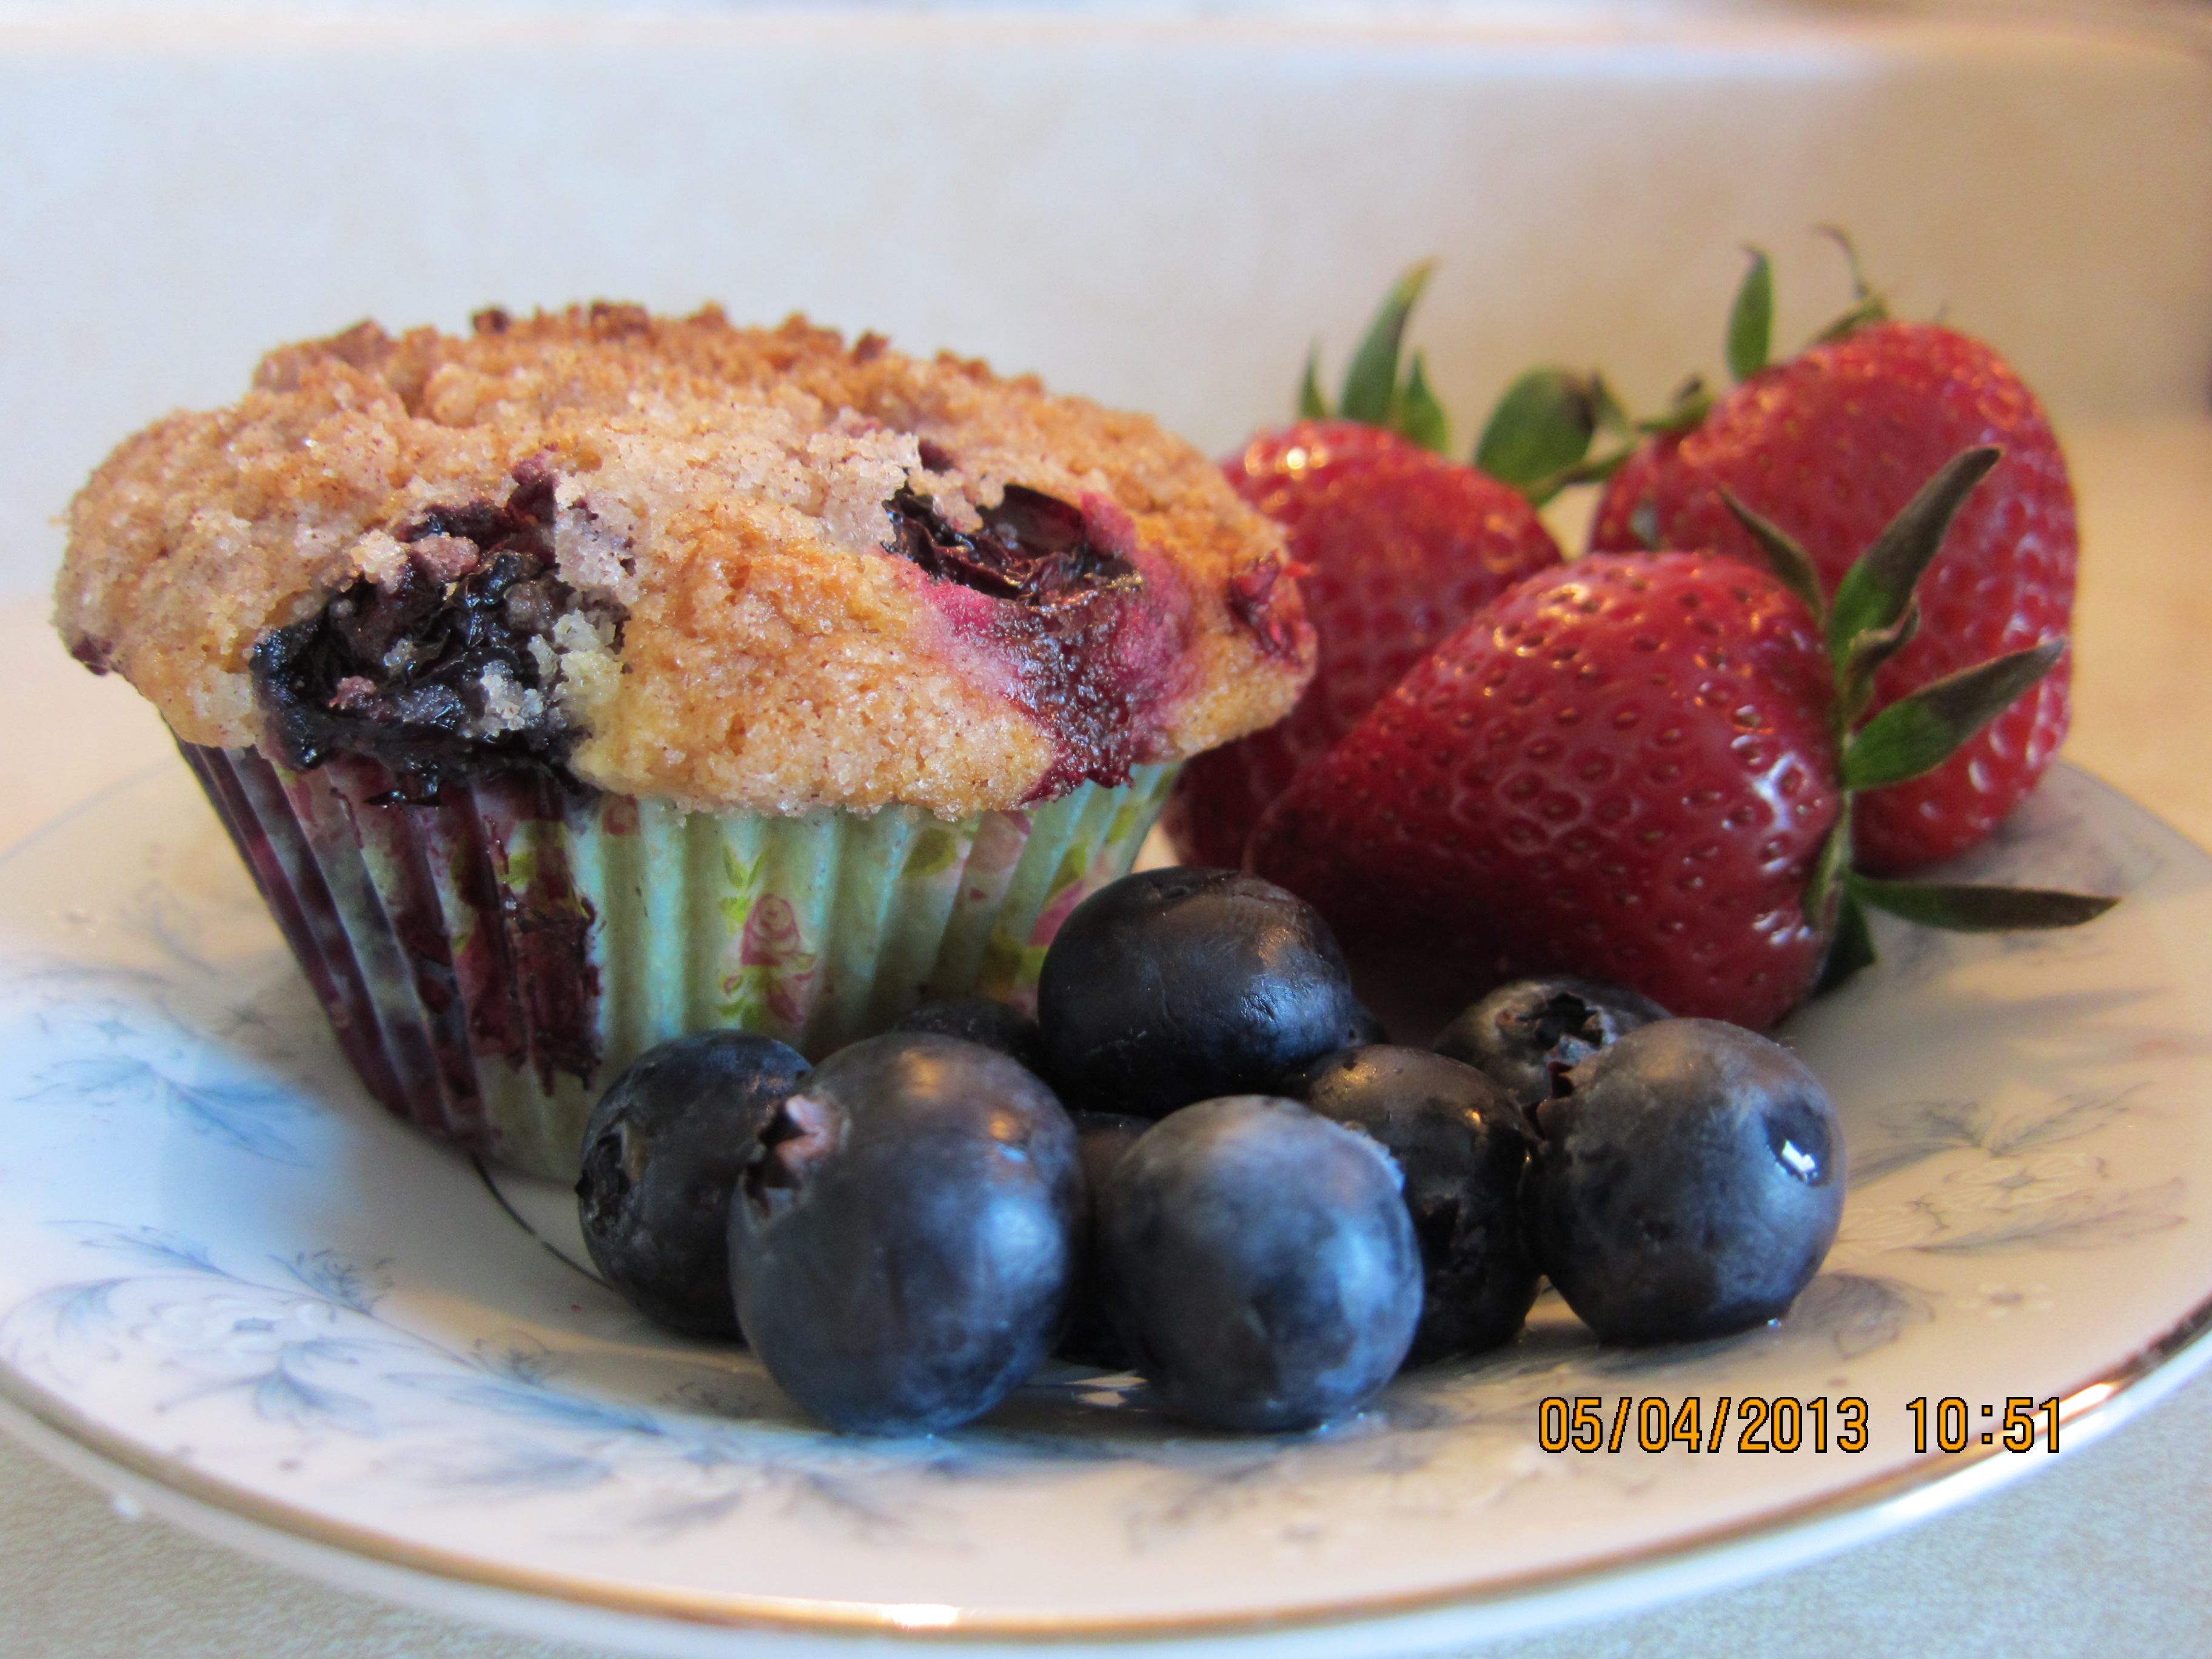
Blueberry Streusel Muffins
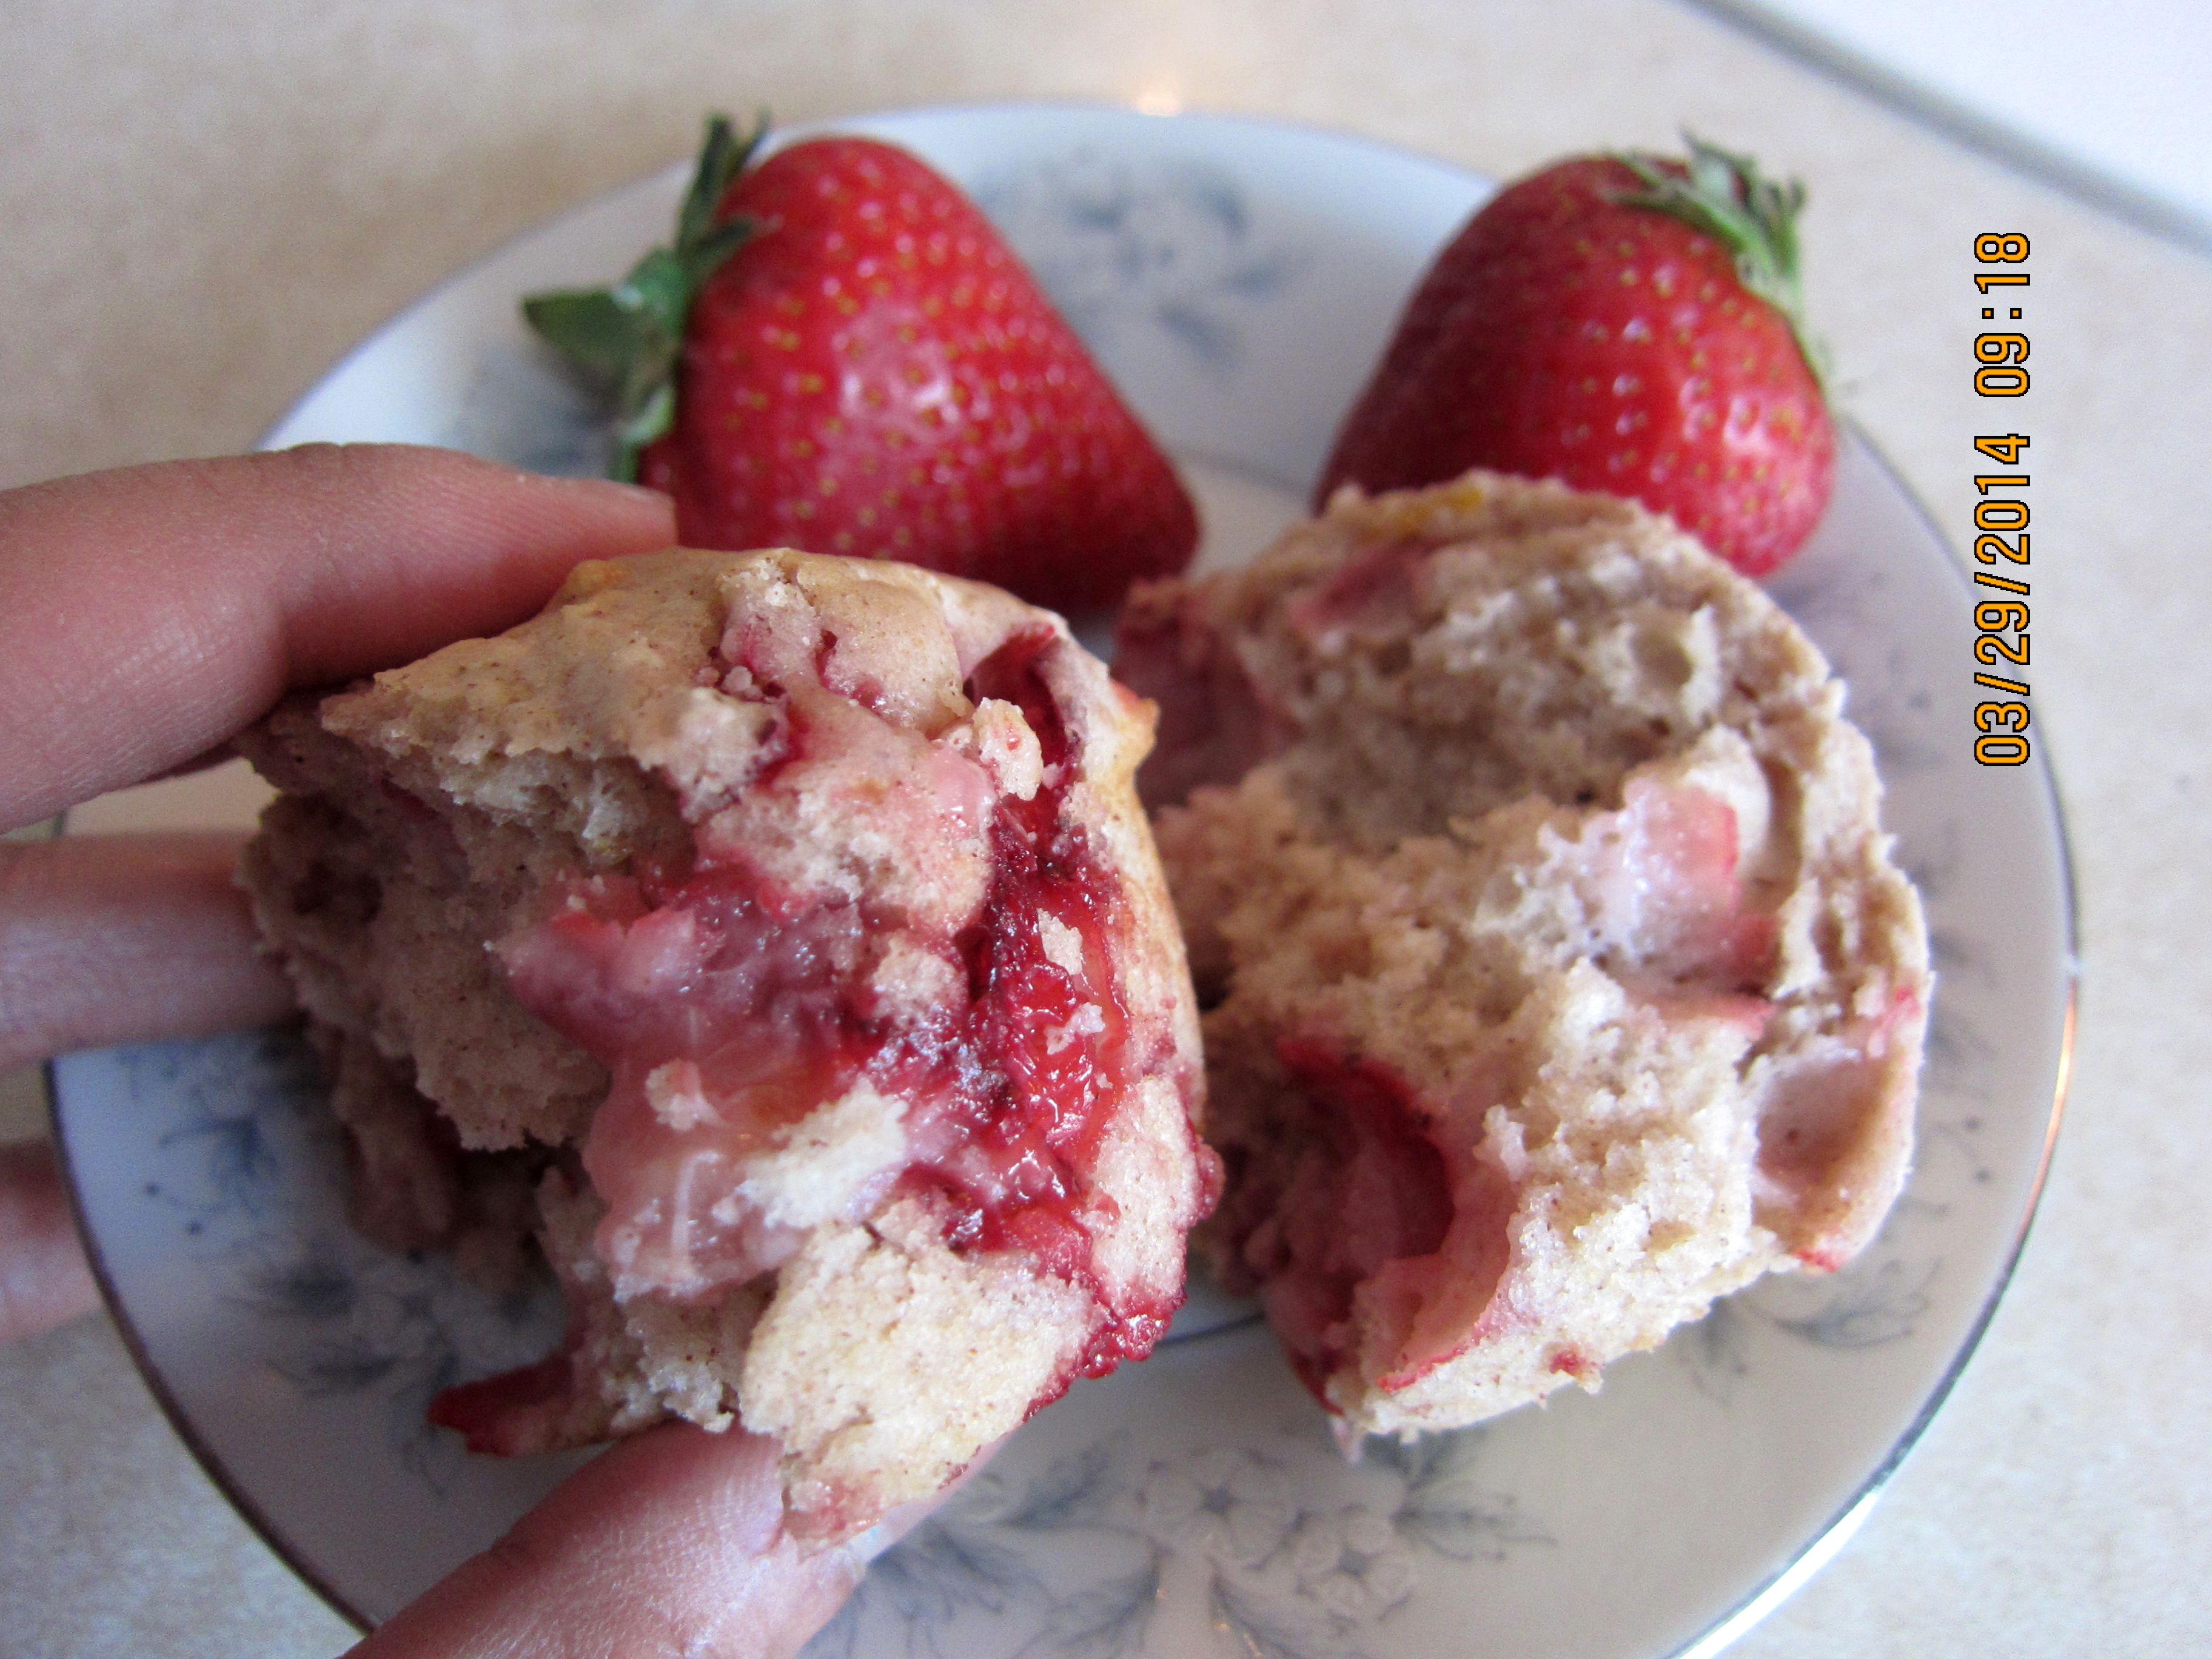
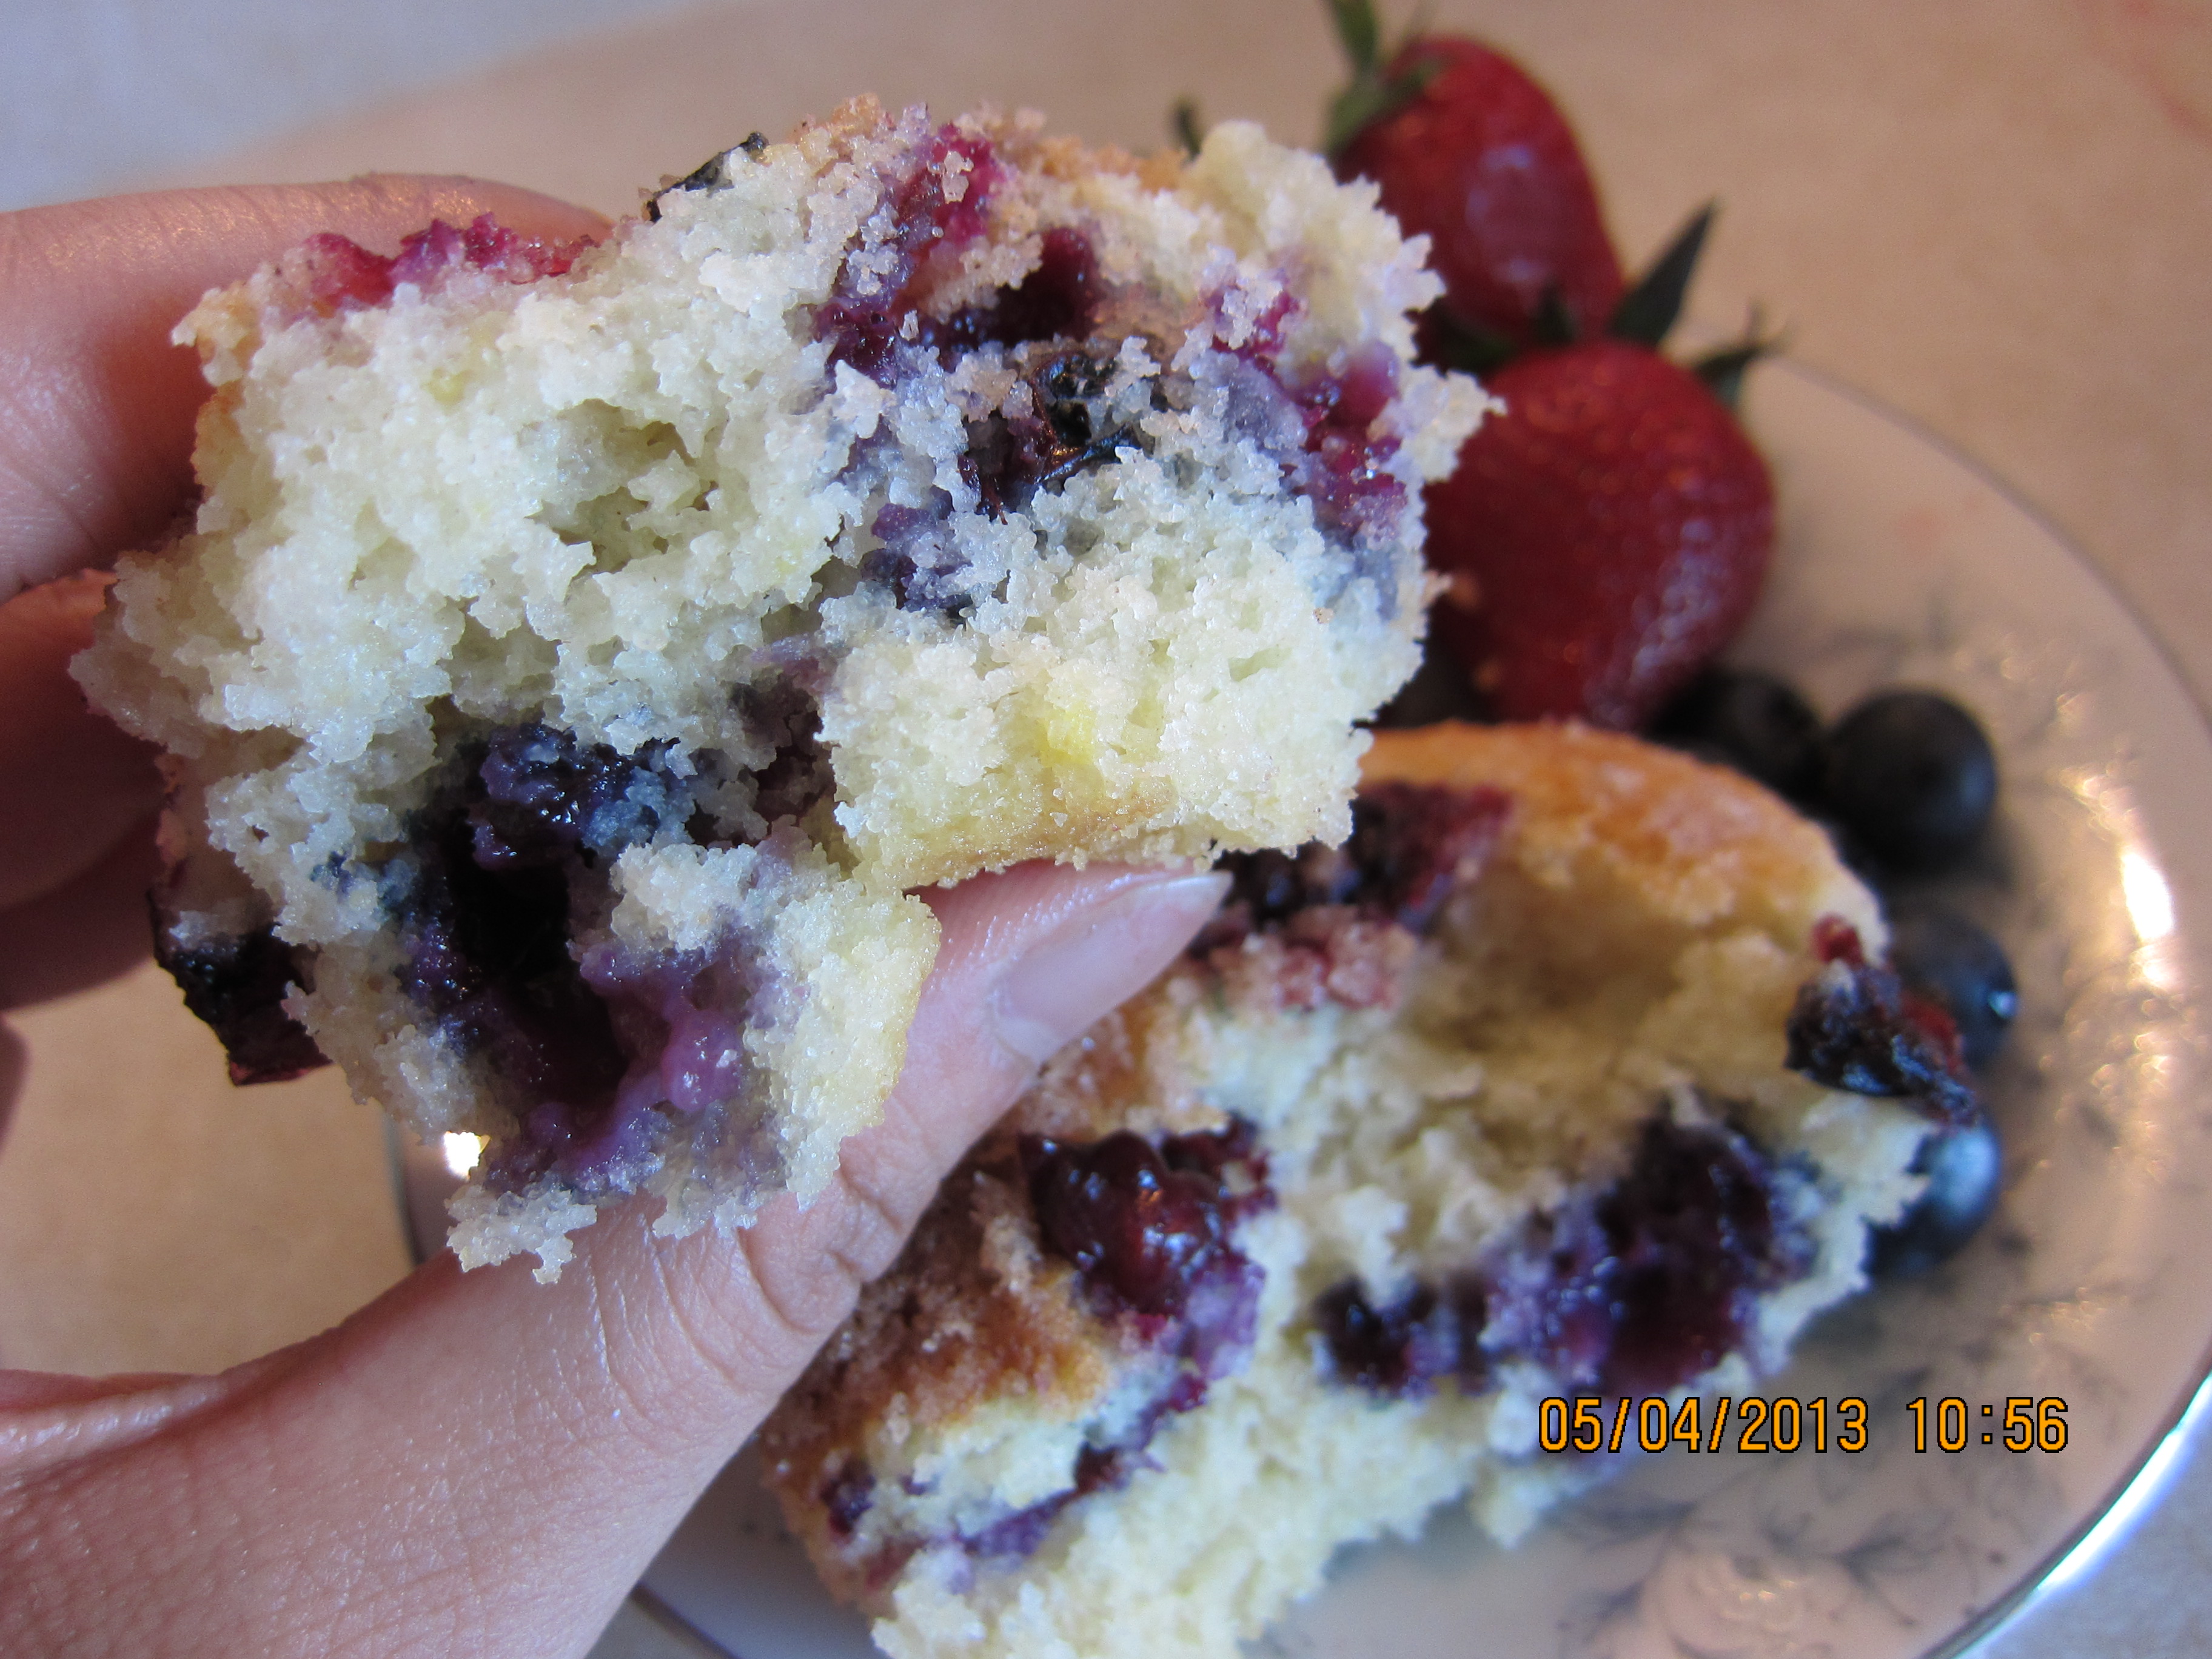
I recall that beautiful spring morning in May when I baked these blueberry muffins. Not only did my house smell of heavenly sweetness, but my taste buds were aroused, for these muffins were light, fluffy, and berry-licious. However, since they turned out a little bland, the only thing I would’ve done differently, is add a bit of vanilla extract and/or freshly squeezed lemon juice to give the flavour a nice boost.
Ingredients
- 1 1/2 cups all-purpose flour
- 3/4 cup white sugar
- 1/2 teaspoon salt
- 2 teaspoons baking powder
- 1/3 cup vegetable oil (I used olive oil)
- 1 egg
- 1/3 cup milk
- 1 cup fresh blueberries
- 1/2 cup white sugar
- 1/3 cup all-purpose flour
- 1/4 cup butter, cubed
- 1 1/2 teaspoons ground cinnamon
Directions
- Preheat oven to 400 degrees F (200 degrees C). Grease muffin cups or line with muffin liners.
- Combine 1 1/2 cups flour, 3/4 cup sugar, salt, and baking powder. Place oil into a 1 cup measuring cup; add the egg and enough milk to fill the cup. Mix this with flour mixture. Fold in blueberries. Fill muffin cups right to the top, and sprinkle with crumb topping.
- To make crumb topping: Mix together 1/2 cup sugar, 1/3 cup flour, 1/4 cup butter, and 1 1/2 teaspoons cinnamon. Mix with fork, and sprinkle over muffins before baking.
- Bake for 20 to 25 minutes, or until done.
For recipe: http://allrecipes.com/recipe/to-die-for-blueberry-muffins/
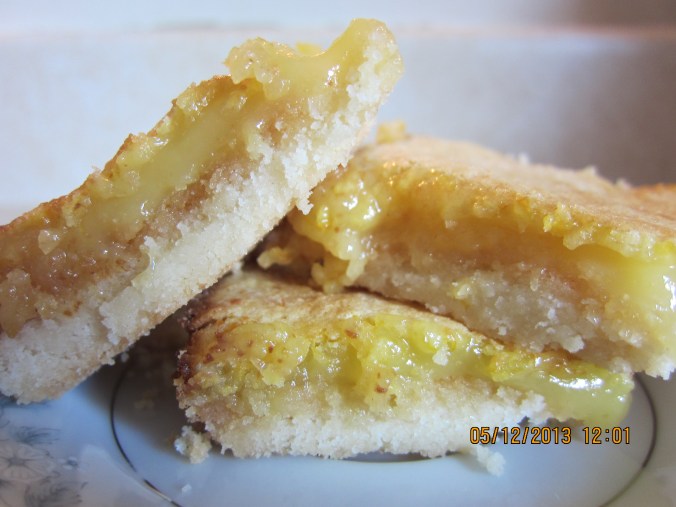
Lemon Bars
Knowing that Mom has a tooth for lemon desserts, I whipped up some lemon bars for her for Mother’s Day. With a perfect blend of sweetness and tartness along with a buttery shortbread crust, these bars were undoubtedly a carbon copy of lemon pie.
Ingredients
For the shortbread crust:
- 1 cup all-purpose flour
- 1/2 cup unsalted butter, room temperature
- 1/4 cup powdered sugar (I used white sugar)
- 1/4 teaspoon vanilla extract
- 1/4 teaspoon salt
For the lemon layer:
- 2 large eggs
- 1 large egg yolk
- 1 cup white sugar
- 2 tablespoons all-purpose flour
- 1/4 cup freshly squeezed lemon juice
- 1 tablespoon freshly grated lemon zest
Directions
- Preheat oven to 350 degrees F (175 degrees C). Lightly grease baking pan.
- Place 1 cup flour and butter in a mixing bowl and mash with the back of a wooden spoon until thoroughly combined. Mix in 1/4 cup sugar, vanilla, and salt; mash mixture together until it looks like a slightly crumbly cookie dough.
- Moisten your fingers with a little water and press dough into bottom of baking pan. Use a fork to prick holes all over the crust.
- Bake crust until edges are barely golden brown (approx. 20 minutes).
- Beat eggs and egg yolk together in a bowl; whisk in 1 cup sugar and 2 tablespoons flour until smooth. Add lemon juice and lemon zest; whisk for 2 minutes. Pour lemon custard over crust.
- Bake until custard is set and top has a thin white sugary crust (approx. 25 minutes). Let cool completely until cutting into bars.
For recipe: http://foodwishes.blogspot.ca/2013/05/lemon-bars-for-lasting-mothers-day.html or http://allrecipes.com/Recipe/Chef-Johns-Lemon-Bars/Detail.aspx


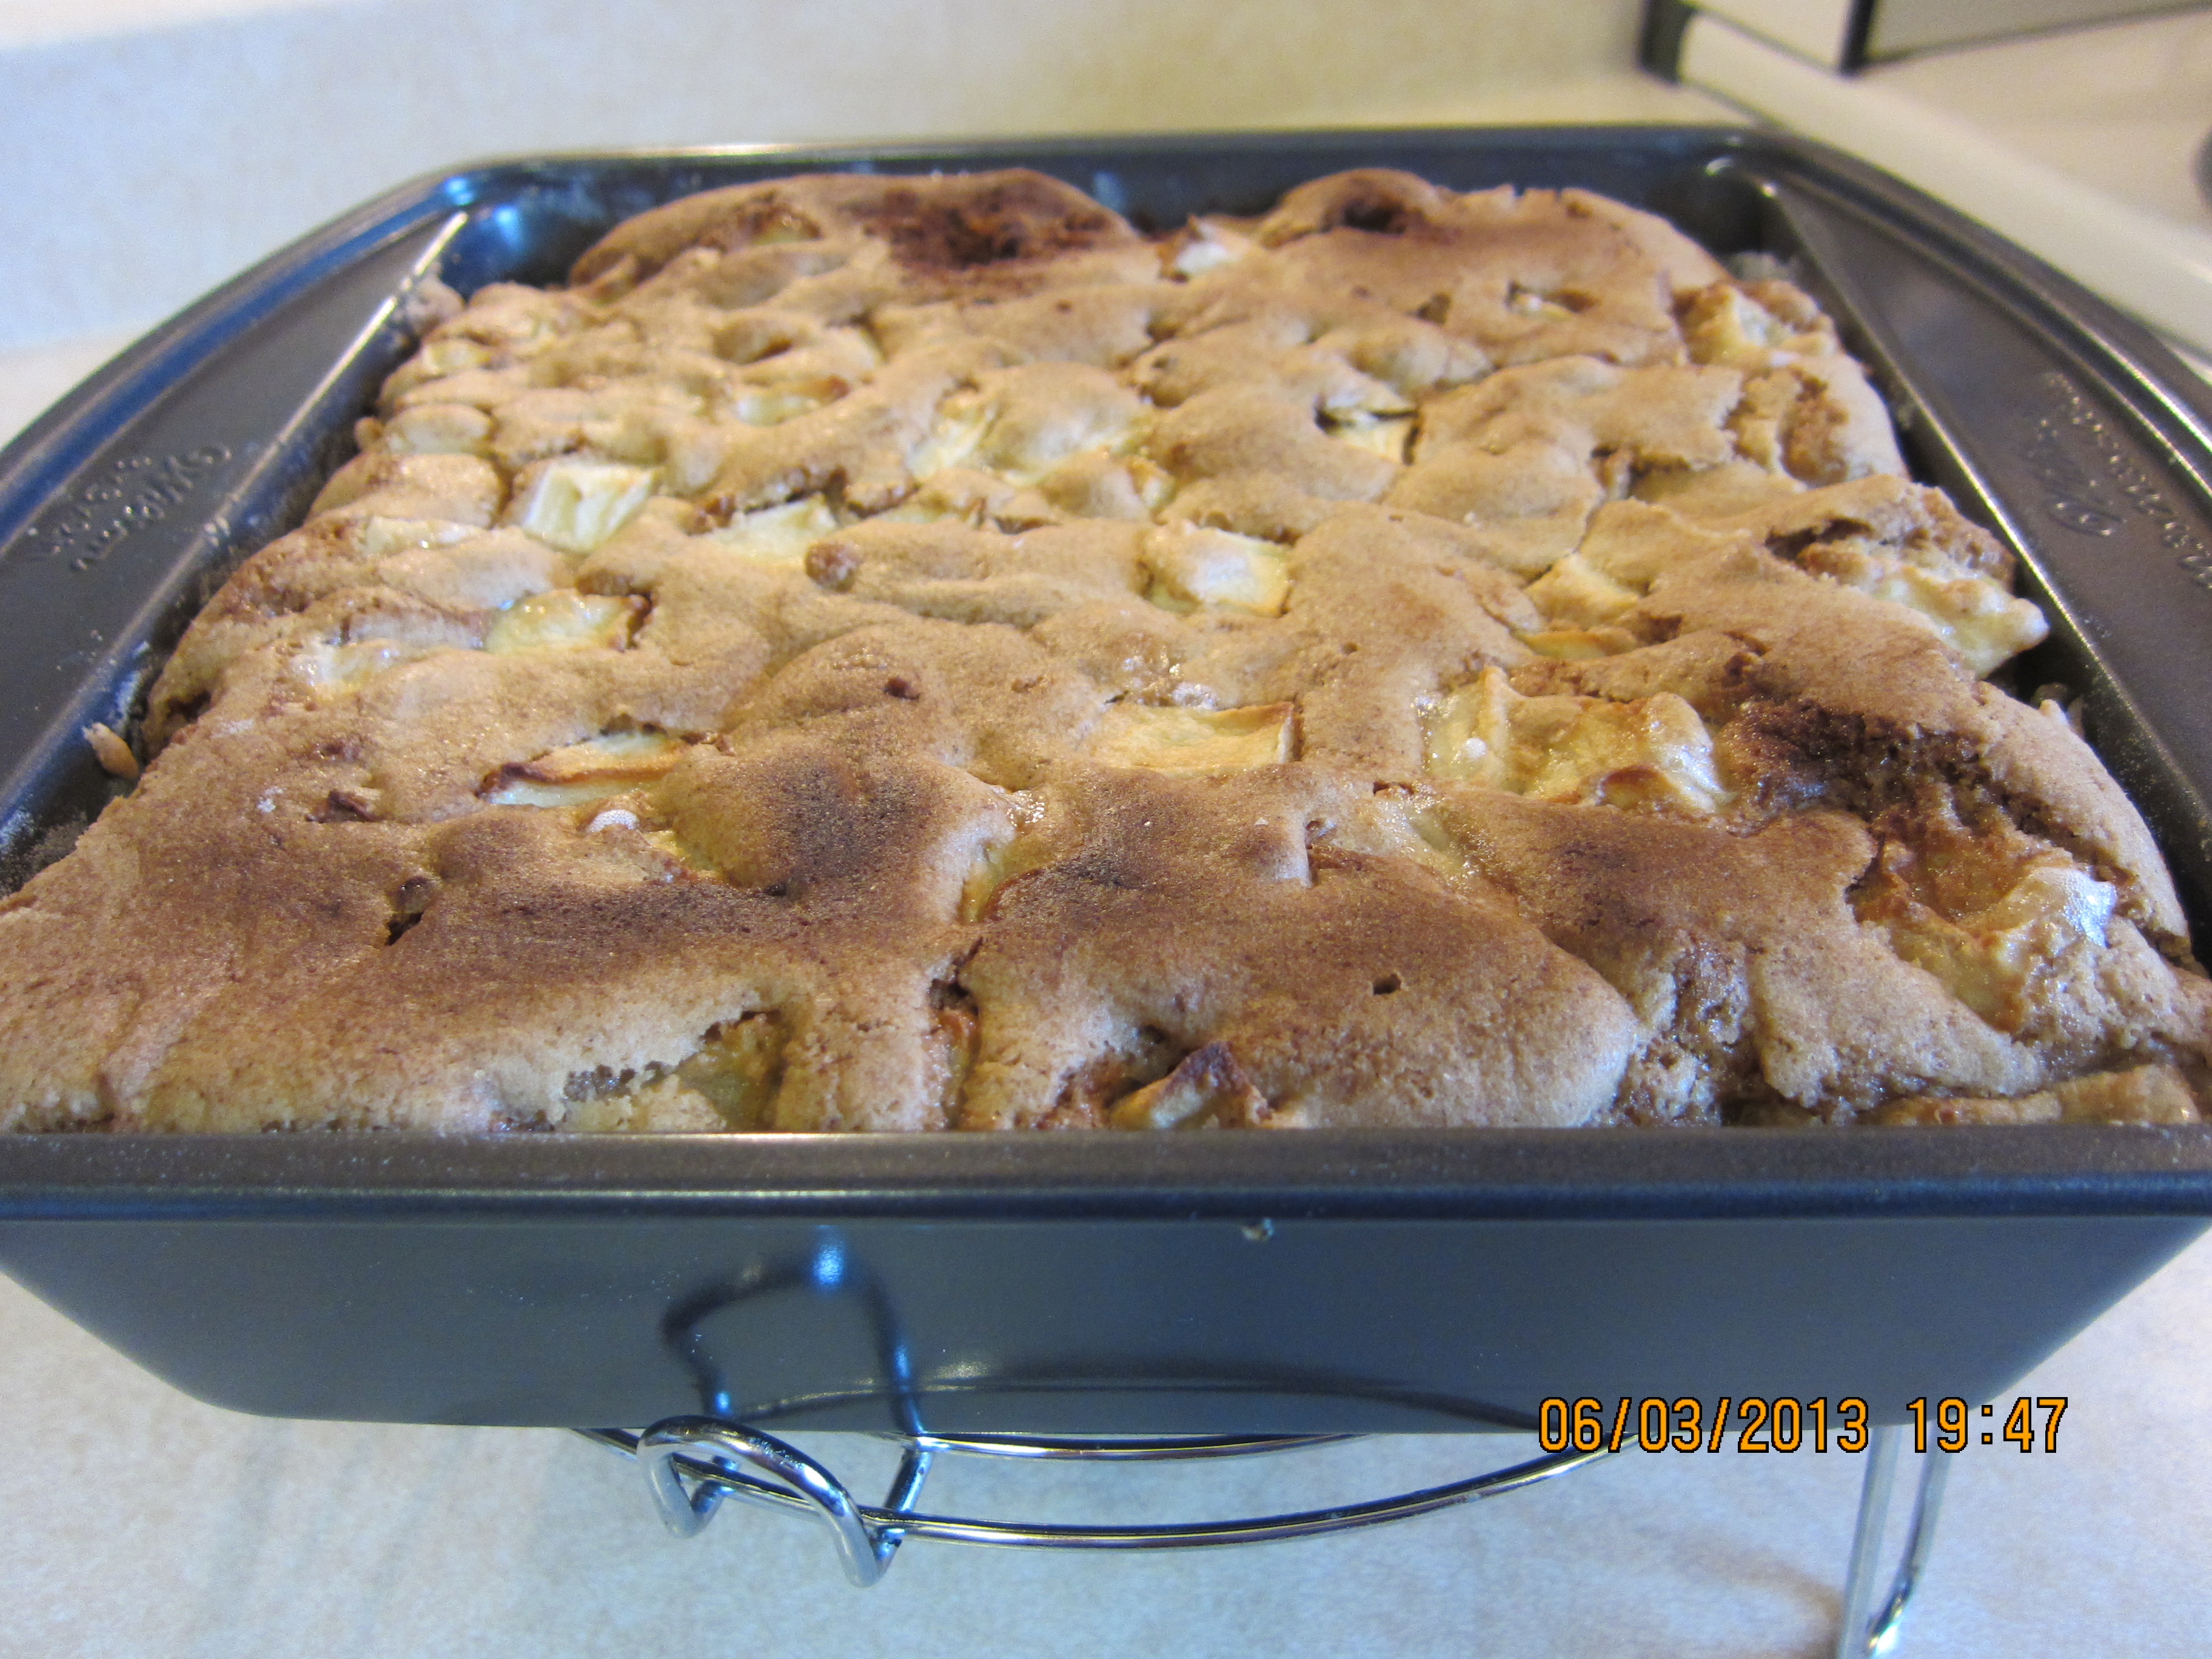
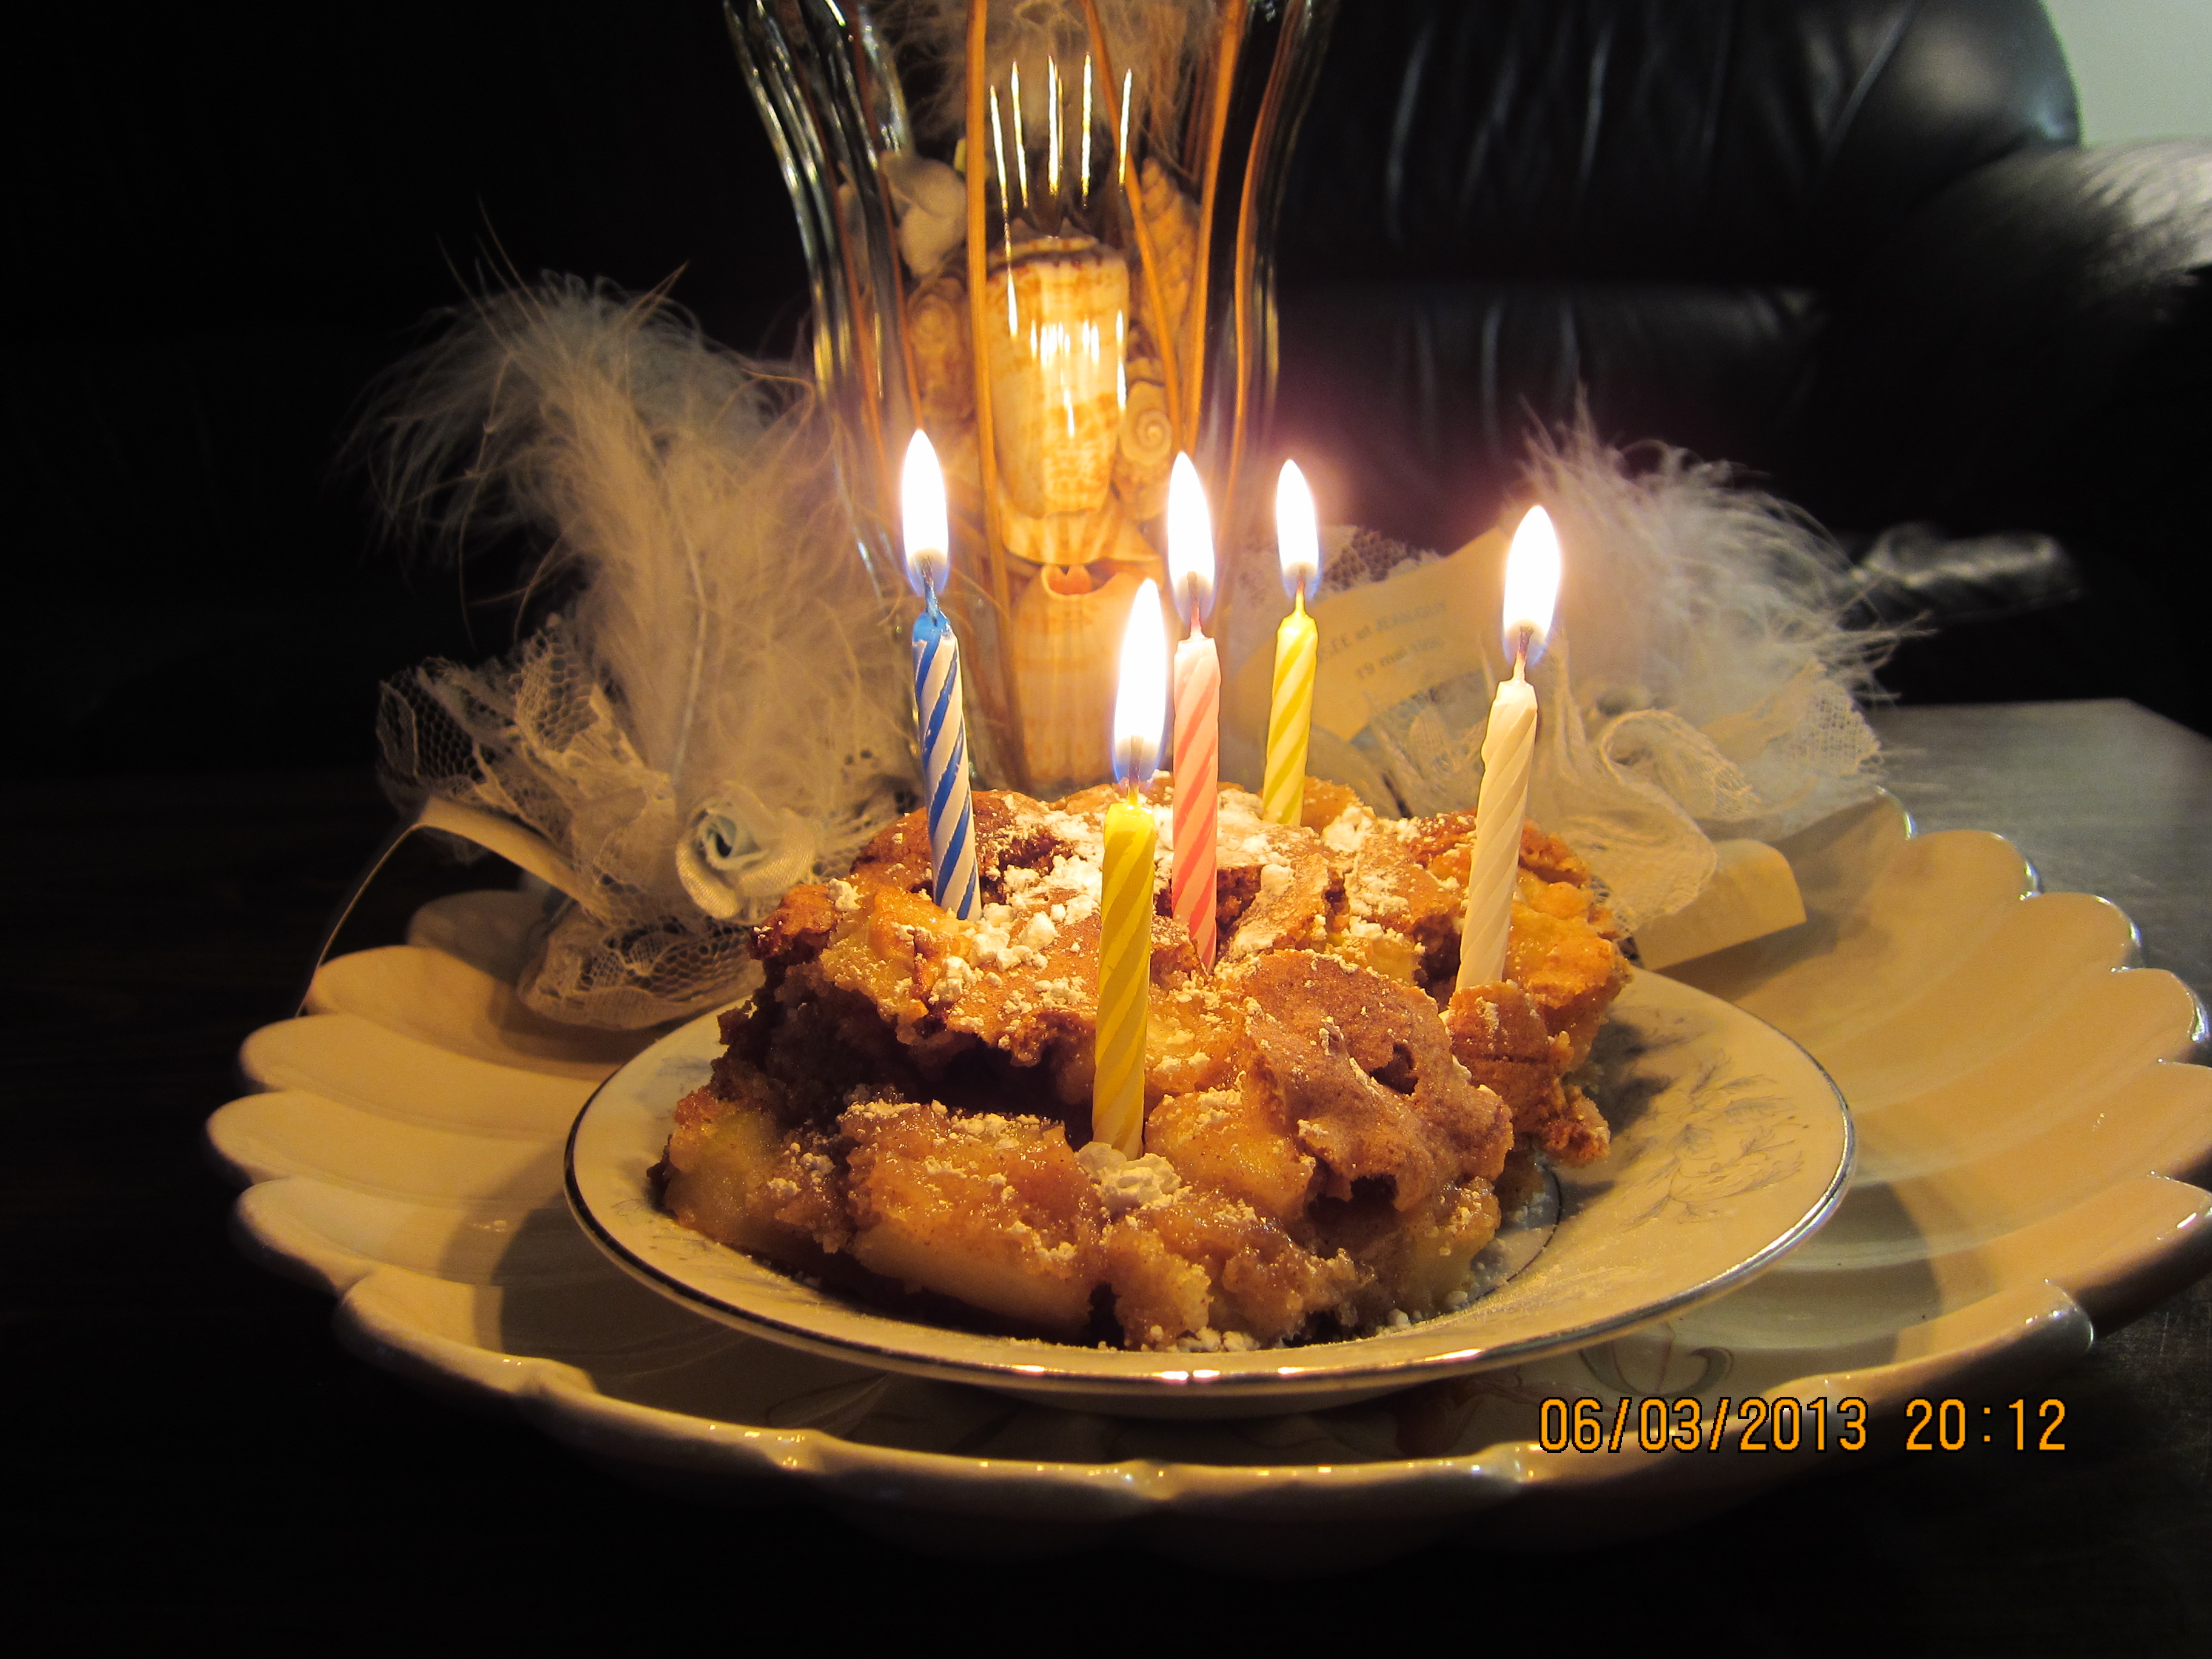
Apple Cake
The cake that I had baked for Mom on her birthday failed miserably, so as promised, the following day I bought new ingredients and baked her a new cake: apple cake. This second time around was better, although the centre of the cake was still wet and seemingly uncooked. Oh well, it tasted more like apple pie! (I tried, guys, I did.)
Ingredients
- 2 eggs
- 1 cup vegetable oil
- 2 cups white sugar
- 2 teaspoons ground cinnamon
- 1/2 teaspoon salt
- 1 teaspoon vanilla extract
- 2 cups all-purpose flour
- 1 teaspoon baking soda
- 4 cups apples, peeled and diced
Directions
- Preheat oven to 350 degrees F (175 degrees C). Grease and flour pan.
- In a large bowl, beat oil and eggs until creamy. Add the sugar and vanilla and beat well.
- In another bowl, combine the flour, salt, baking soda, and ground cinnamon. Slowly add this mixture to the egg mixture and mix until combined. The batter will be very thick. Fold in the apples using a wooden spoon. Spread batter into the pan.
- Bake for about 45 minutes, or until inserted toothpick comes out clean.
For recipe: http://allrecipes.com/recipe/german-apple-cake-i/


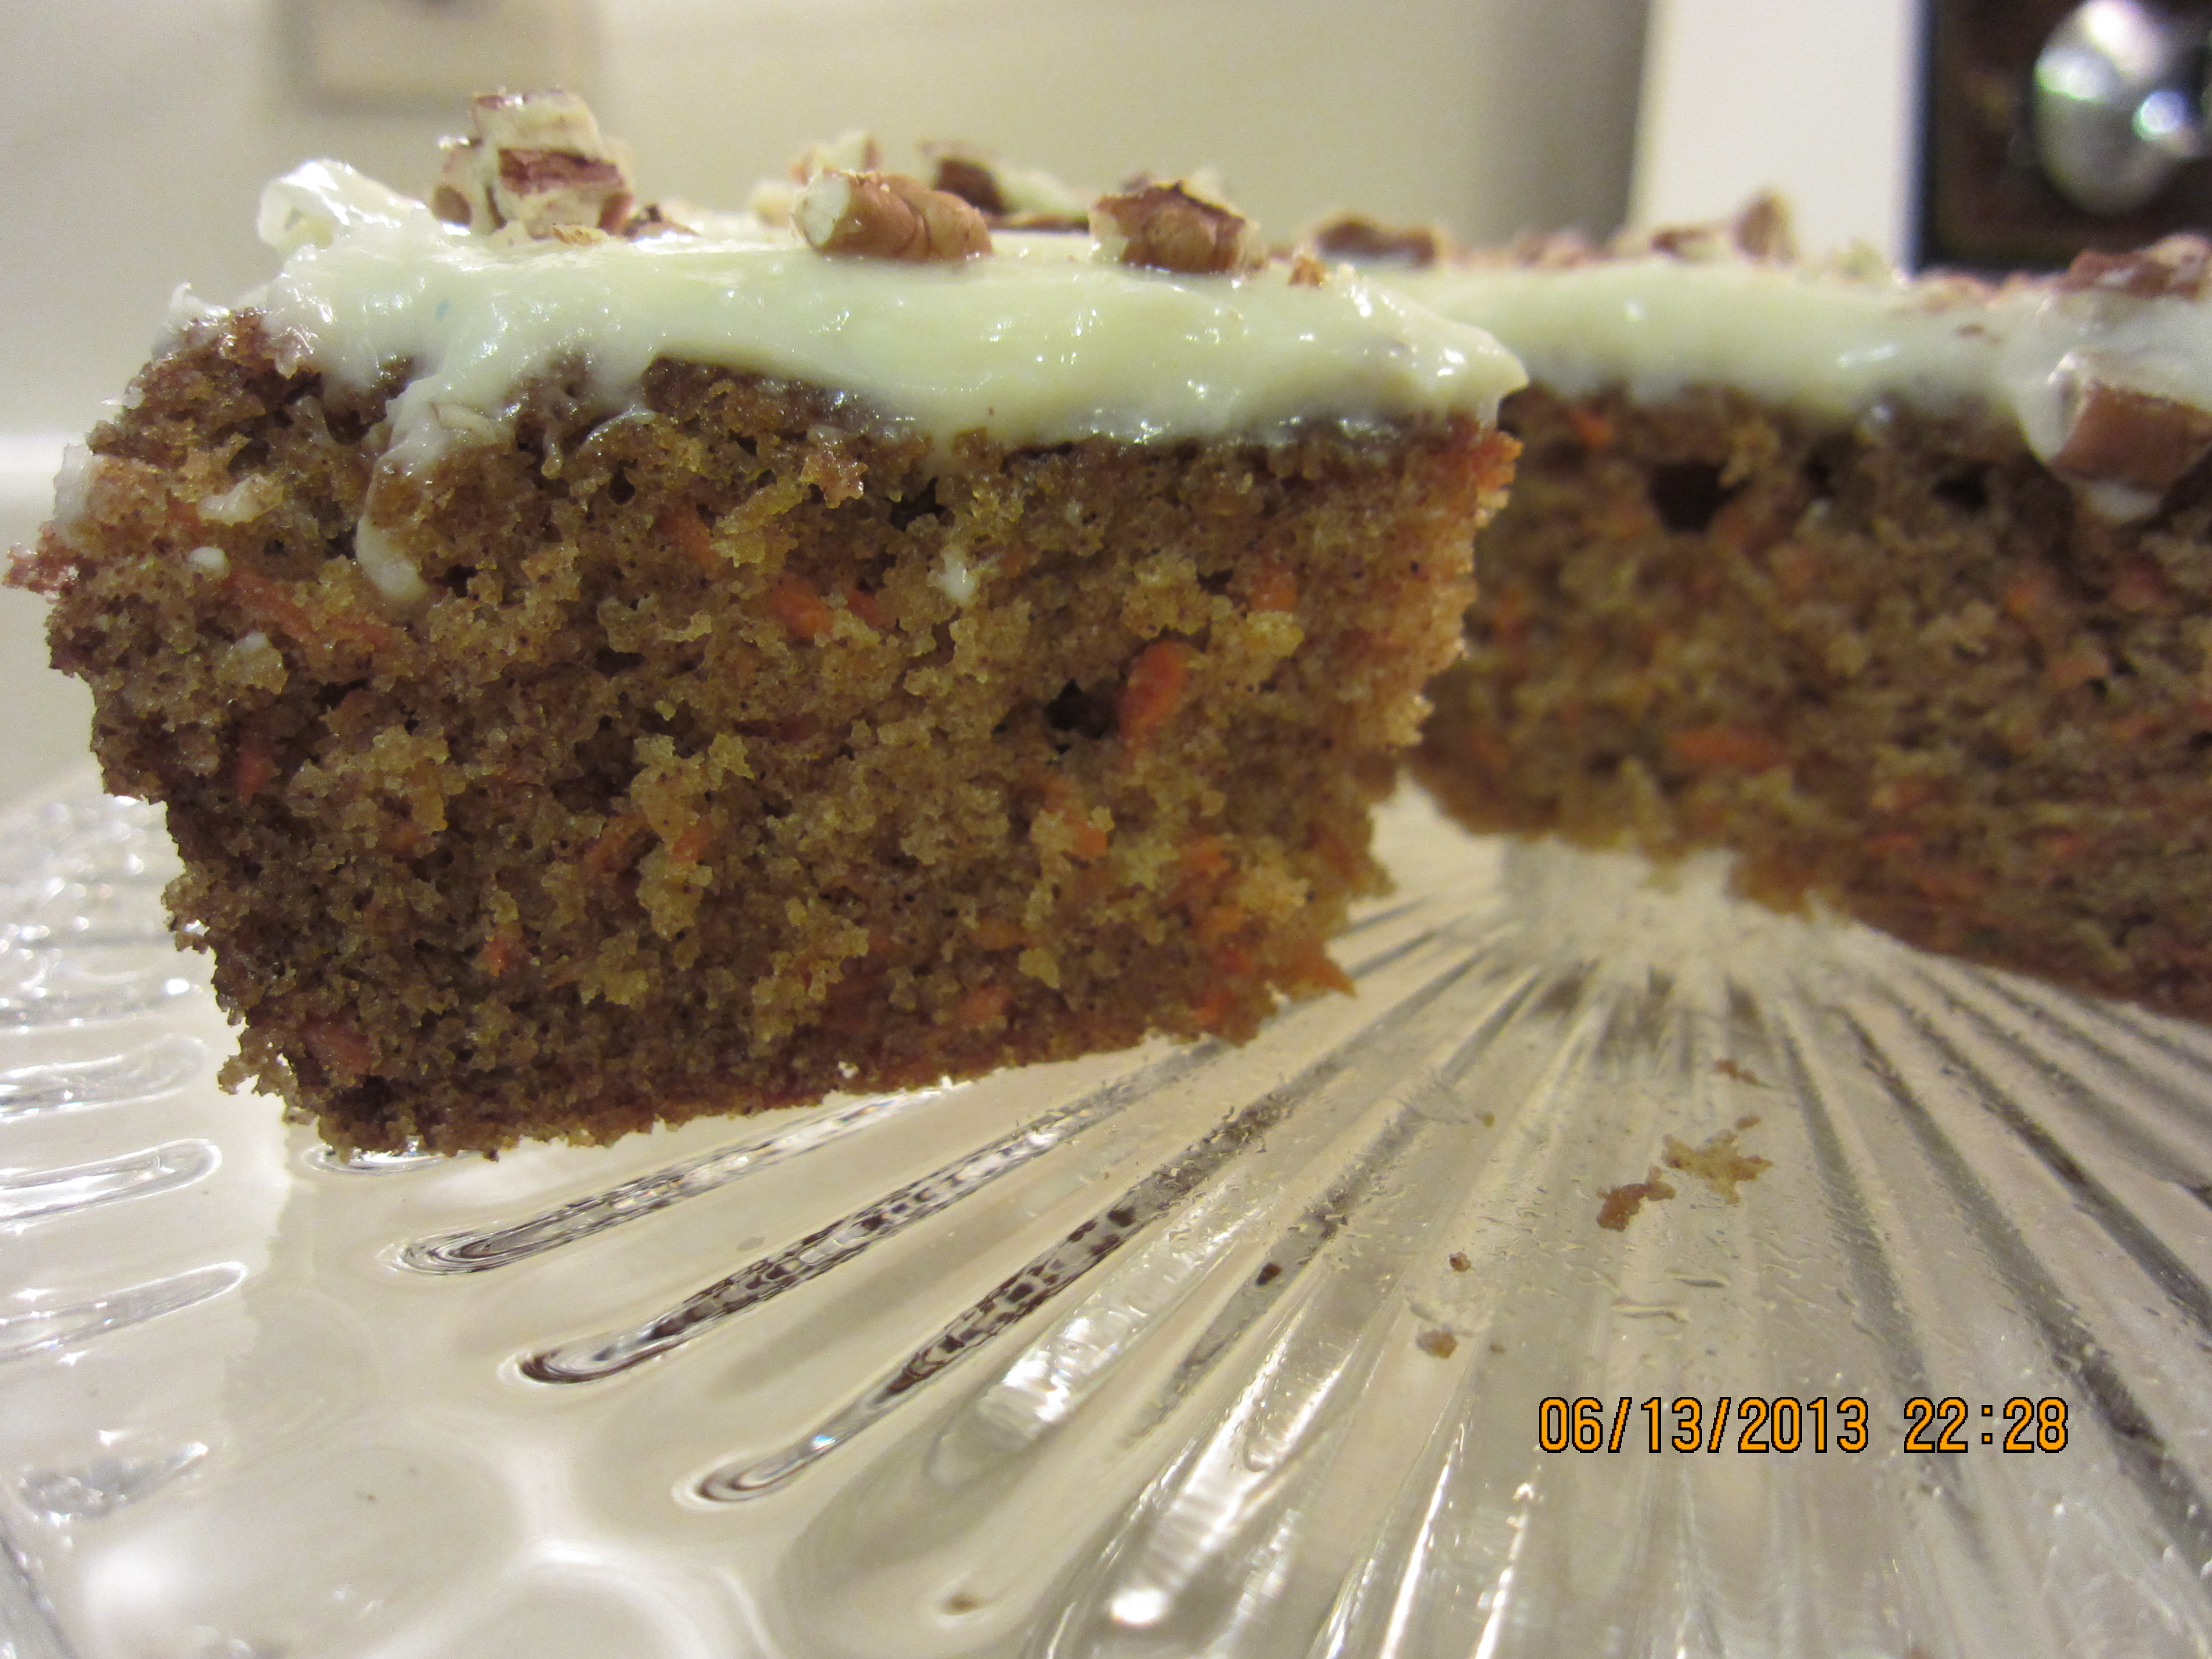
Carrot Cake
Last year, I baked my own birthday cake. The greatest gift to myself that day was this moment of zen called baking.
Ingredients
- 4 eggs
- 1 1/4 cups vegetable oil
- 2 cups white sugar
- 2 teaspoons vanilla extract
- 2 cups all-purpose flour
- 2 teaspoons baking soda
- 2 teaspoons baking powder
- 1/2 teaspoon salt
- 2 teaspoons ground cinnamon
- 3 cups grated carrots
- 1 cup chopped pecans (optional)
- 1/2 cup butter, softened
- 8 ounces cream cheese, softened
- 4 cups confectioners’ sugar
- 1 teaspoon vanilla extract
- chopped pecans to decorate
Directions
- Preheat oven to 350 degrees F (175 degrees C). Grease and flour pan.
- In a large bowl, beat together eggs, oil, white sugar, and 2 teaspoons vanilla. Mix in flour, baking soda, baking powder, salt, and cinnamon. Stir in carrots. Pour into prepared pan.
- Bake for 40 to 50 minutes, or until inserted toothpick comes out clean. Let cool completely.
- For frosting: In a bowl, combine butter, cream cheese, confectioners’ sugar, and 1 teaspoon vanilla. Beat until the mixture is smooth and creamy. Stir in chopped pecans. Frost the cooled cake.
For recipe: http://allrecipes.com/recipe/carrot-cake-iii/detail.aspx?src=VD_Summary


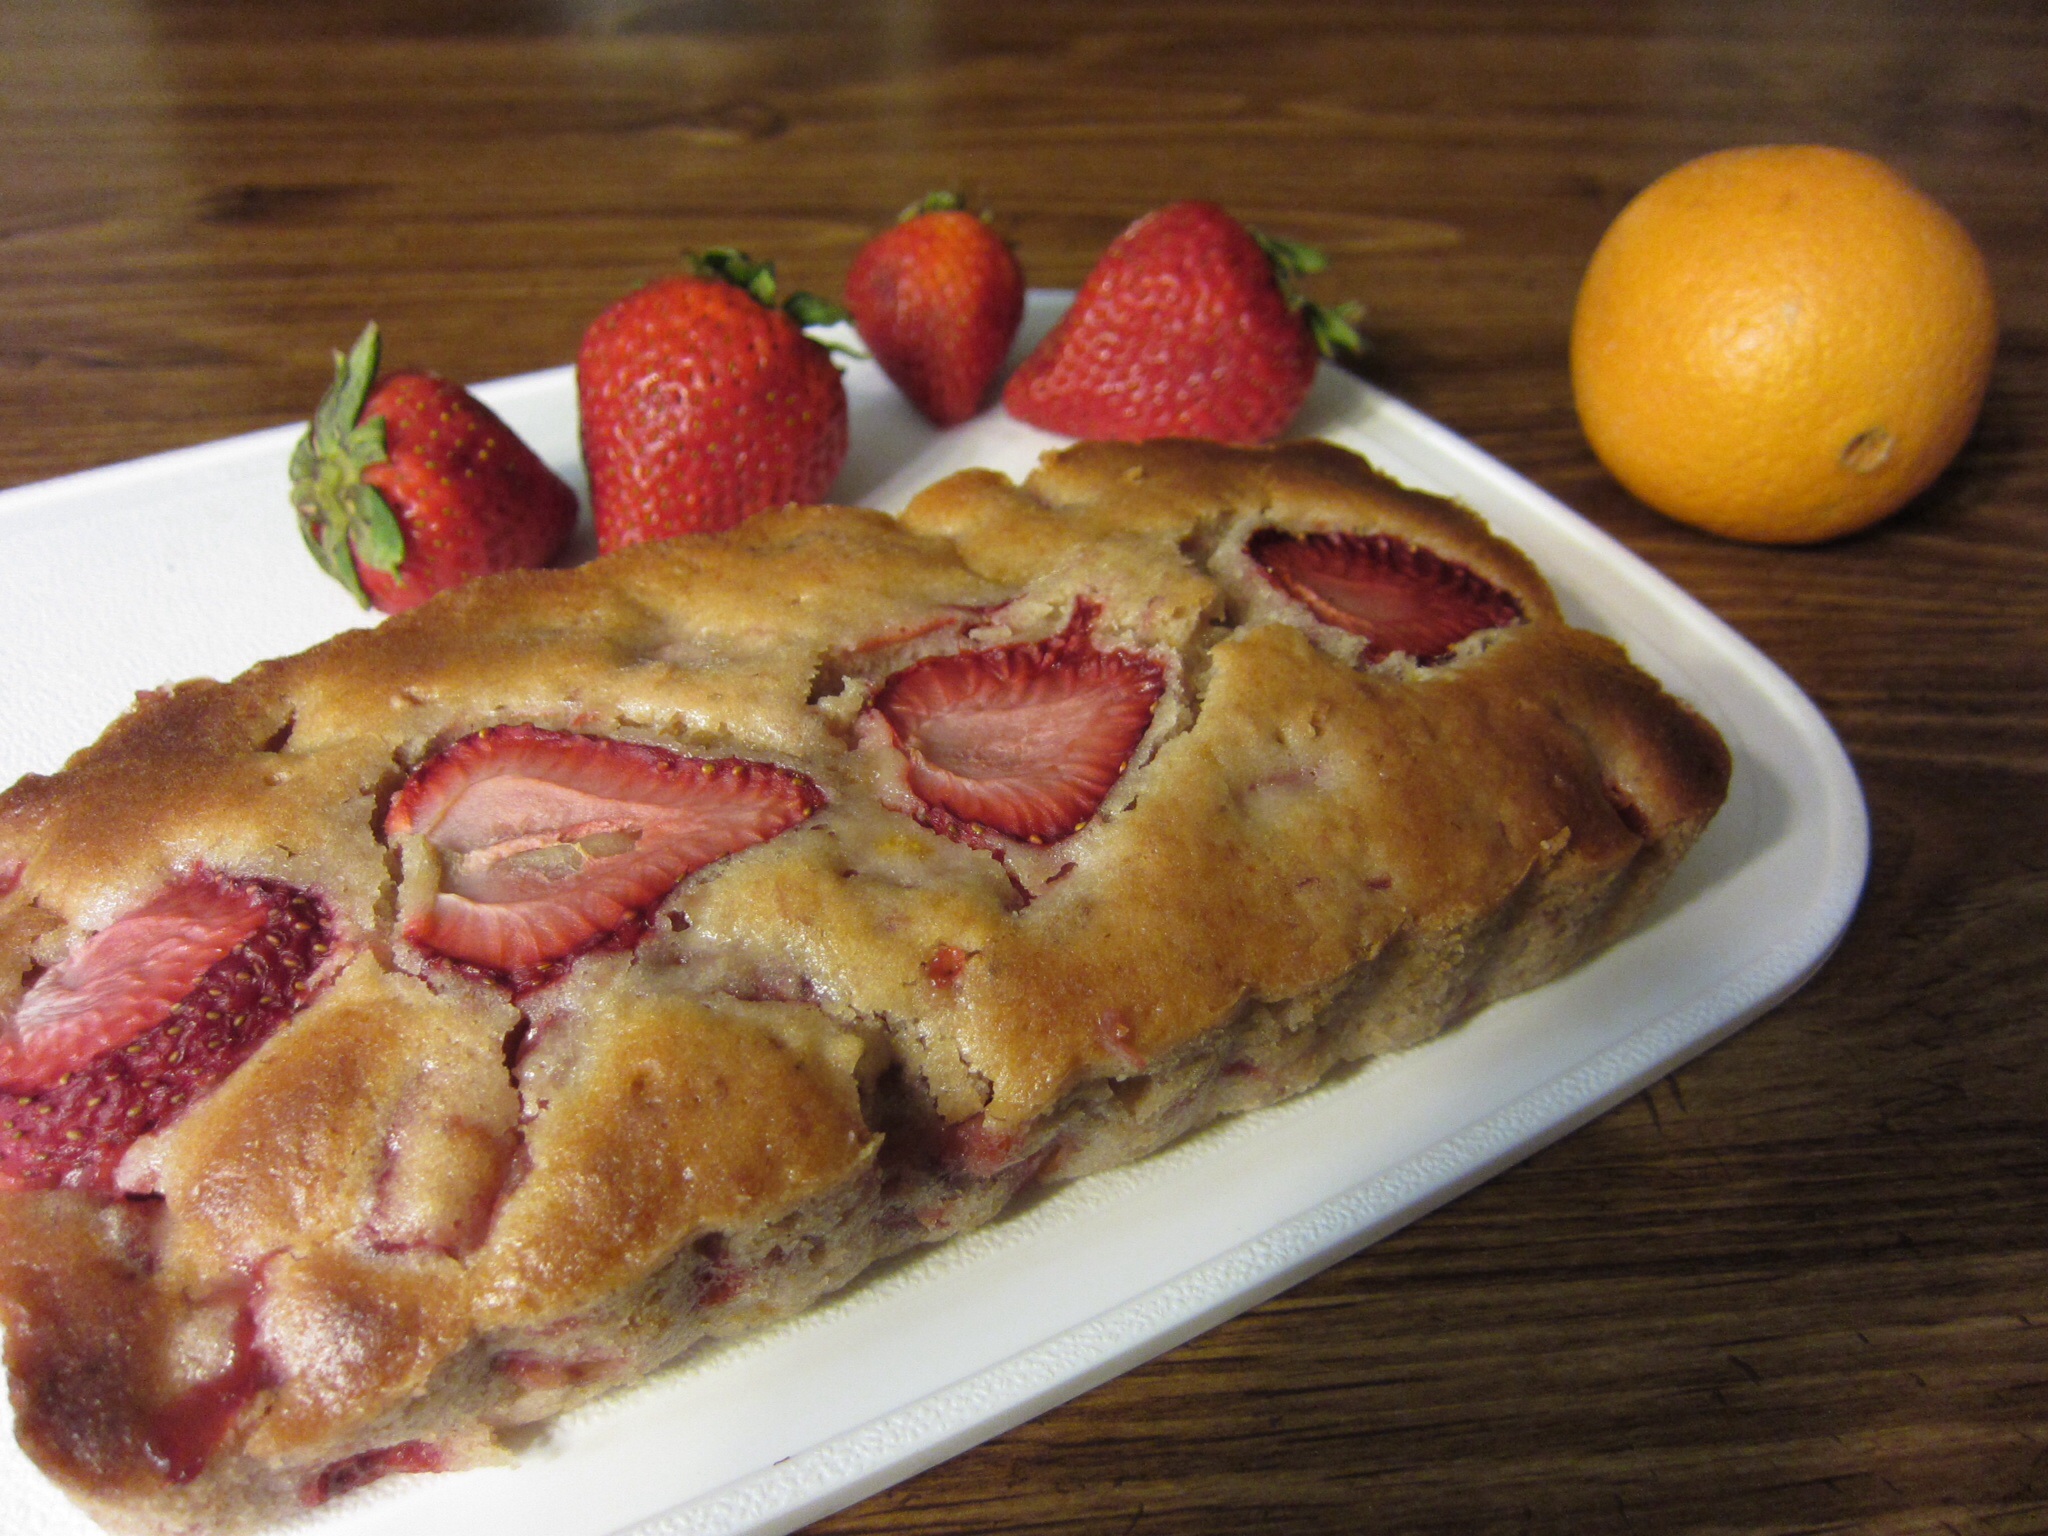
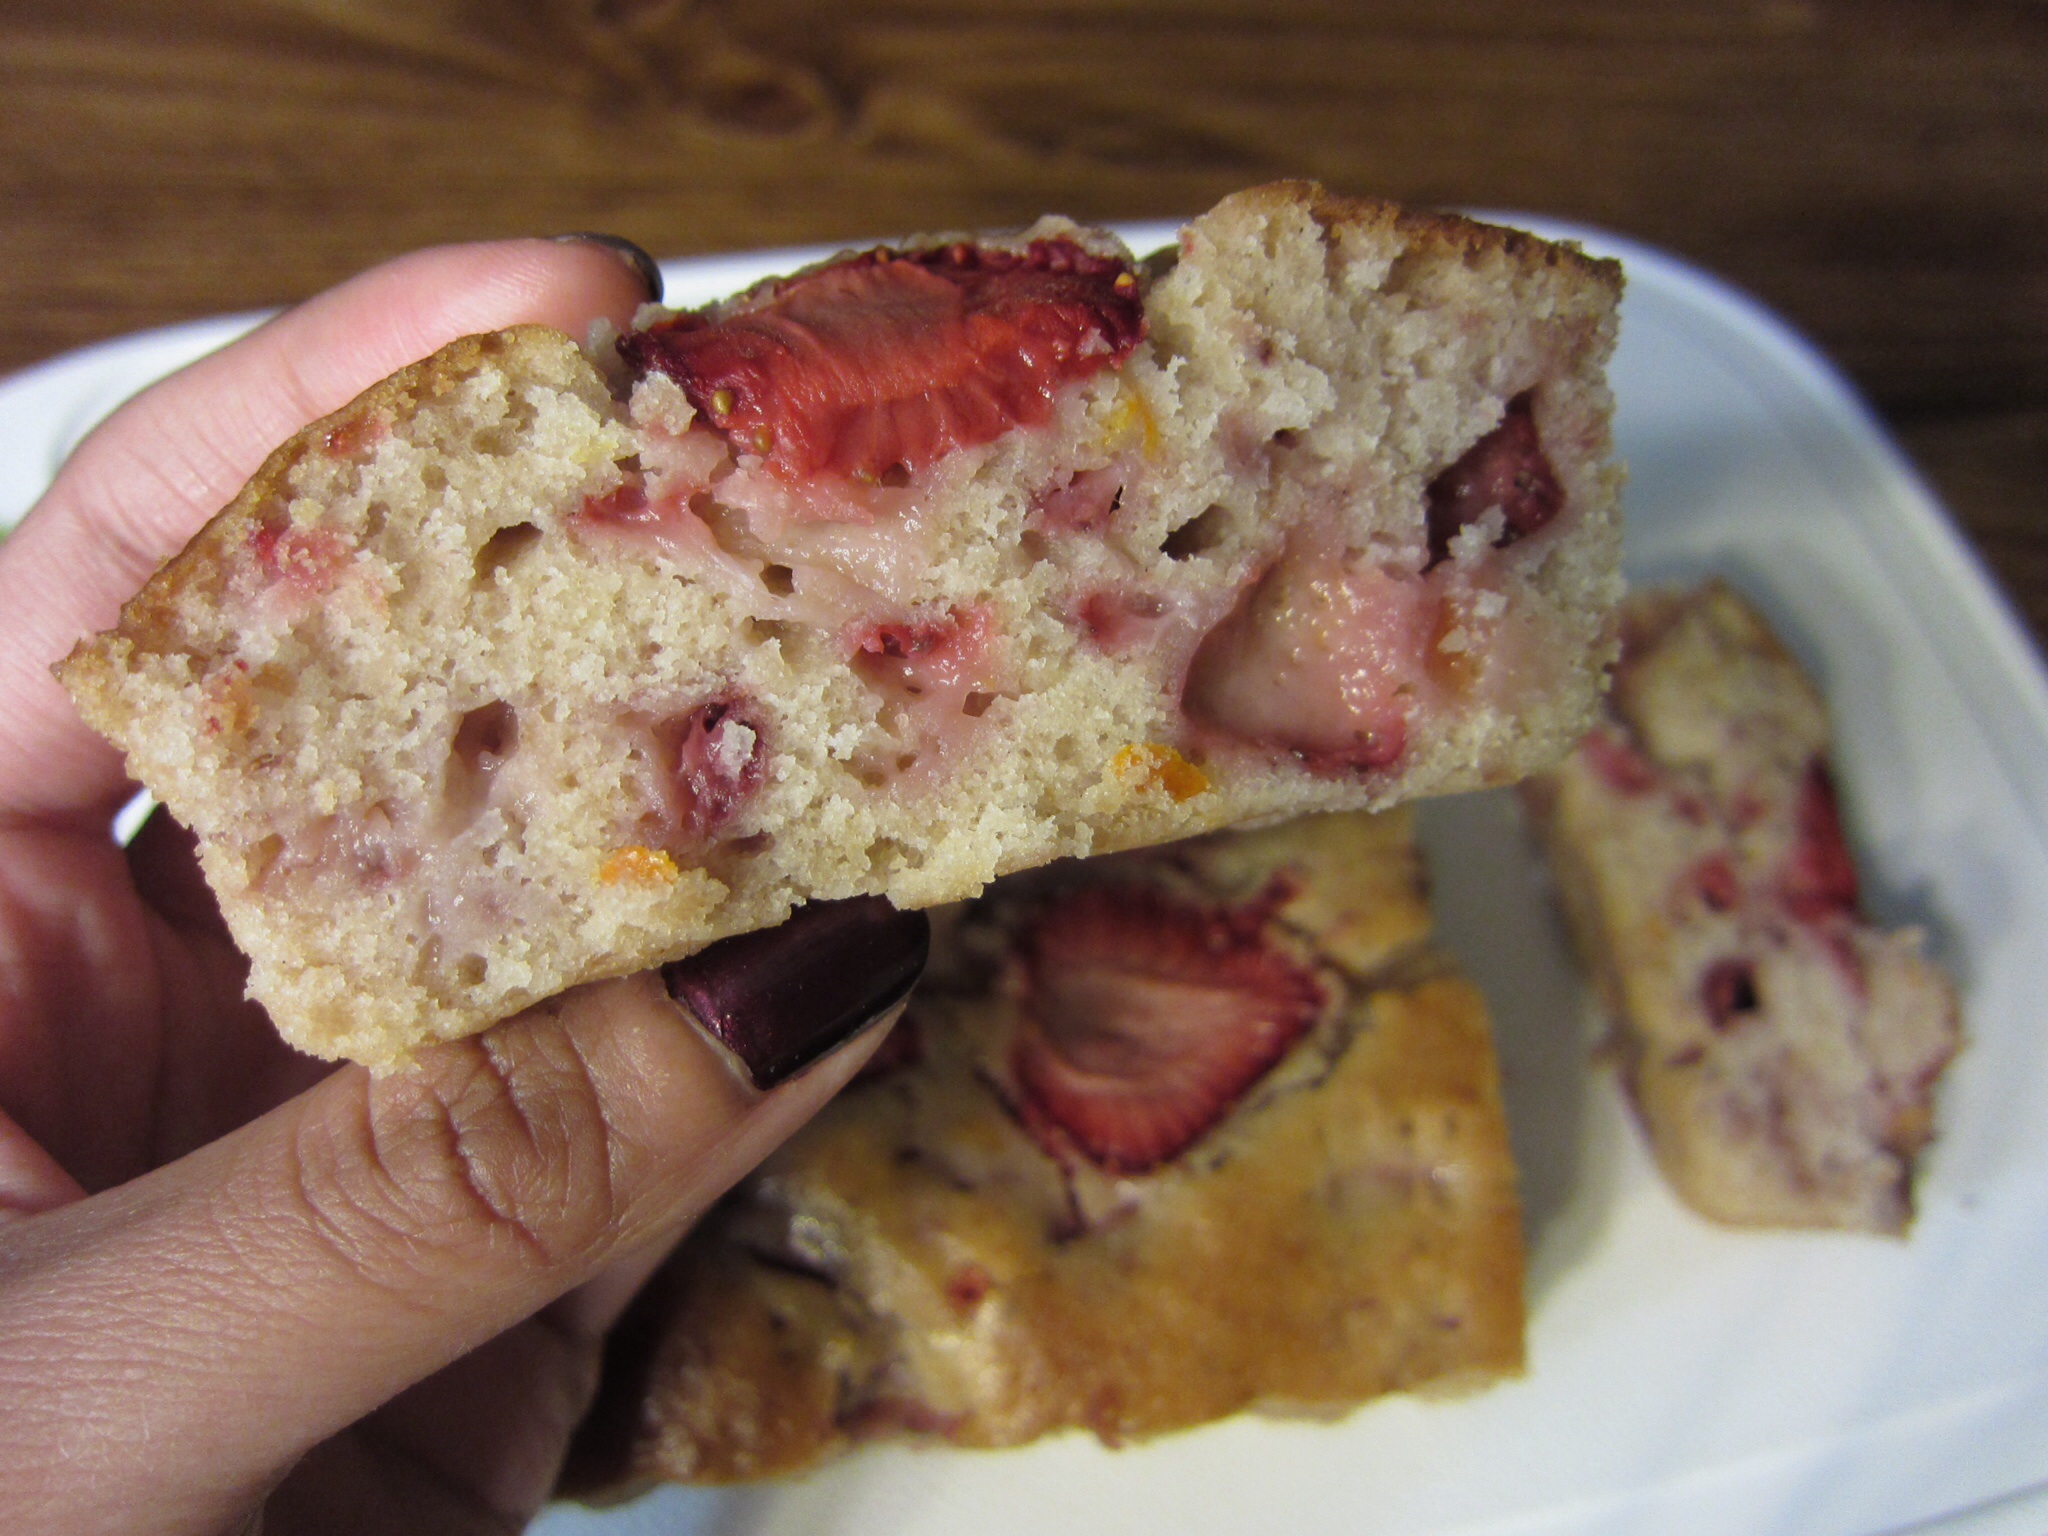
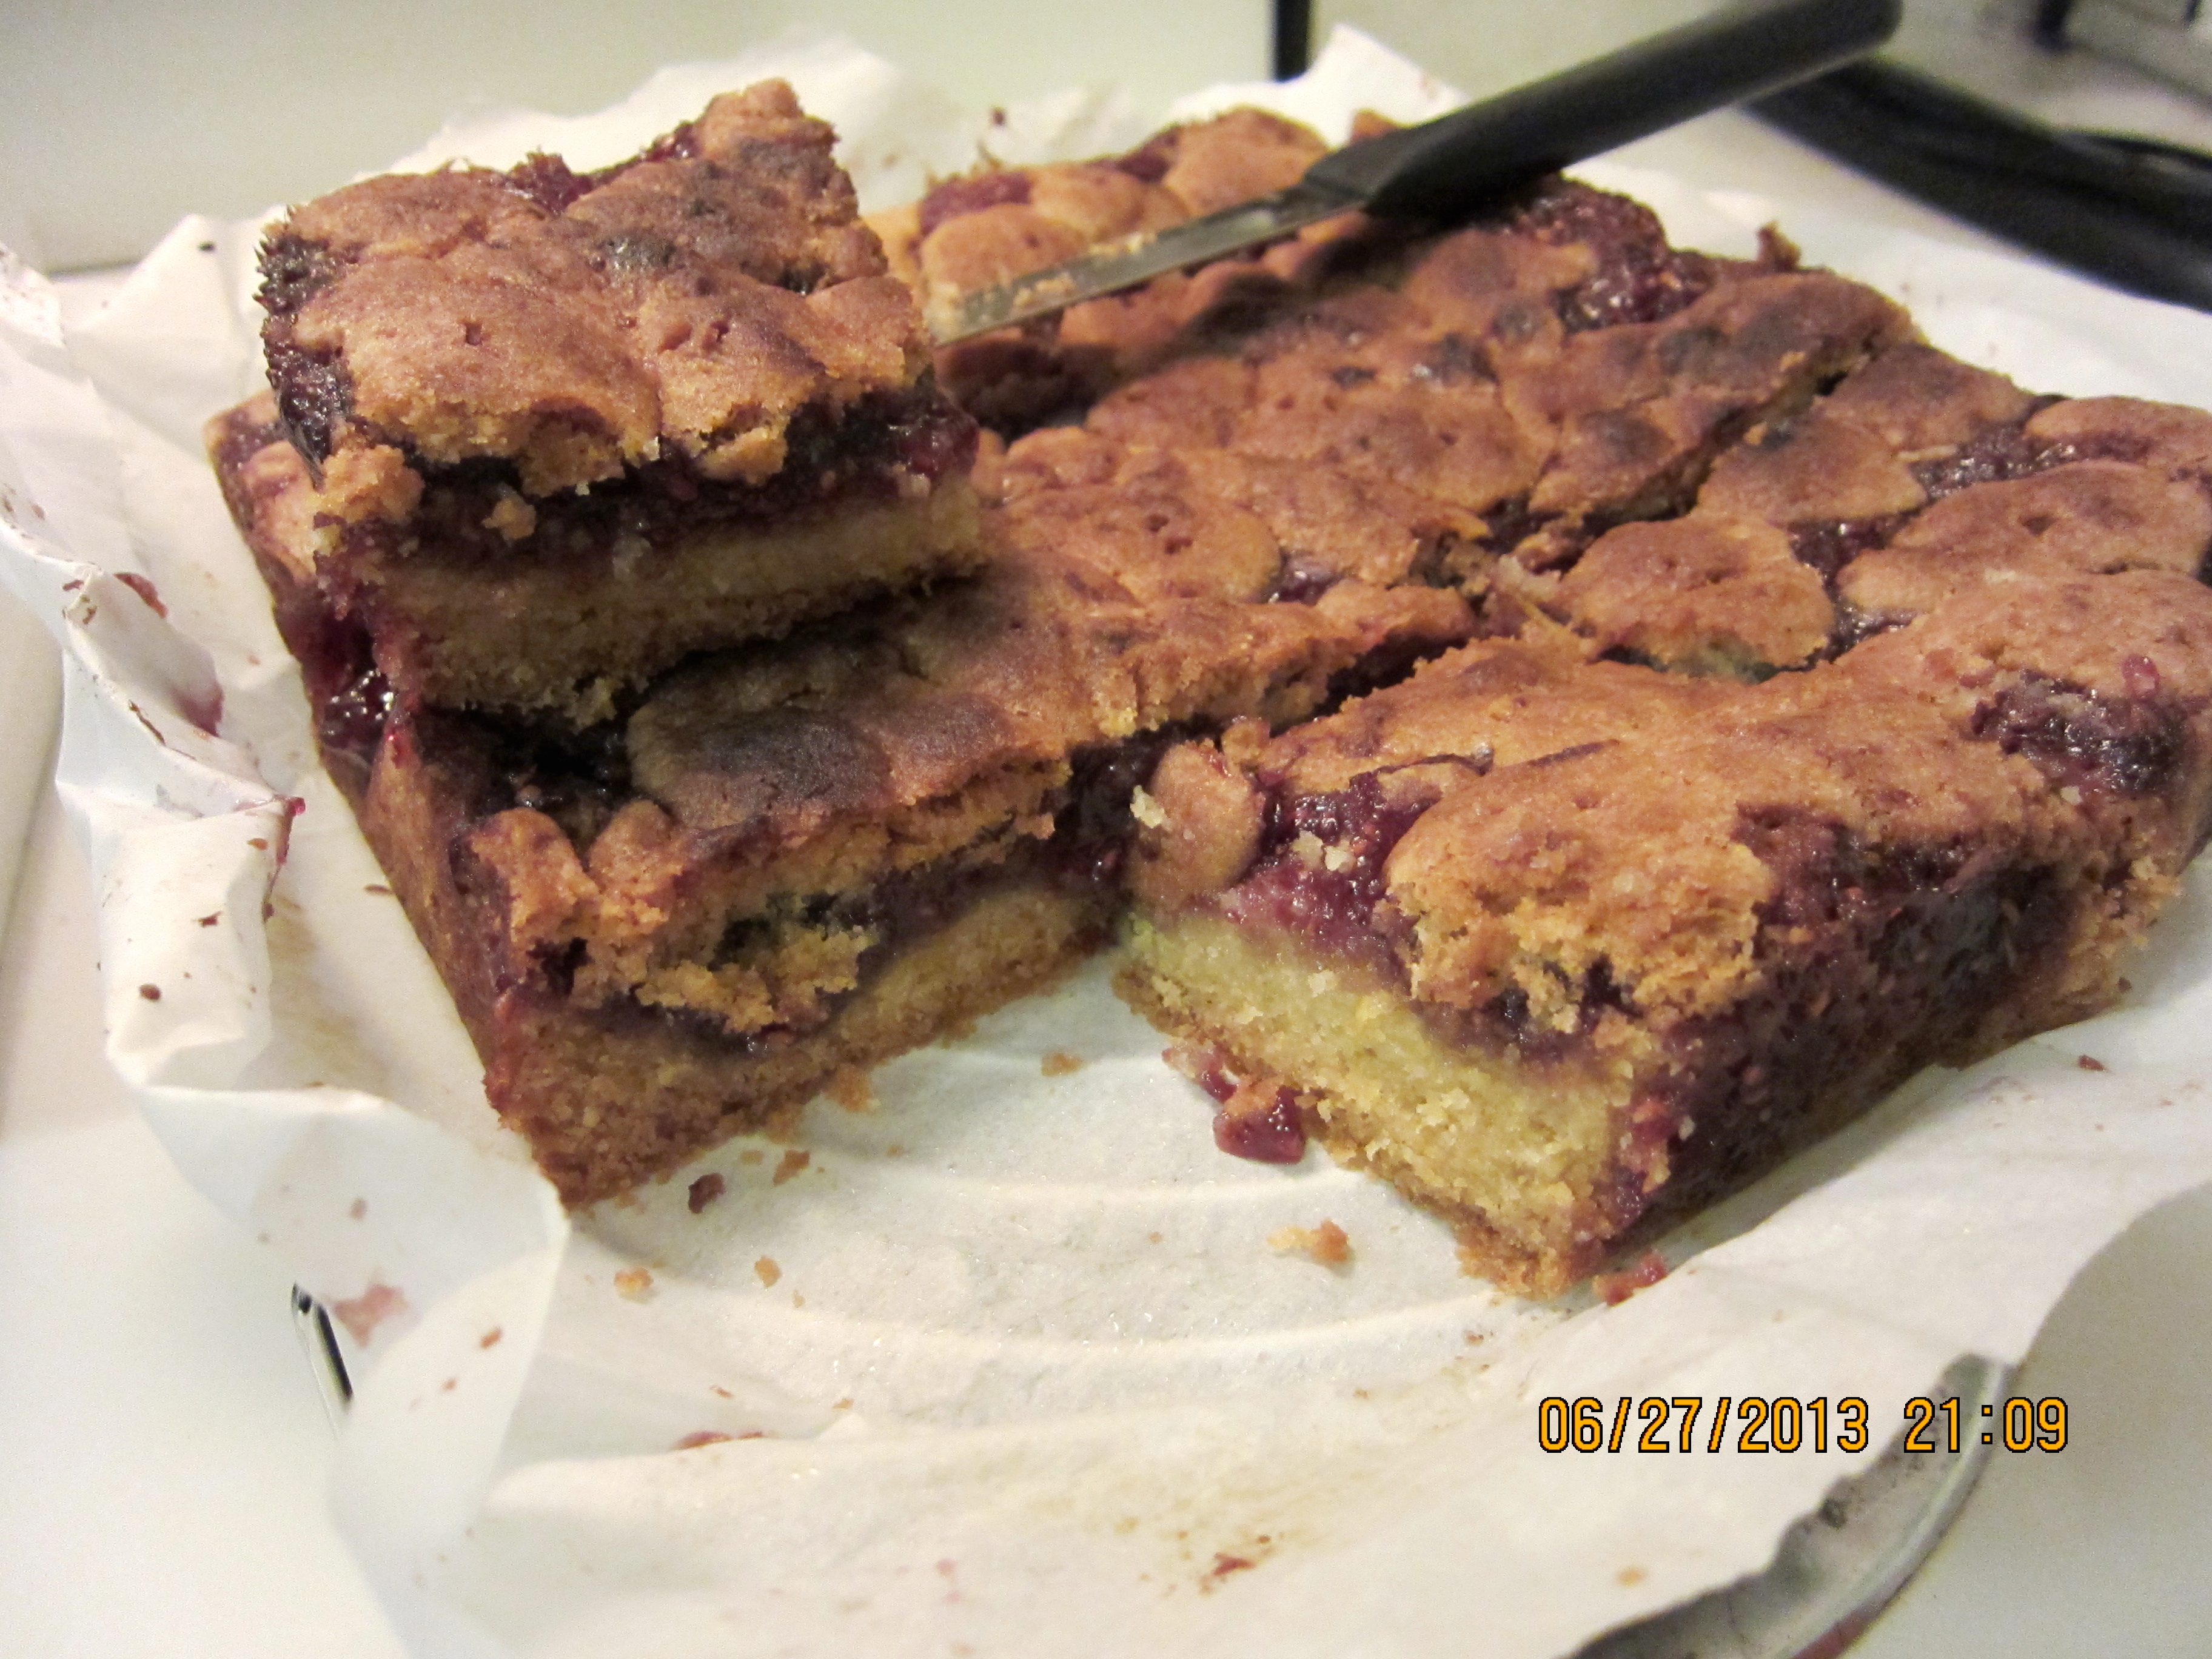
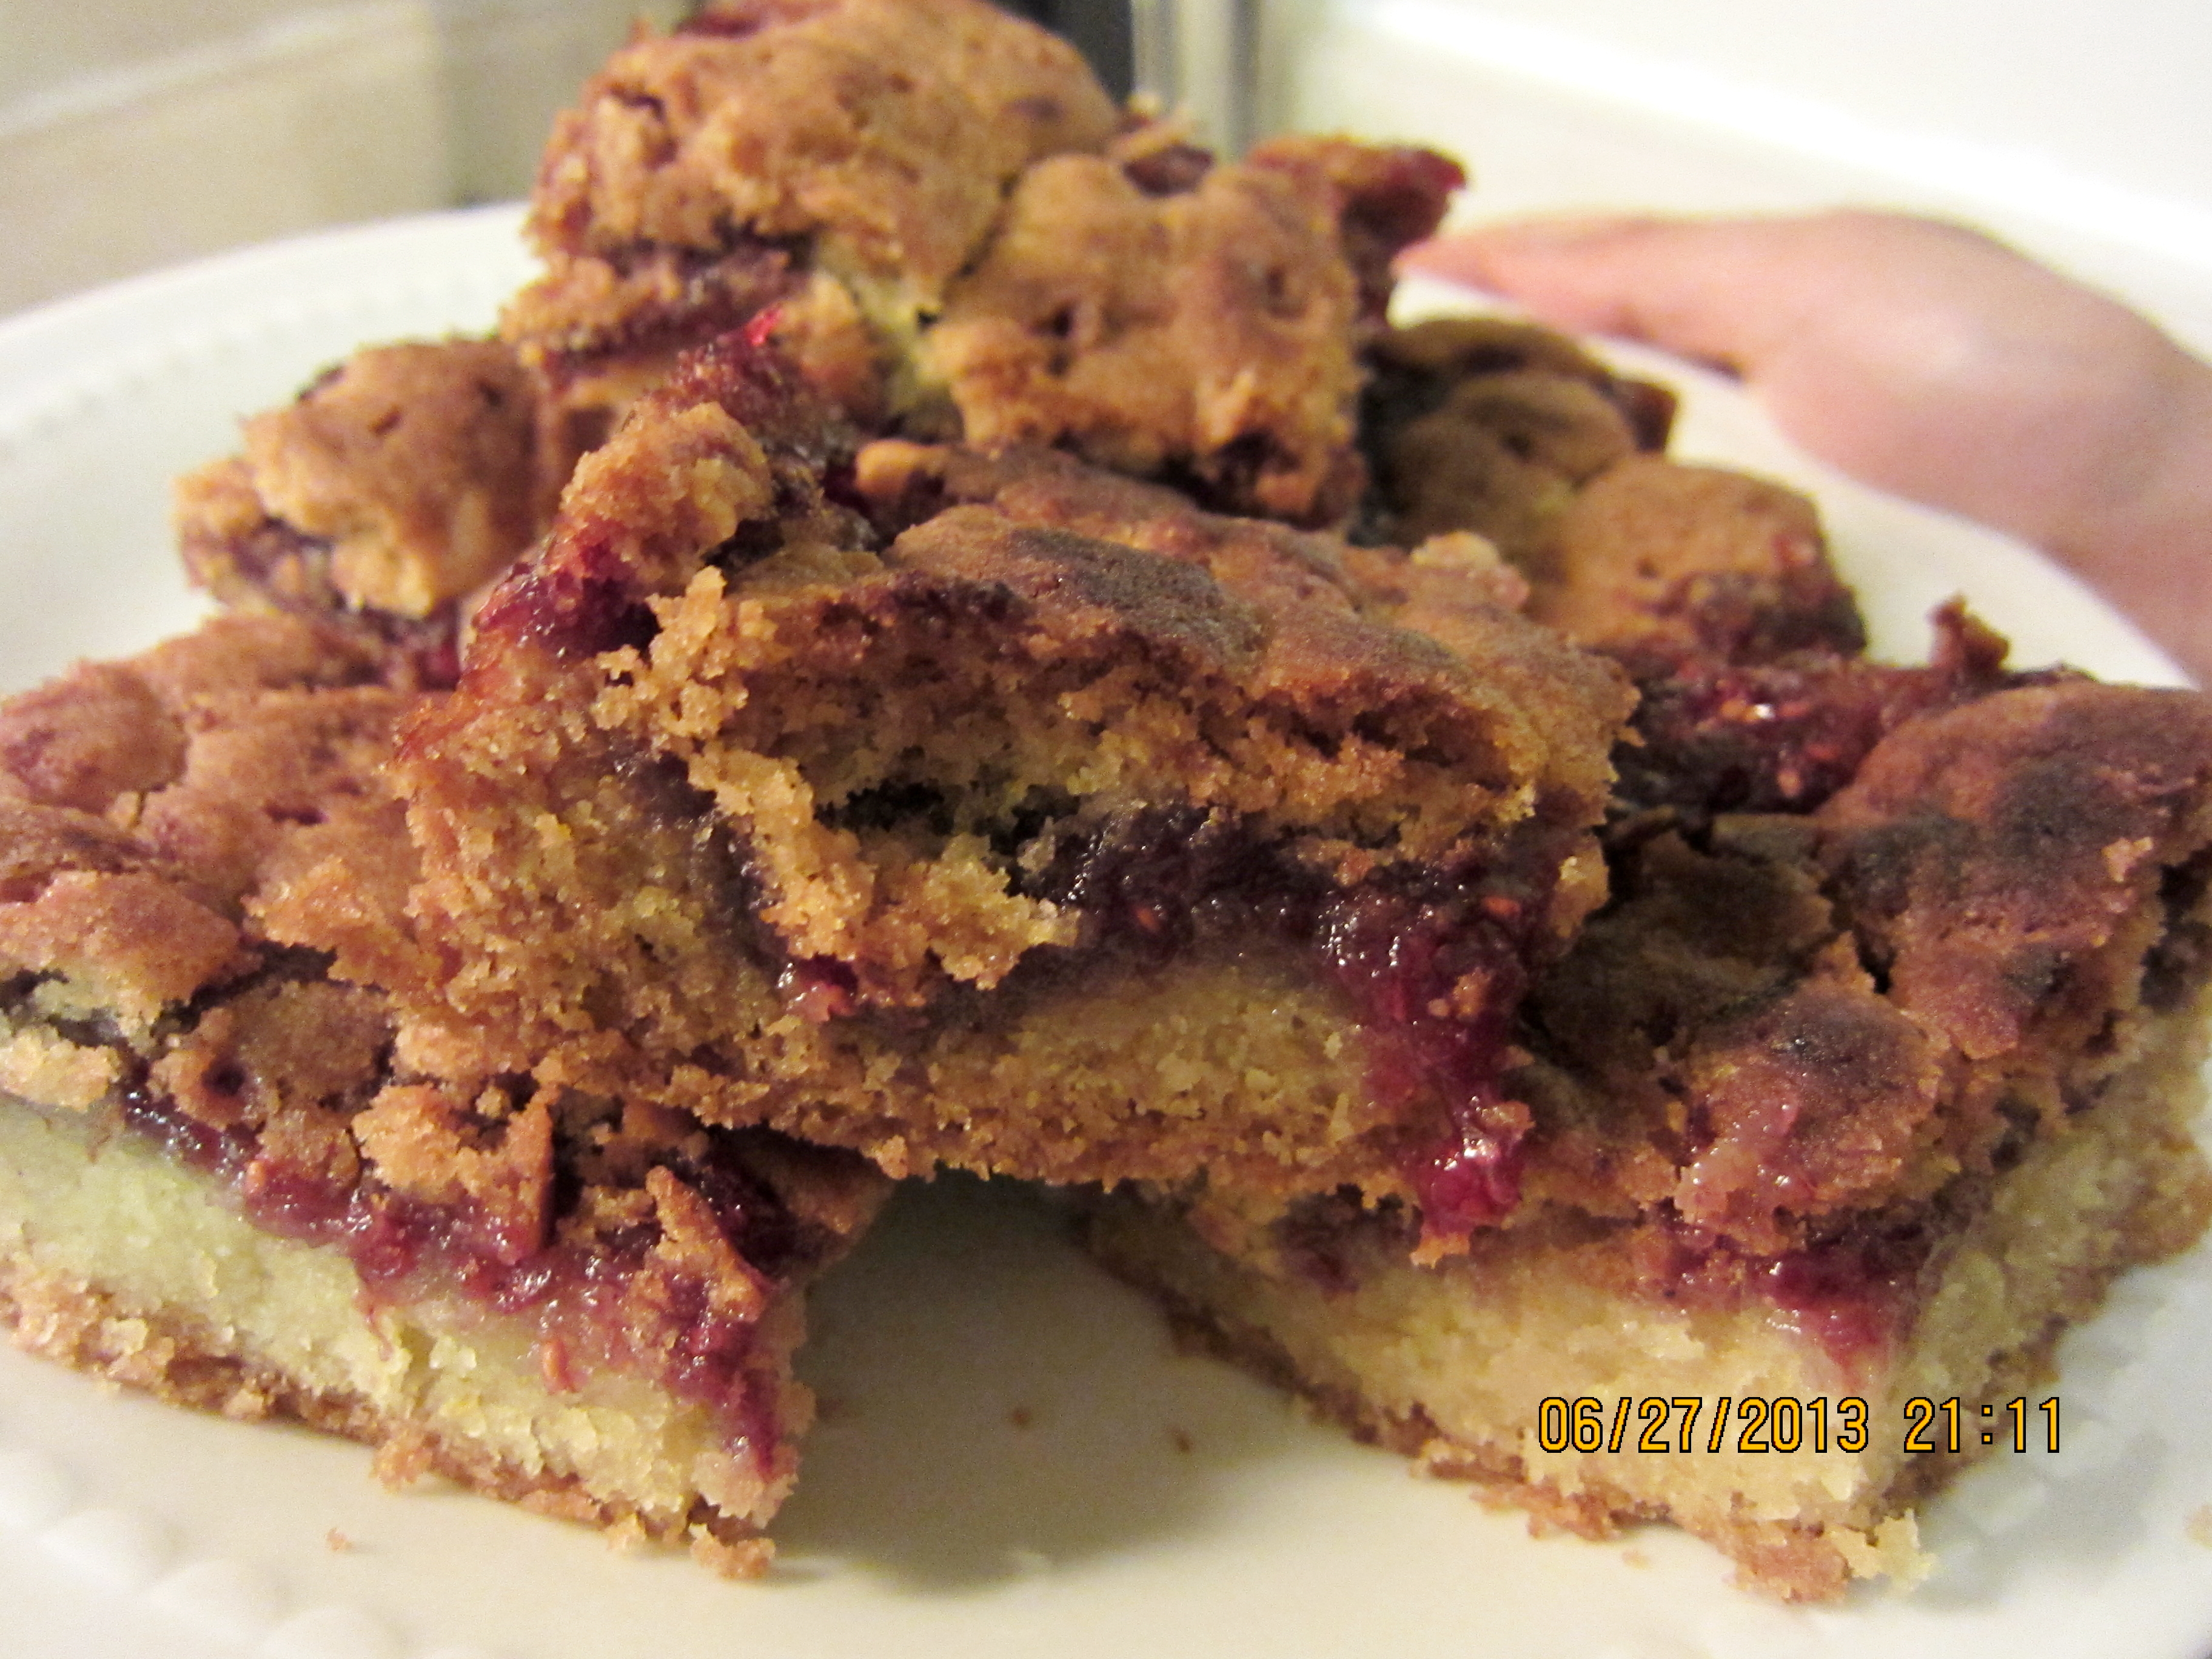
Raspberry Bars
I’m addicted to raspberry jam, so transforming it into dessert bars just screamed heaven on earth! Dear mates and I baked these together during our movie night at my place this past summer.
Ingredients
- 1 cup unsalted butter, room temperature
- 2 cups all-purpose flour
- 1 egg
- 1 cup white sugar
- 1/2 teaspoon salt
- 1 teaspoon baking soda
- 1 teaspoon vanilla extract
- 1/2 to 2/3 cups raspberry jam
- freshly grated lemon zest
Directions
- Preheat oven to 375 degrees. Spray baking pan with non-stick spray and line with parchment paper.
- In a large bowl, cream together the butter and sugar; add the egg, vanilla, and lemon zest and mix until combined.
- Add flour, salt, and baking soda and mix it all together until a dough forms.
- Press 2/3 of the batter into prepared pan, smear jam all over, then crumble over the the remaining dough.
- Bake for about 30 minutes, or until golden brown. Allow to cool completely before cutting into bars.
For recipe: http://www.laurainthekitchen.com/recipes/strawberry-bars/


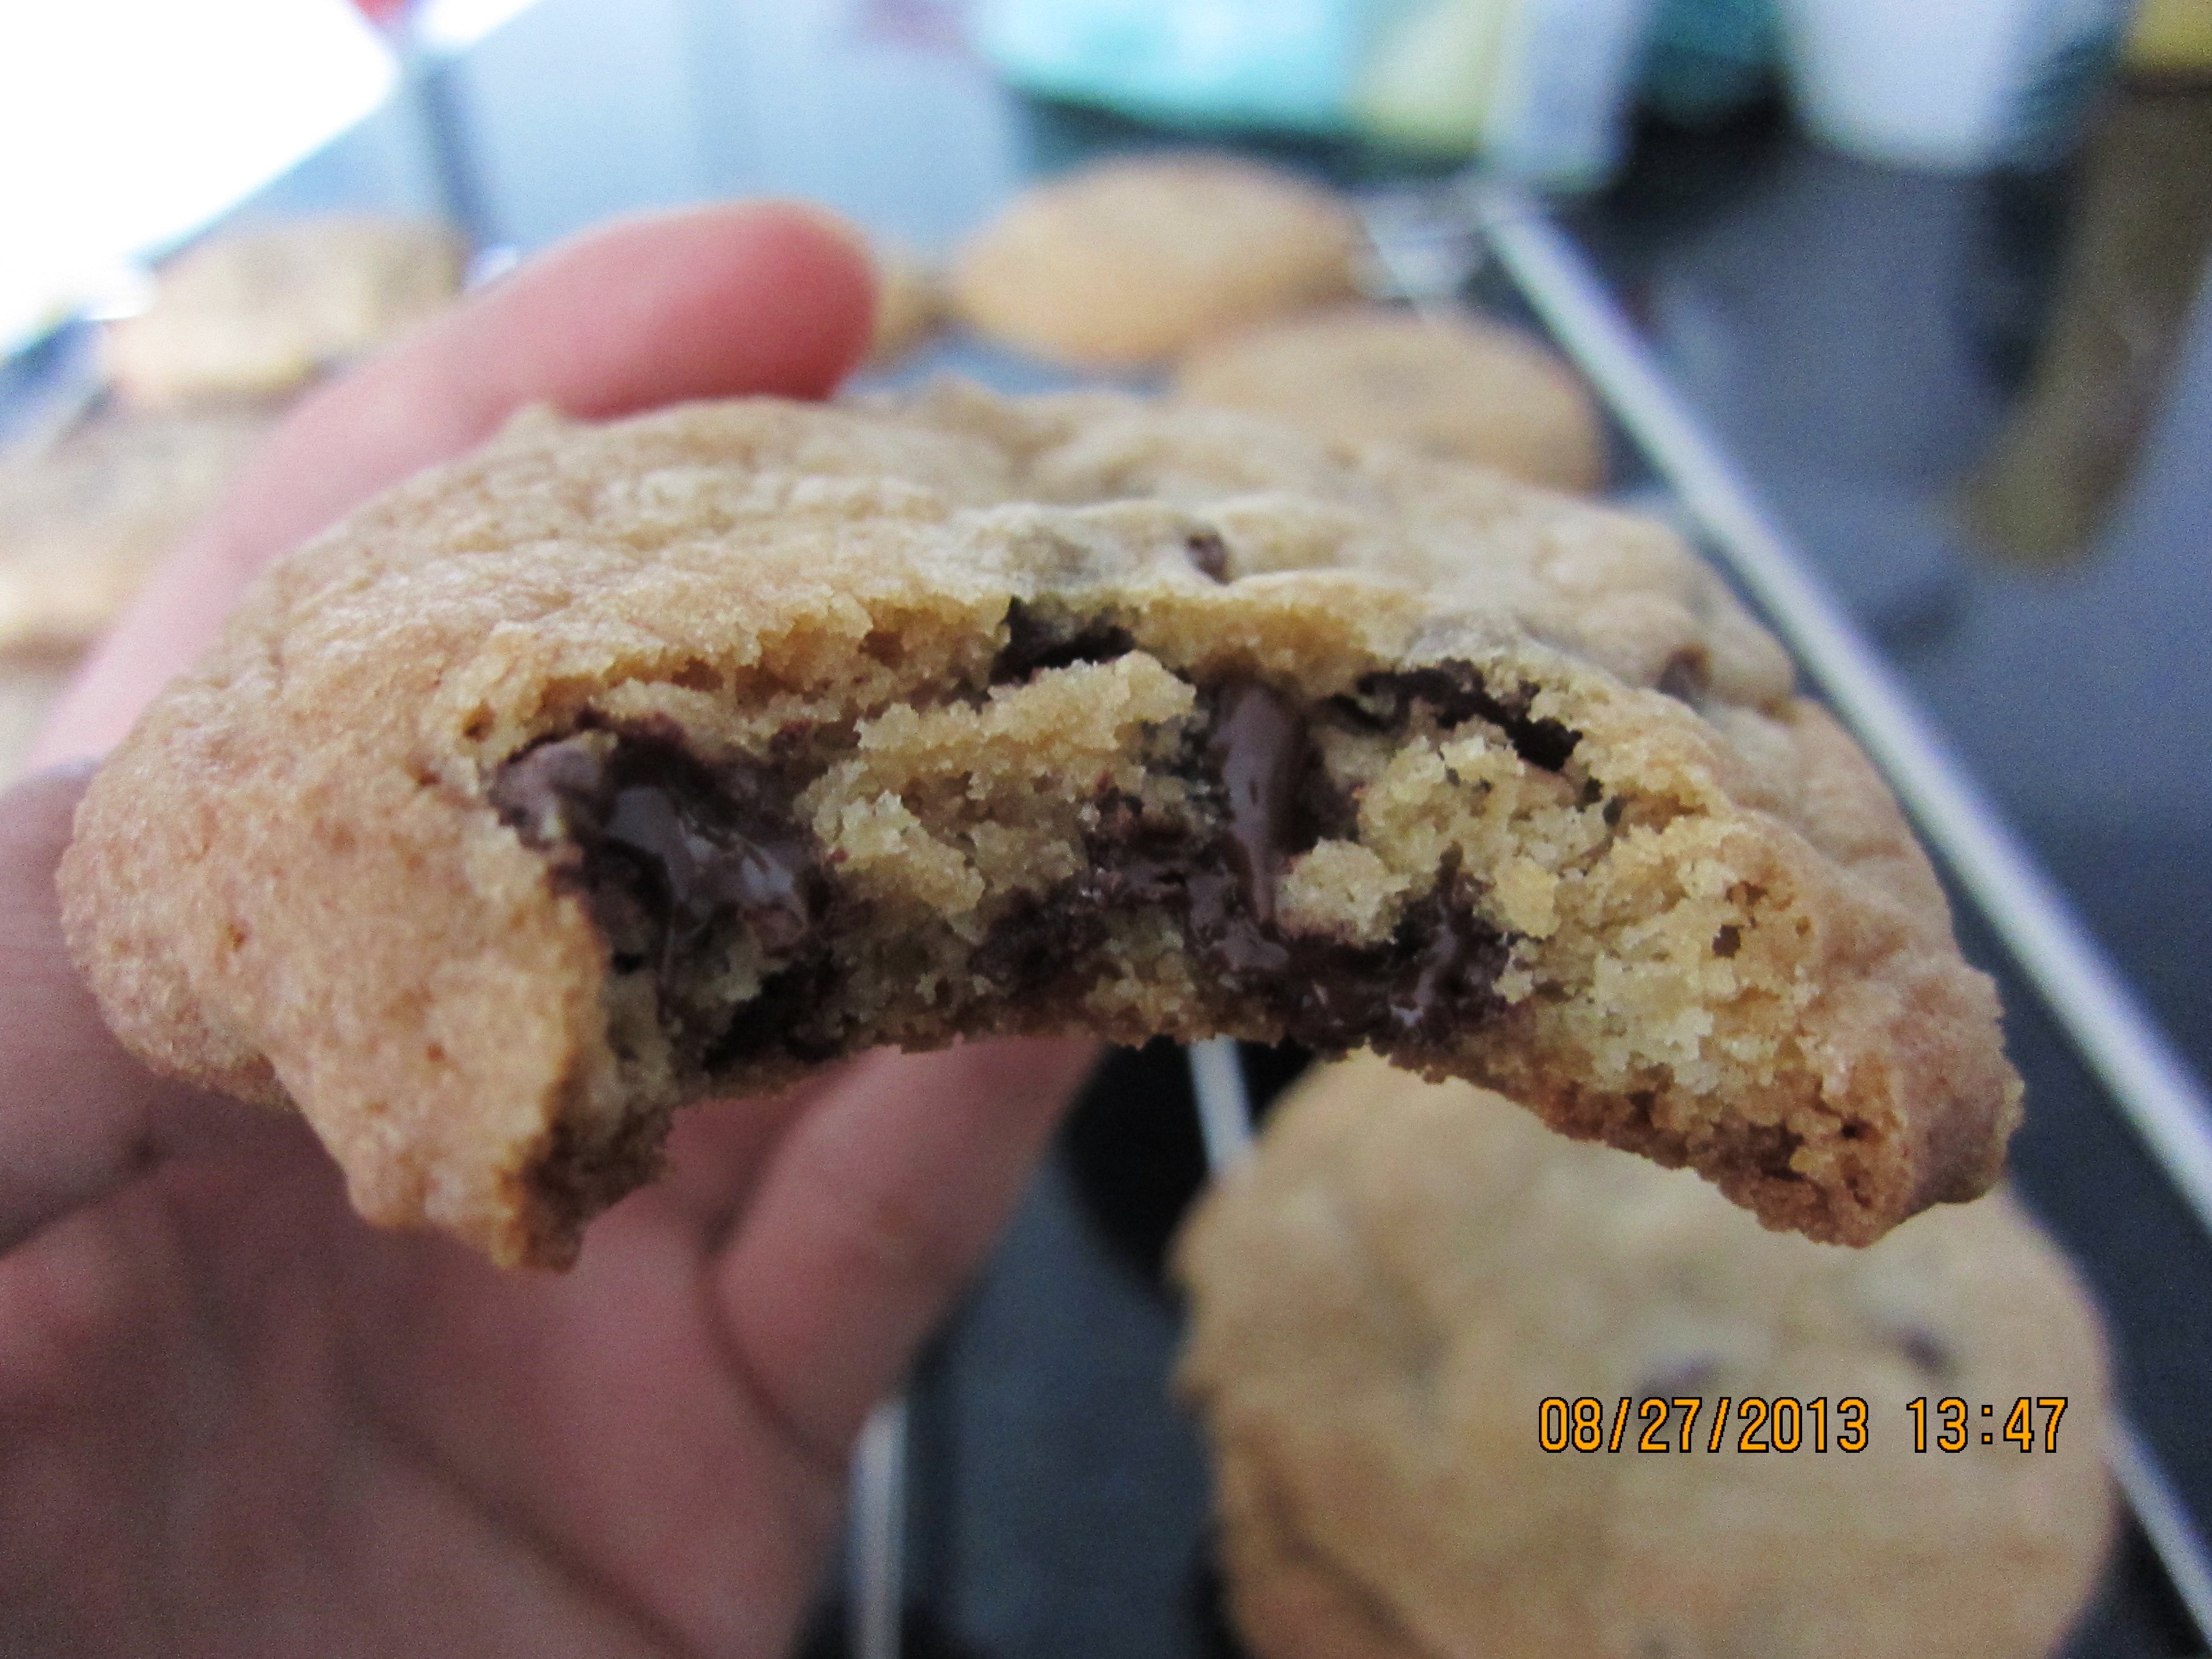
Chocolate Chip Cookies Pt. 1
Taking advantage of my sister’s oven while staying at her place this past August, I baked my very first batch of chocolate chip cookies. They were divine — golden and crispy on the outside, soft and chewy on the inside. For my second batch, I also added shredded coconut since my sister is a loyal fan of all things coconut. This is the dynamic between us: I bake, she eats. However, if there’s a cookie monster around here, it’s me. I’m Jabba the Hutt.
Ingredients
- 1/2 cup unsalted butter, softened
- 1/2 cup white sugar
- 1 /2 cup packed brown sugar
- 1 egg
- 1 teaspoon vanilla extract
- 1 1/2 cups all-purpose flour
- 1/2 teaspoon baking soda
- 1 teaspoon hot water
- 1/4 teaspoon salt
- 1 cup semisweet chocolate chips
- shredded coconut (optional)
Directions
- Preheat oven to 350 degrees F (175 degrees C).
- Cream together the butter, white sugar, and brown sugar until smooth. Beat in the egg, then stir in the vanilla. Dissolve baking soda in hot water. Add to batter along with salt. Stir in flour and chocolate chips. Drop by large spoonfuls onto ungreased pans.
- Bake for about 10 minutes, or until edges are nicely browned.
For recipe: http://allrecipes.com/recipe/best-chocolate-chip-cookies/


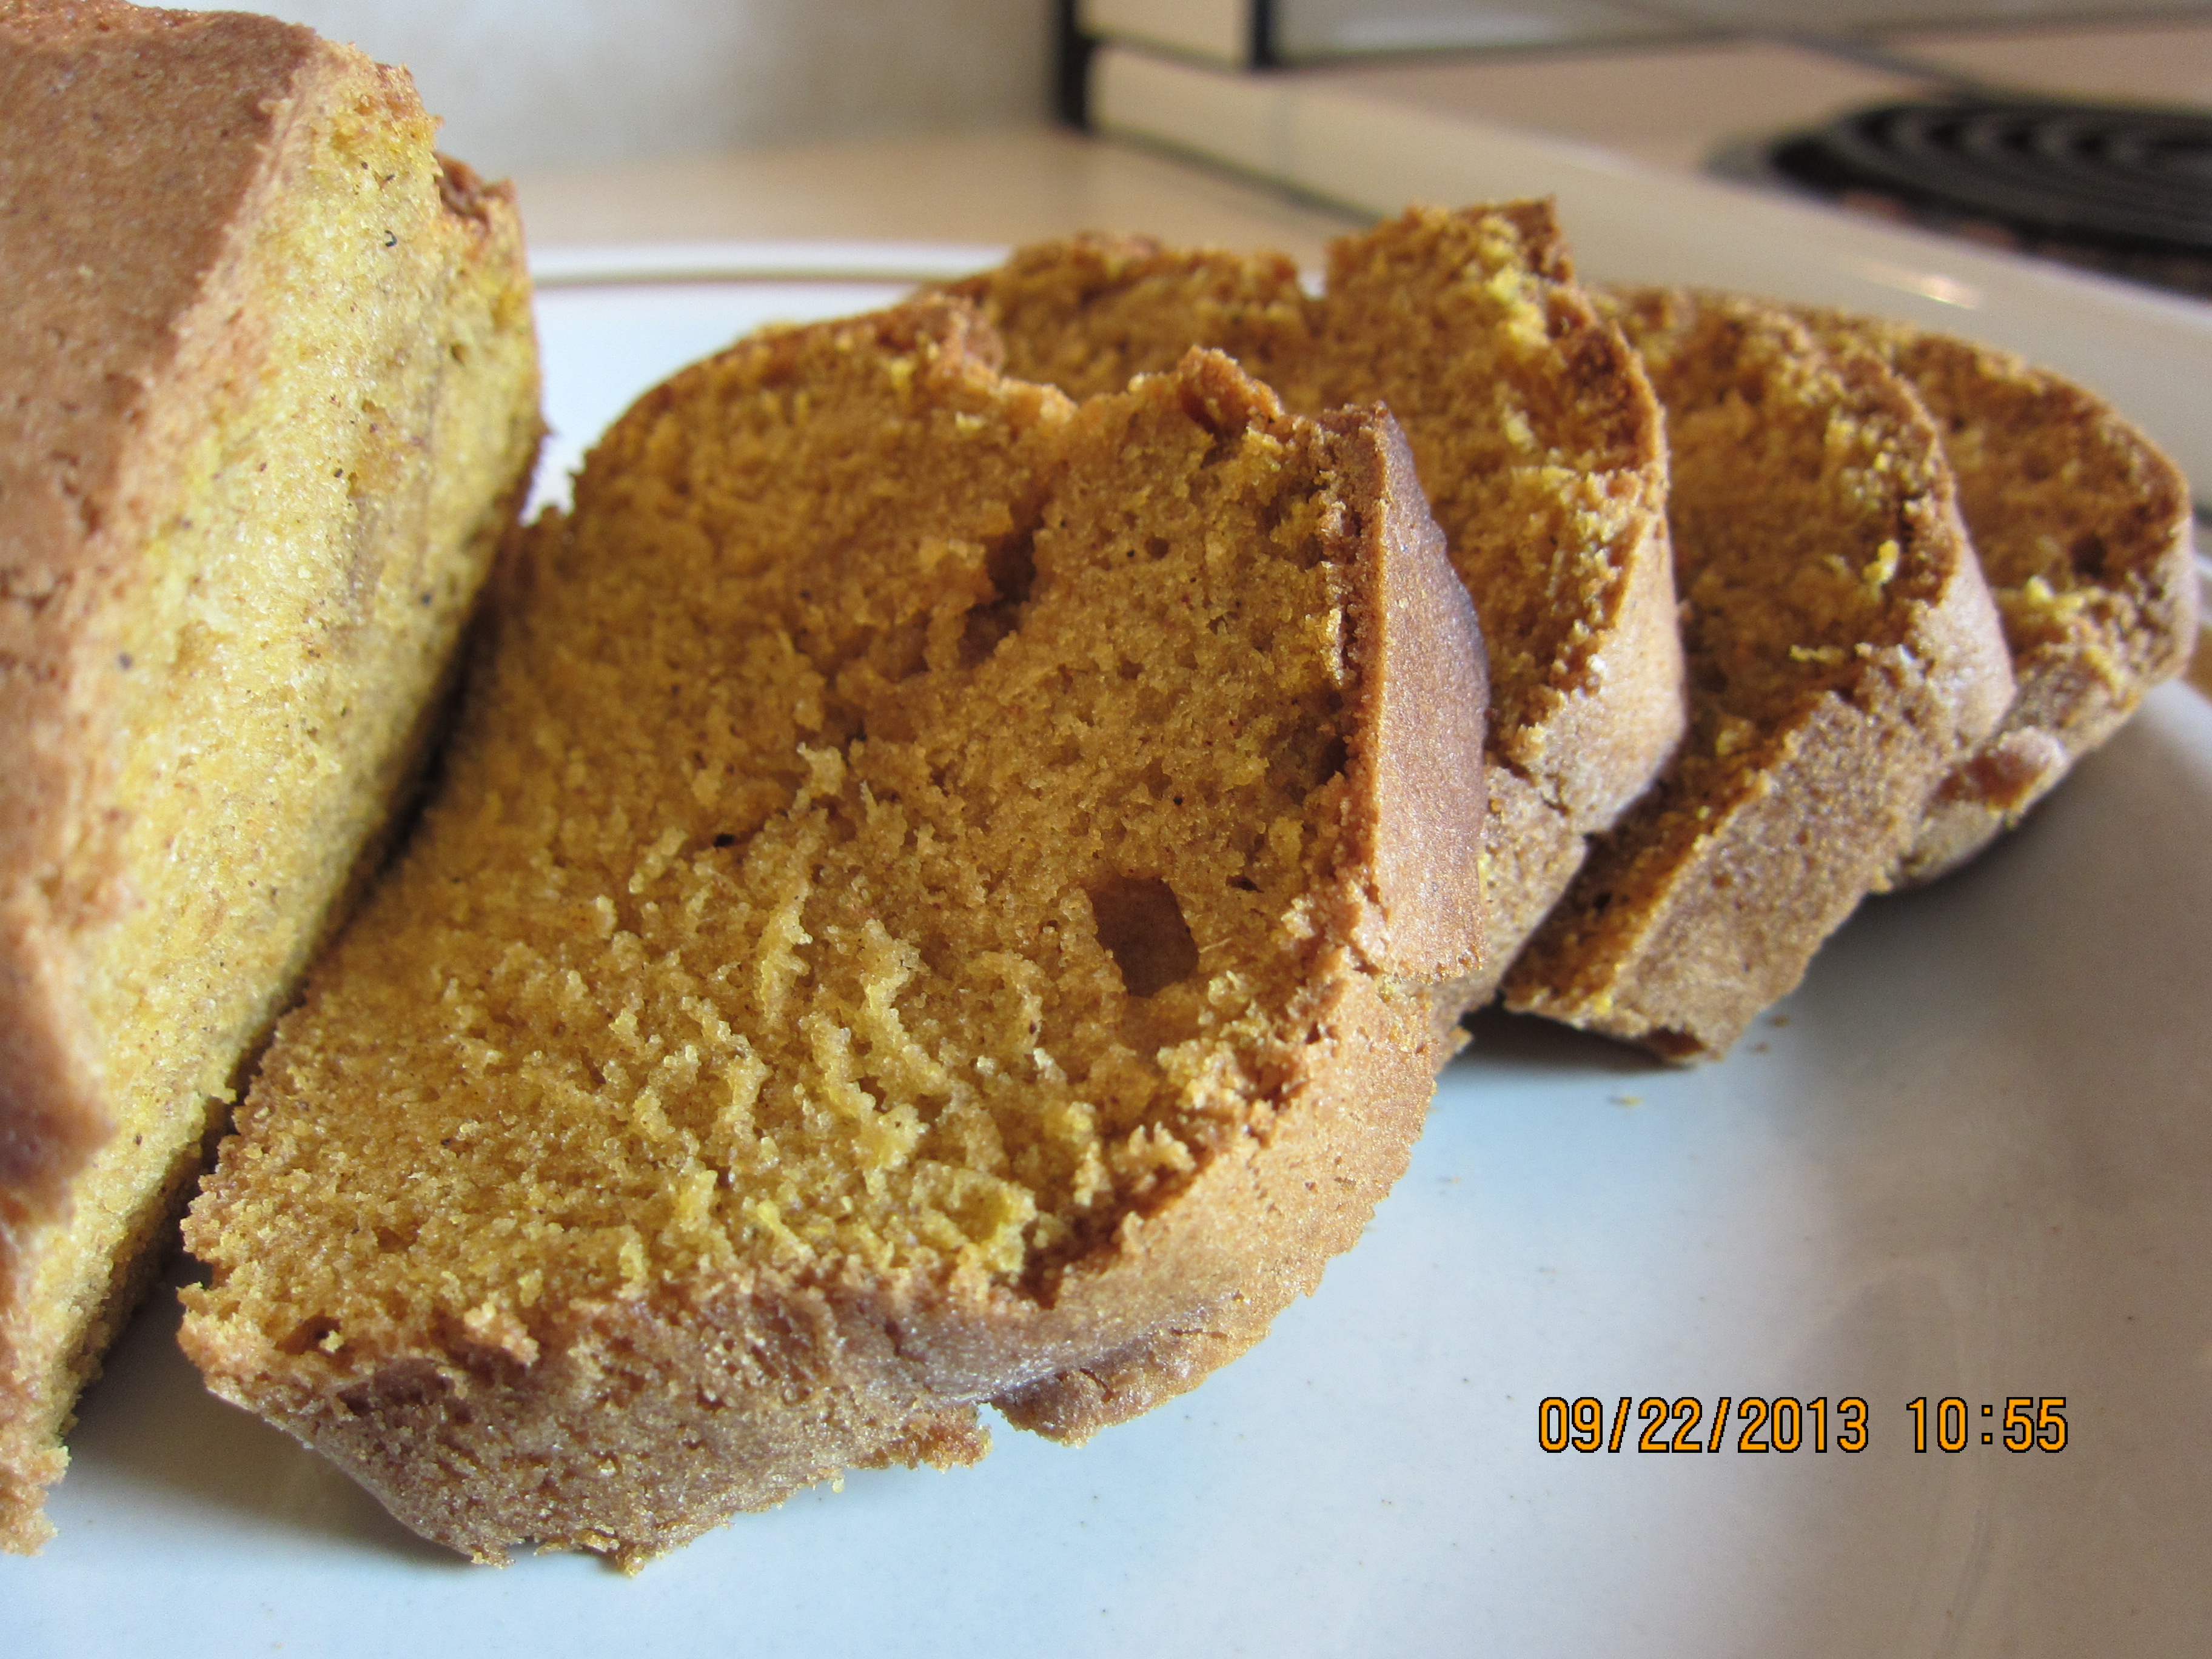
Pumpkin Bread
Not everyone is a pumpkin dessert lover, but if you are, then you could probably agree that pumpkin bread and all things pumpkin serve as the perfect friendly welcome for the arrival of autumn. Besides baking mama and papa loaves, I also baked mini baby ones to share with friends. I even packaged these breads using fall-themed ribbons and leaves. My friends really liked them.
Ingredients
- 1 (15 ounce) can pumpkin puree
- 4 eggs
- 1 cup vegetable oil
- 2/3 cup water
- 3 cups white sugar
- 3 1/2 cups all-purpose flour
- 2 teaspoons baking soda
- 1 1/2 teaspoons salt
- 1 teaspoon ground cinnamon
- 1 teaspoon ground nutmeg
- 1/2 teaspoon ground cloves
- 1/4 teaspoon ground ginger
Directions
- Preheat oven to 350 degrees F (175 degrees C). Grease and flour loaf pans.
- In a large bowl, mix together pumpkin puree, eggs, oil, water, and sugar until well blended. In a separate bowl, whisk together the flour, baking soda, salt, cinnamon, nutmeg, cloves, and ginger. Stir the dry ingredients into the pumpkin mixture until just blended. Pour into the prepared pans.
- Bake for about 50 minutes, or until inserted toothpick comes out clean.
For recipe: http://allrecipes.com/recipe/downeast-maine-pumpkin-bread/


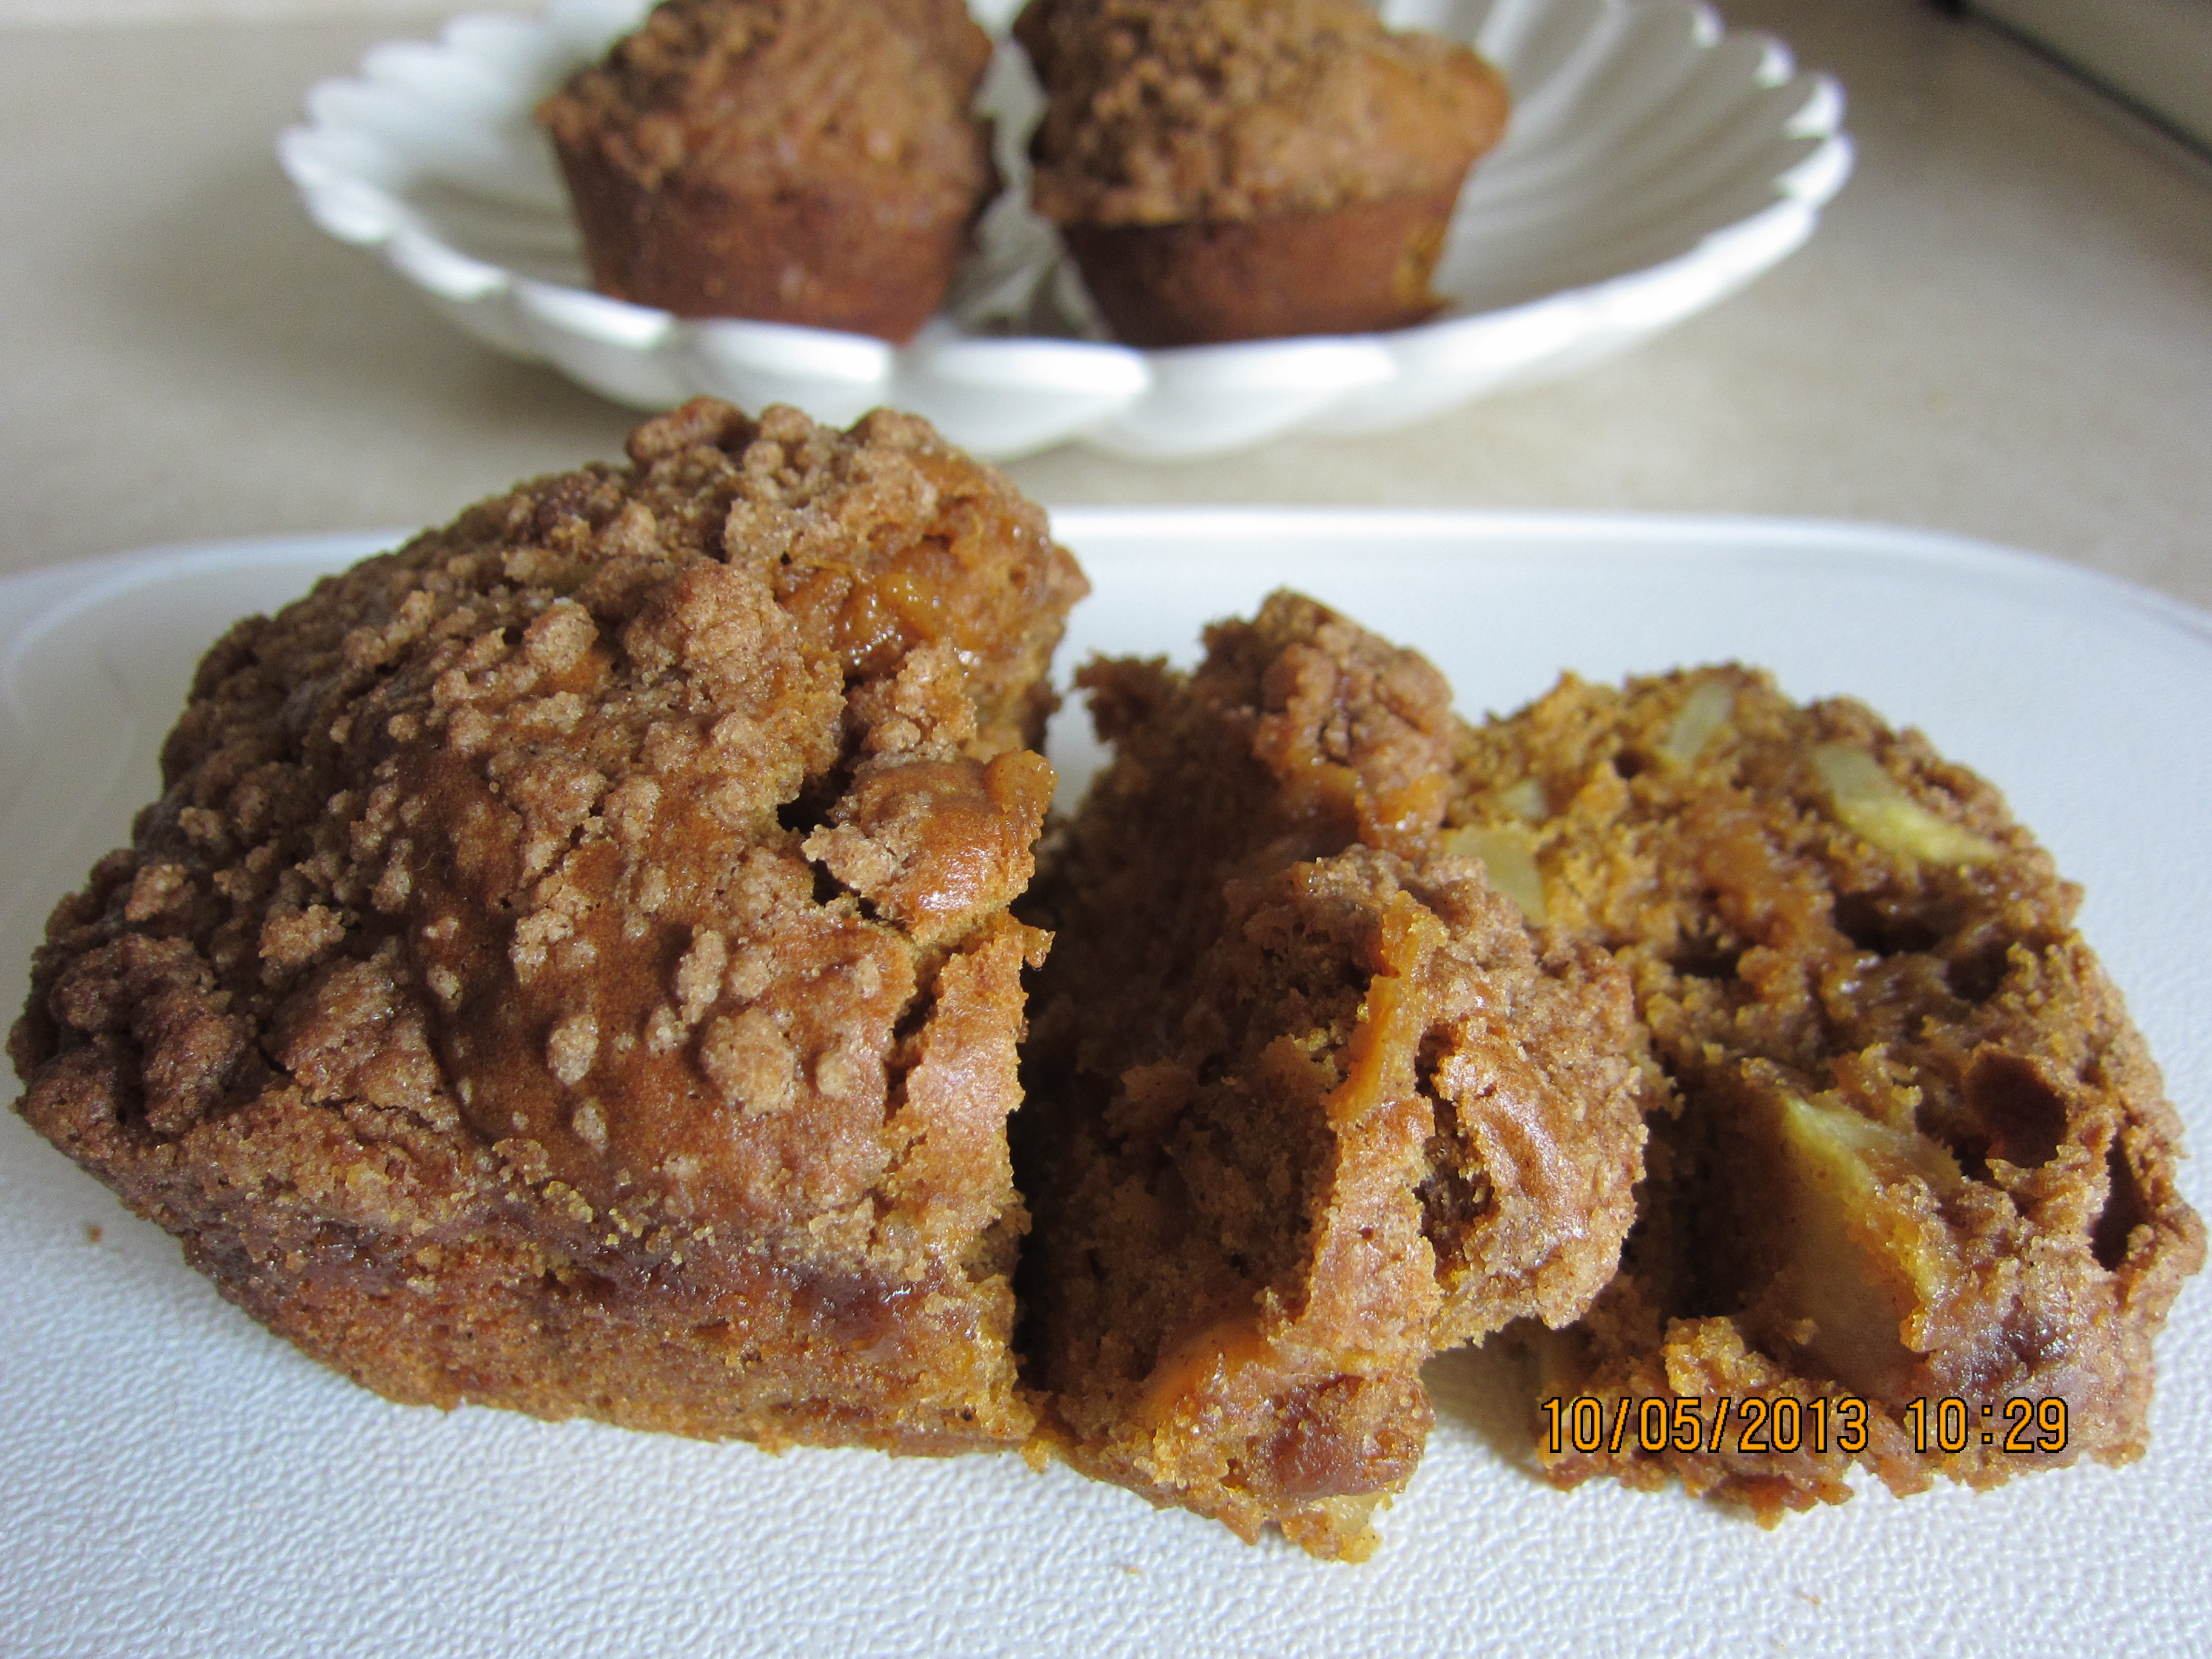
Pumpkin Apple Streusel Muffins
With leftover pumpkin puree, this called for a second round of pumpkin love, so I baked these delicioso muffins which constitute the ultimate autumn dessert, especially with a fine touch of apple goodness.
Ingredients
- 2 1/2 cups all-purpose flour
- 2 cups white sugar
- 1 tablespoon pumpkin pie spice (I used ground cinnamon, nutmeg, ginger, and cloves)
- 1 teaspoon baking soda
- 1/2 teaspoon salt
- 2 eggs, lightly beaten
- 1 cup canned pumpkin puree
- 1/2 cup vegetable oil
- 2 cups apple, peeled and chopped
- 2 tablespoons all-purpose flour
- 1/4 cup white sugar
- 1/2 teaspoon ground cinnamon
- 4 teaspoons butter (I used margarine)
Directions
- Preheat oven to 350 degrees F (175 degrees C). Lightly grease muffin pan.
- In a large bowl, sift together 2 1/2 cups all-purpose flour, 2 cups sugar, cinnamon, nutmeg, ginger, cloves, baking soda, and salt. In a separate bowl, mix together eggs, pumpkin, and oil. Add pumpkin mixture to flour mixture and stir just to moisten. Fold in apples. Spoon batter into muffin cups.
- In a small bowl, mix together 2 tablespoons flour, 1/4 cup sugar, and 1/2 teaspoon cinnamon. Add margarine and mix until mixture resembles coarse crumbs. Sprinkle topping evenly over muffin batter.
- Bake for 35-40 minutes, or until inserted toothpick comes out clean.
For recipe: http://allrecipes.com/recipe/pumpkin-apple-streusel-muffins/


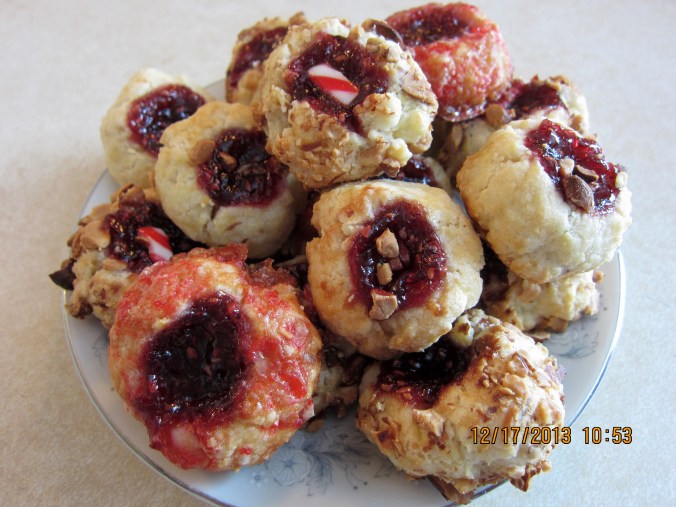
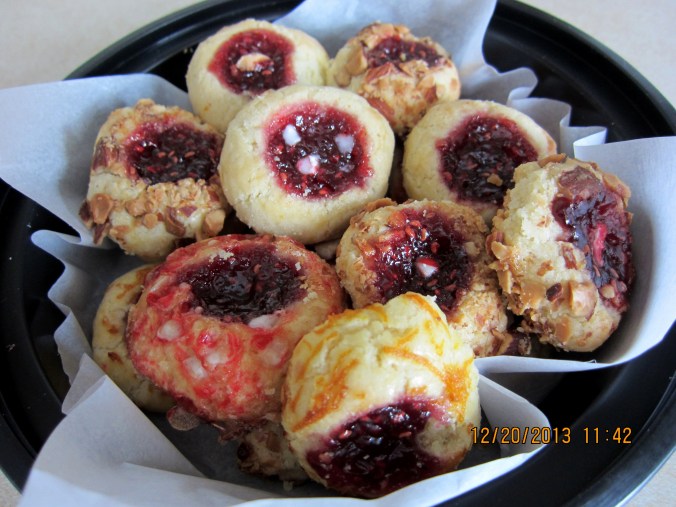
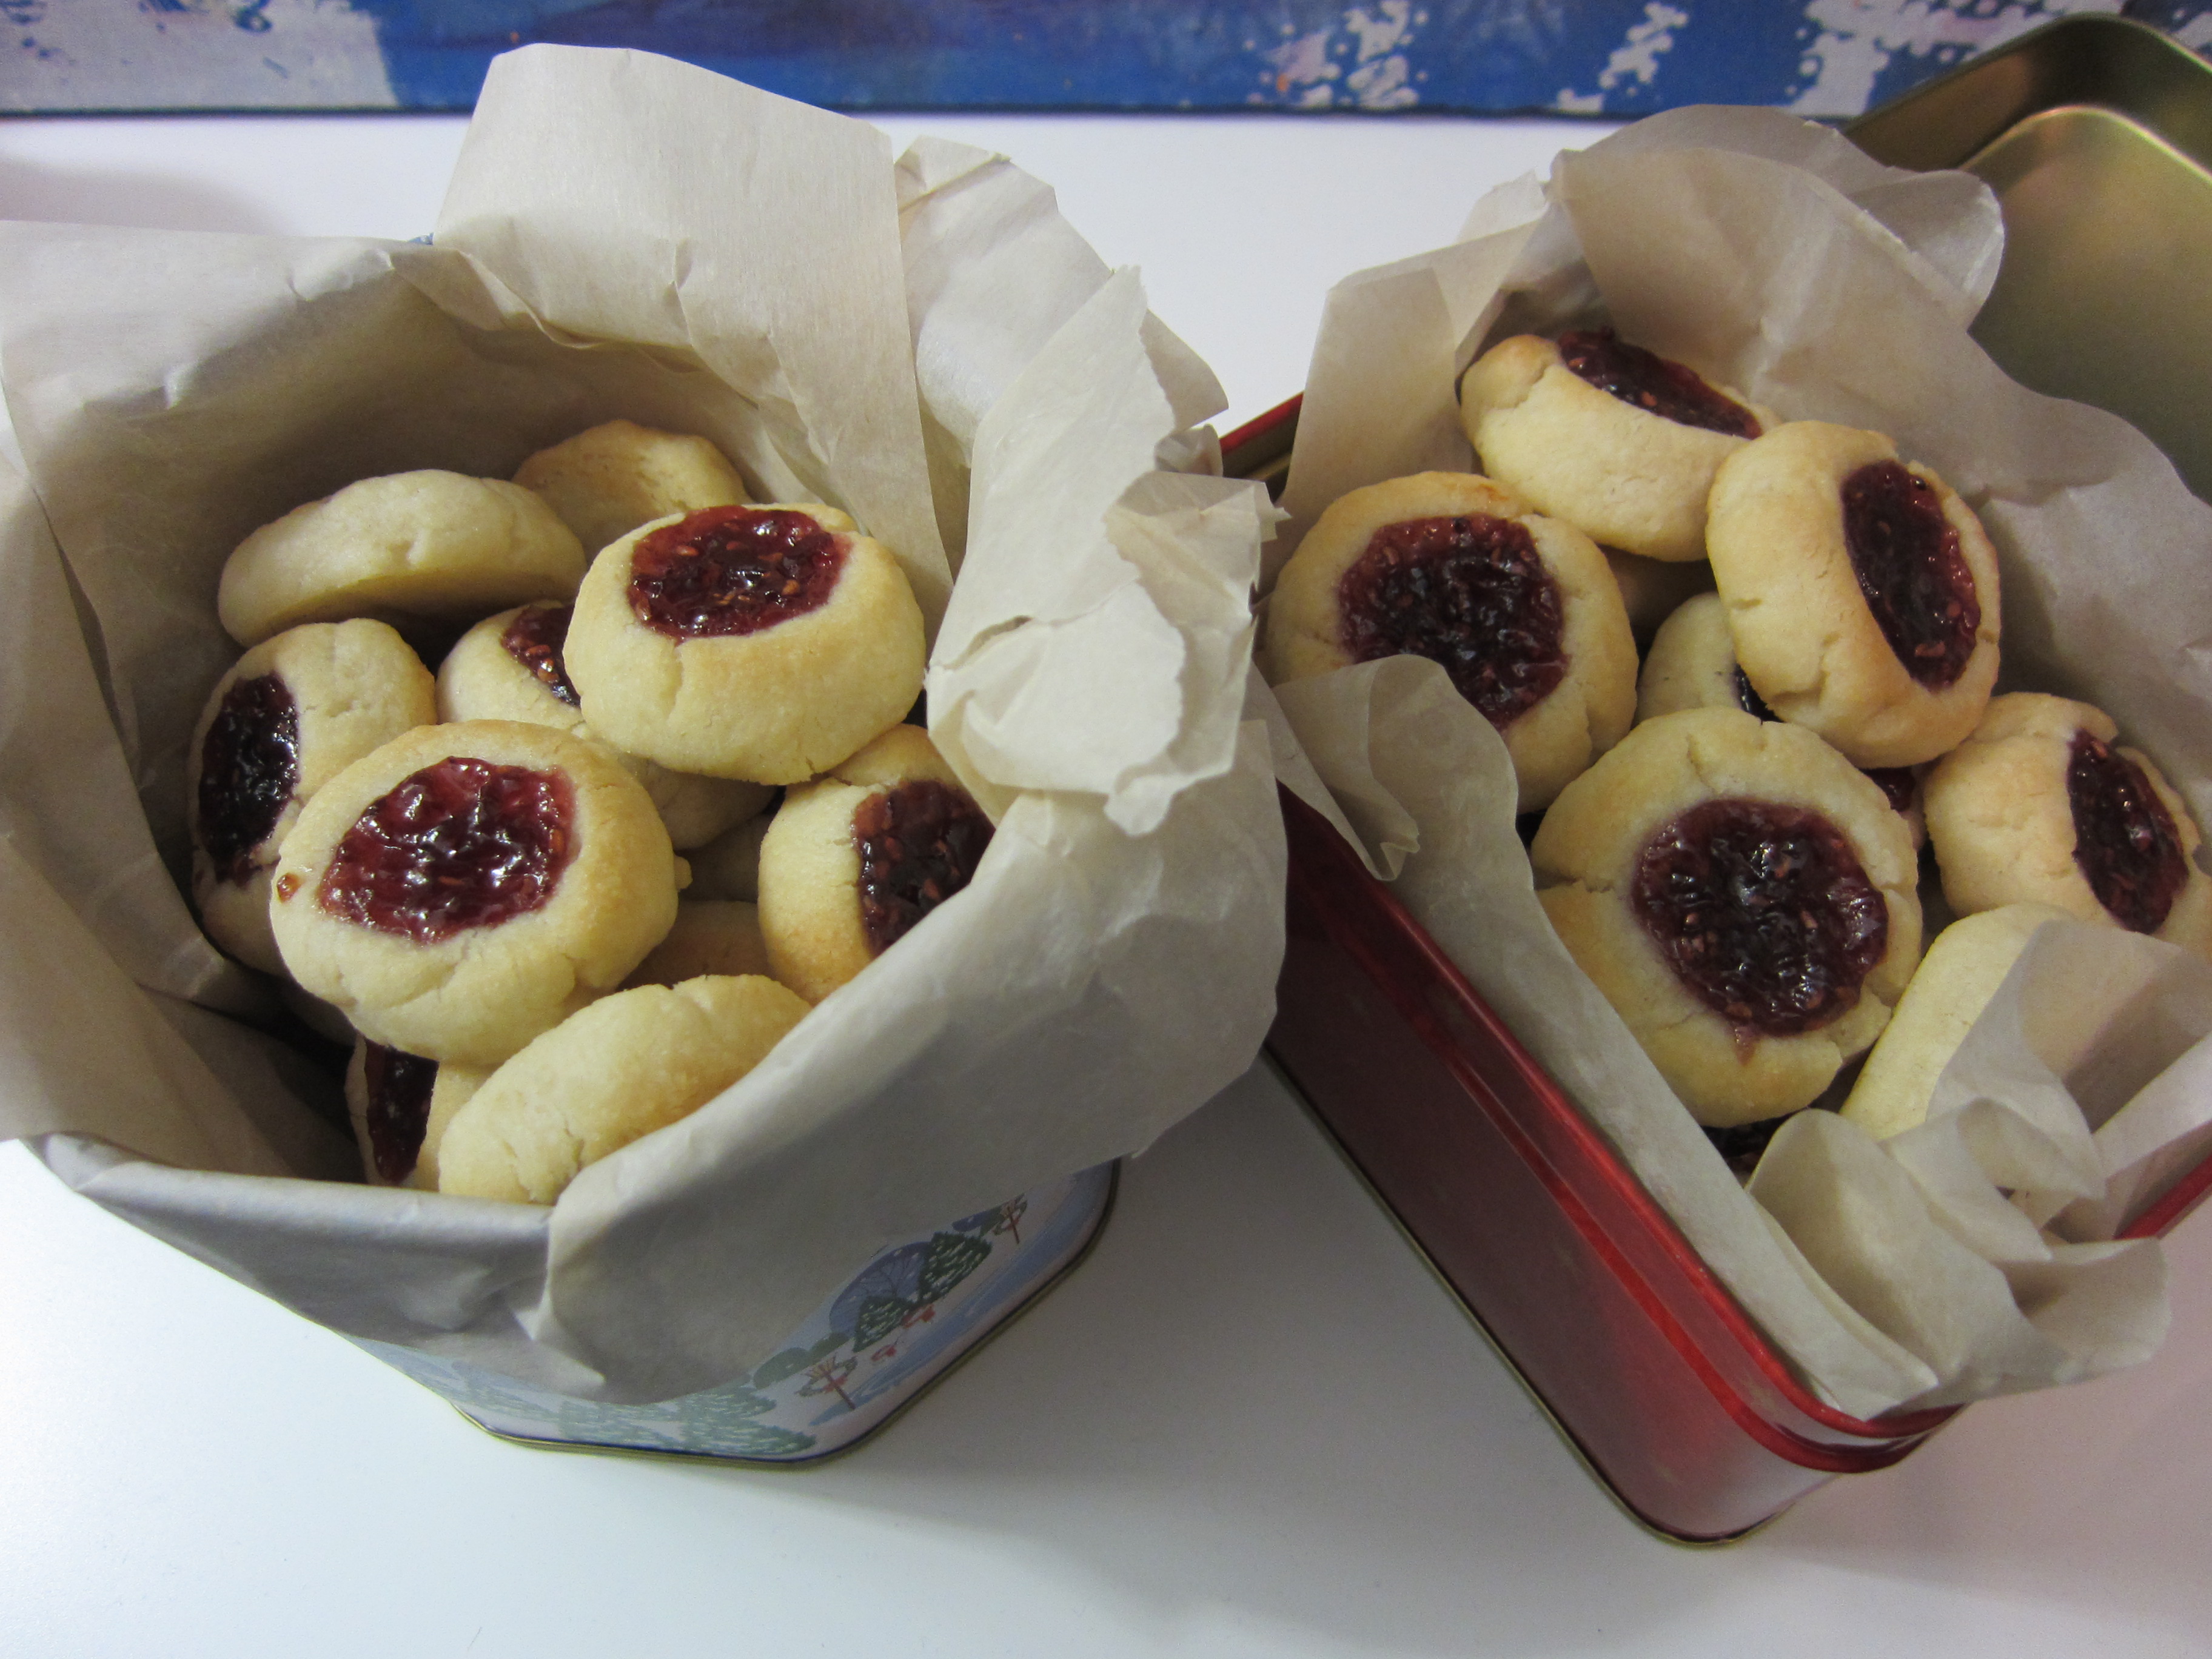
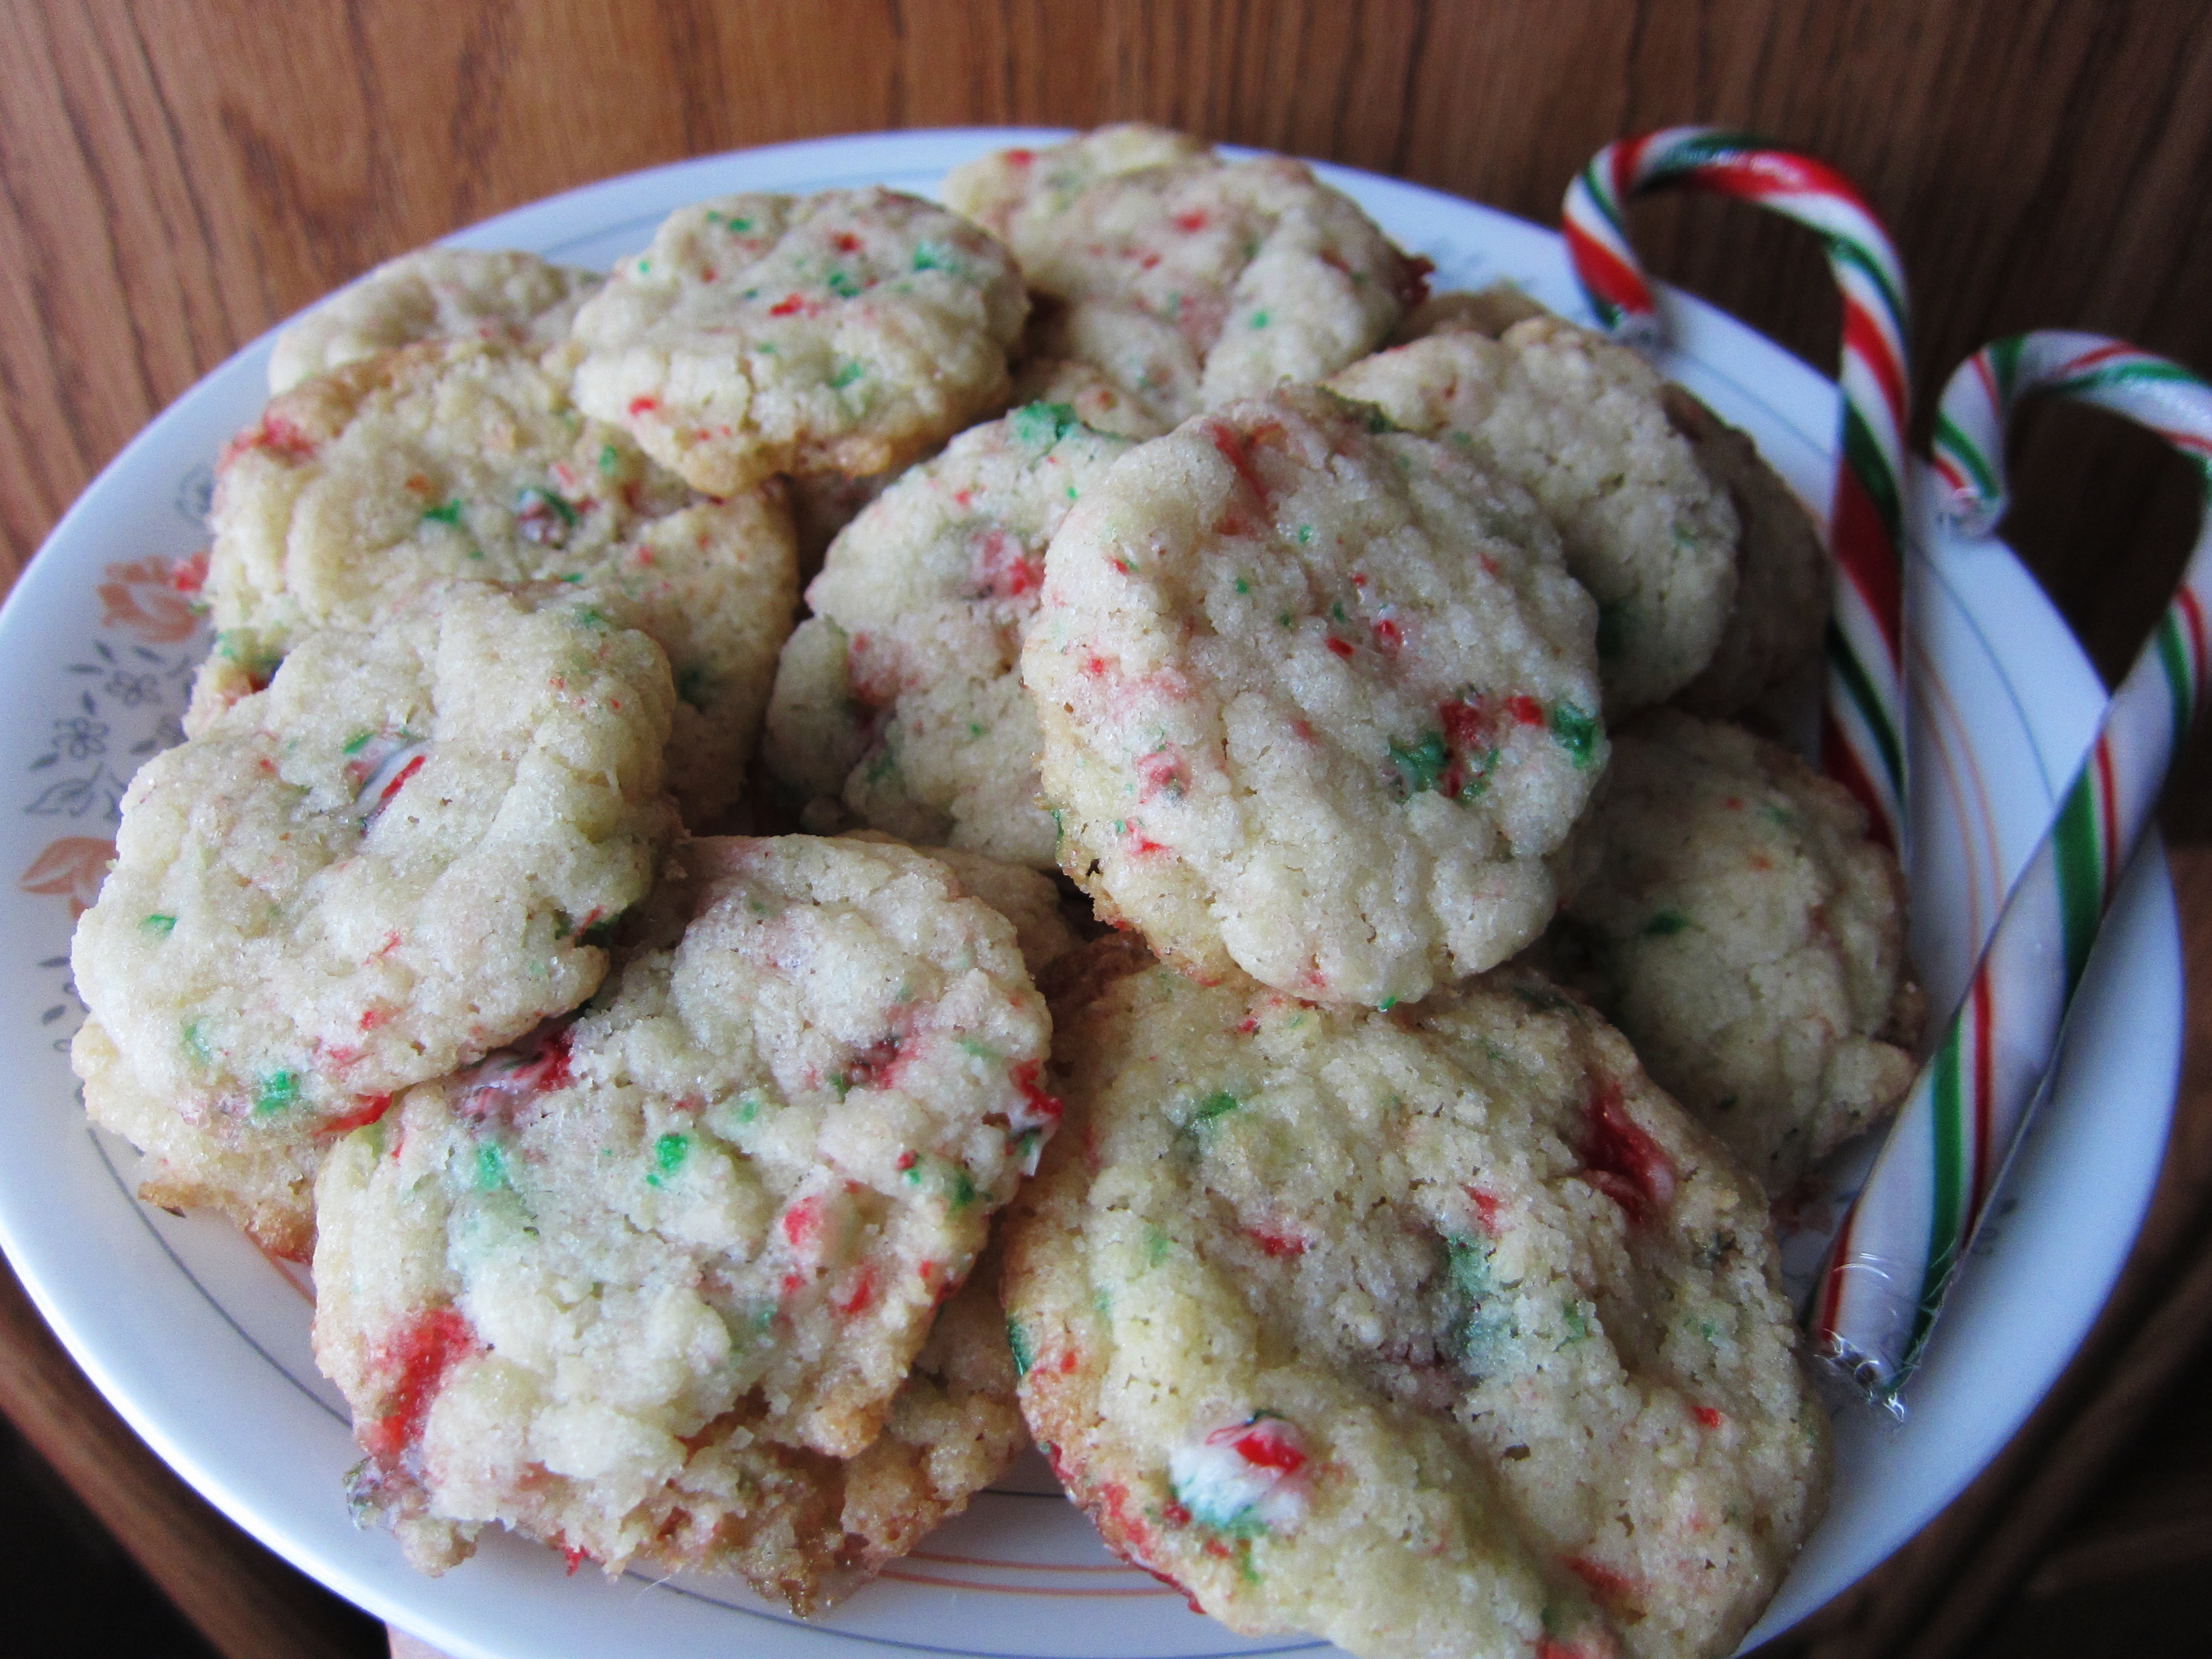
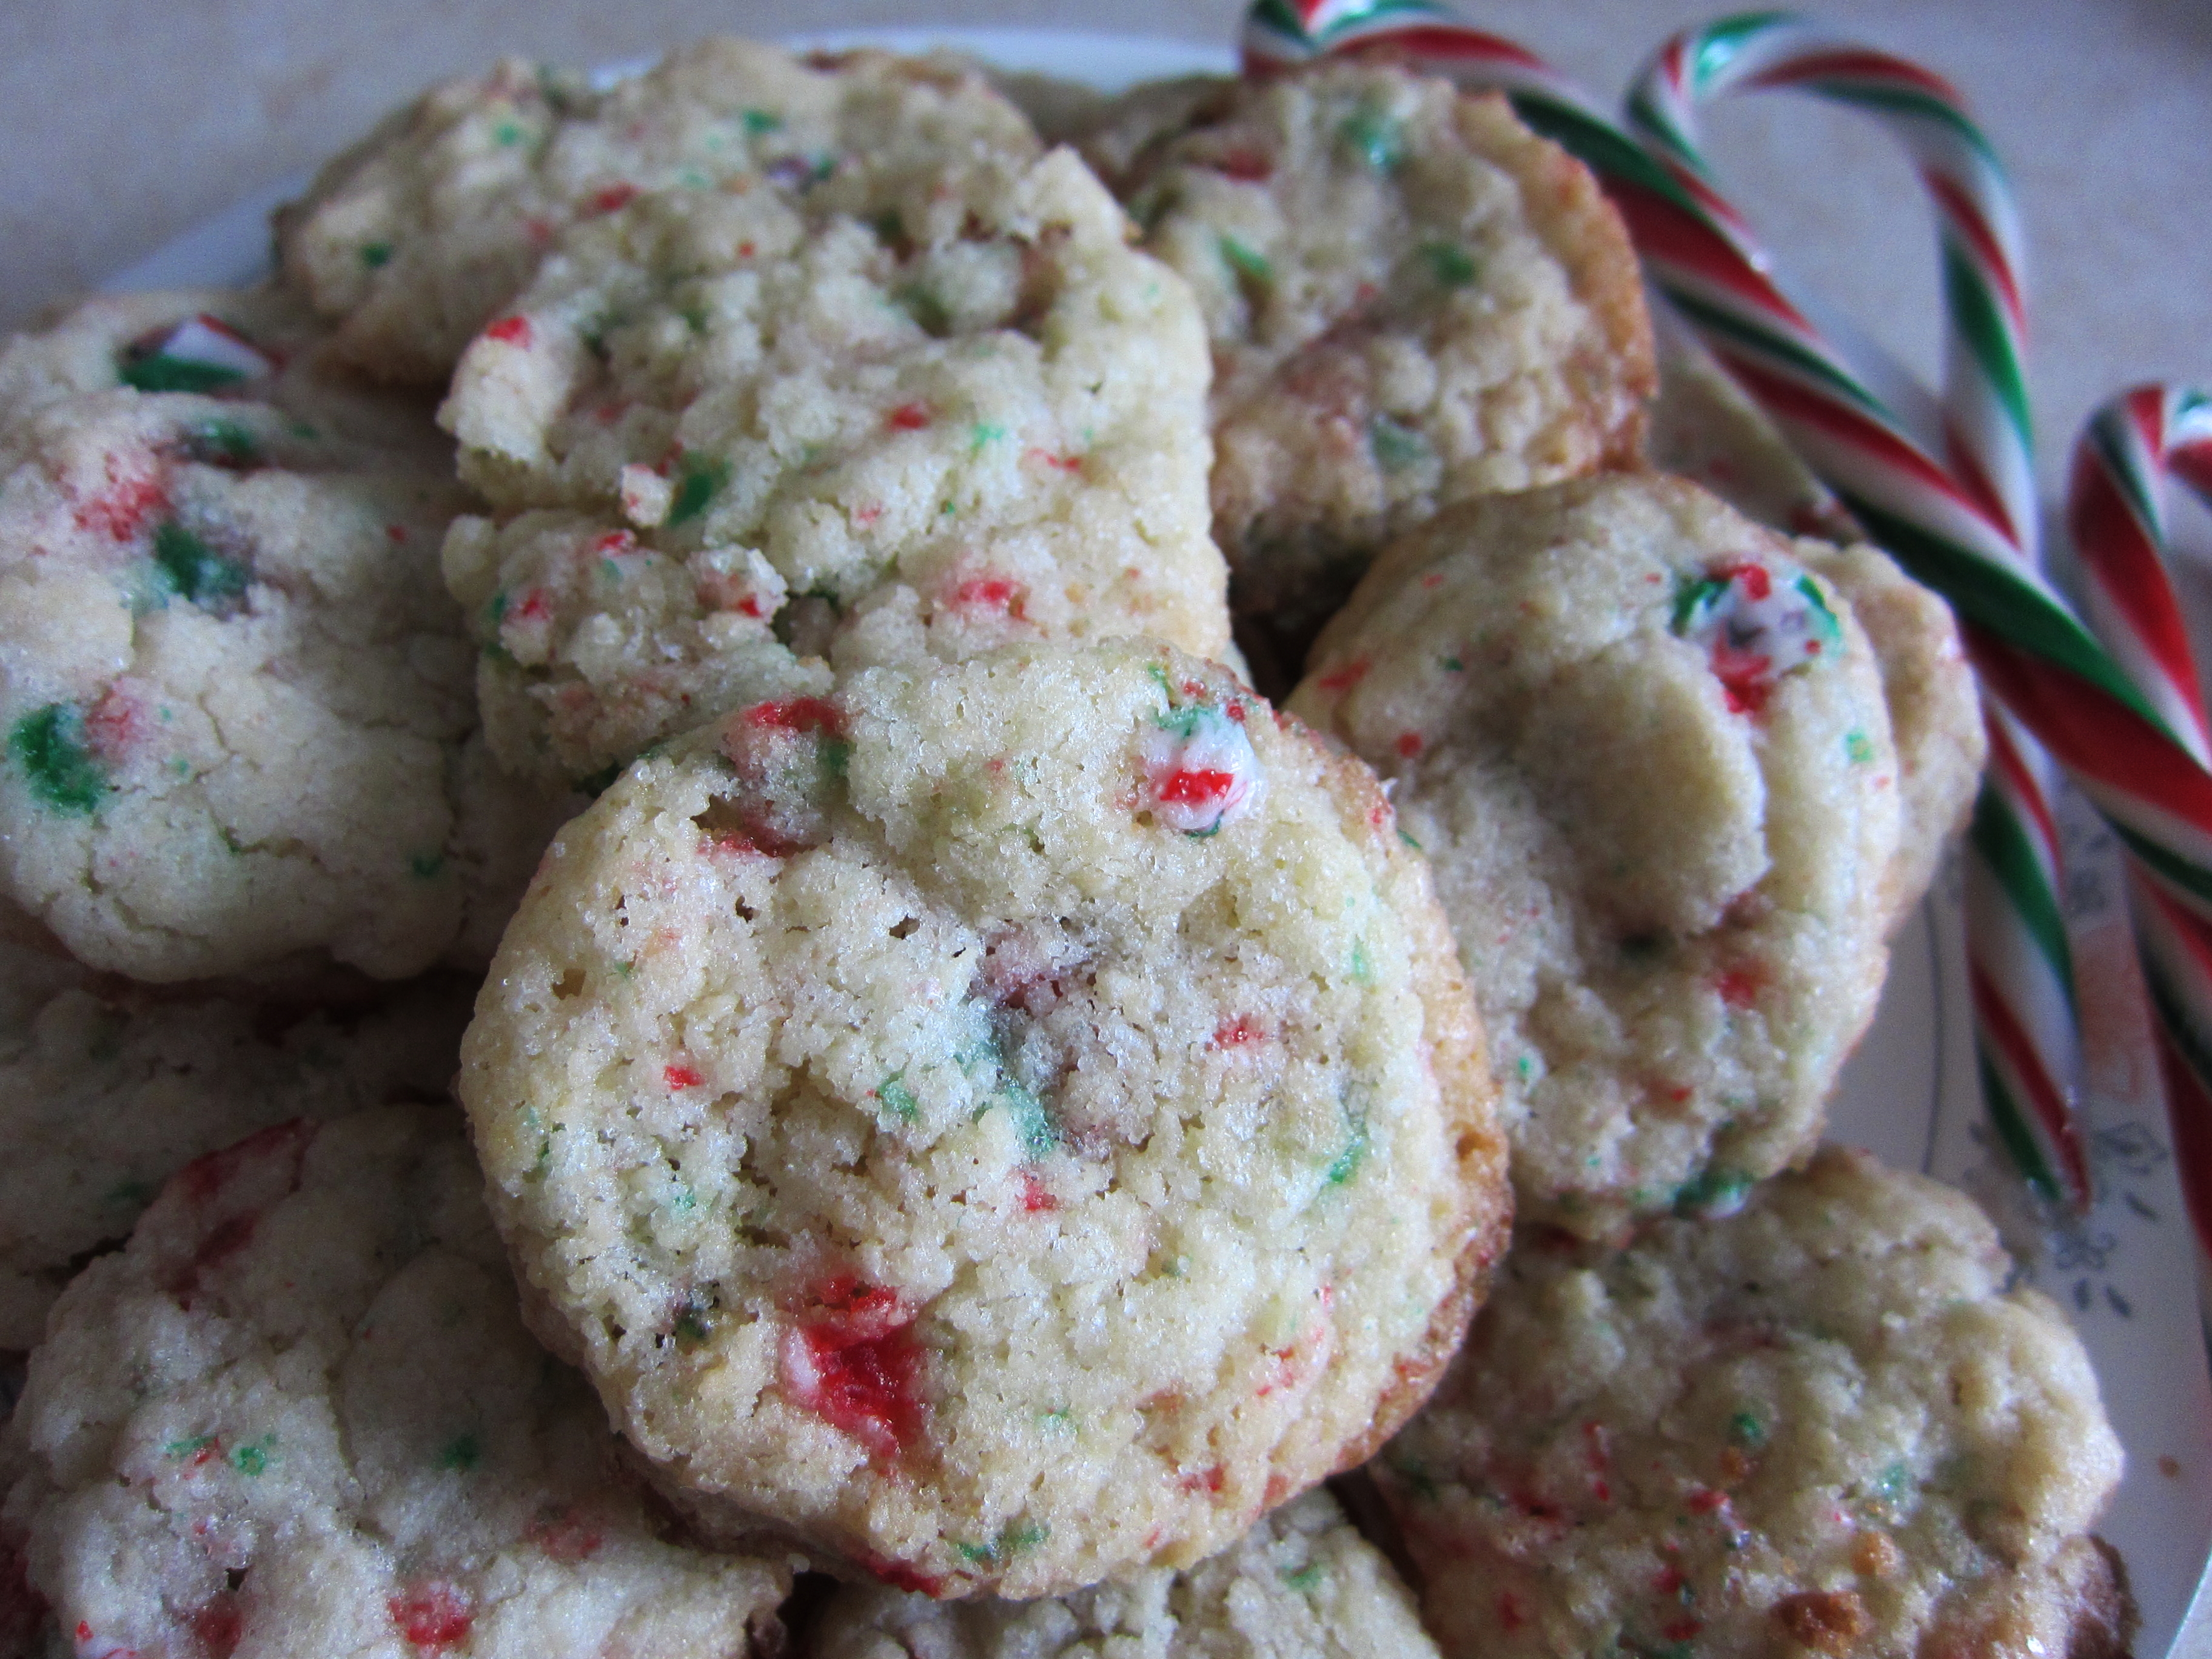
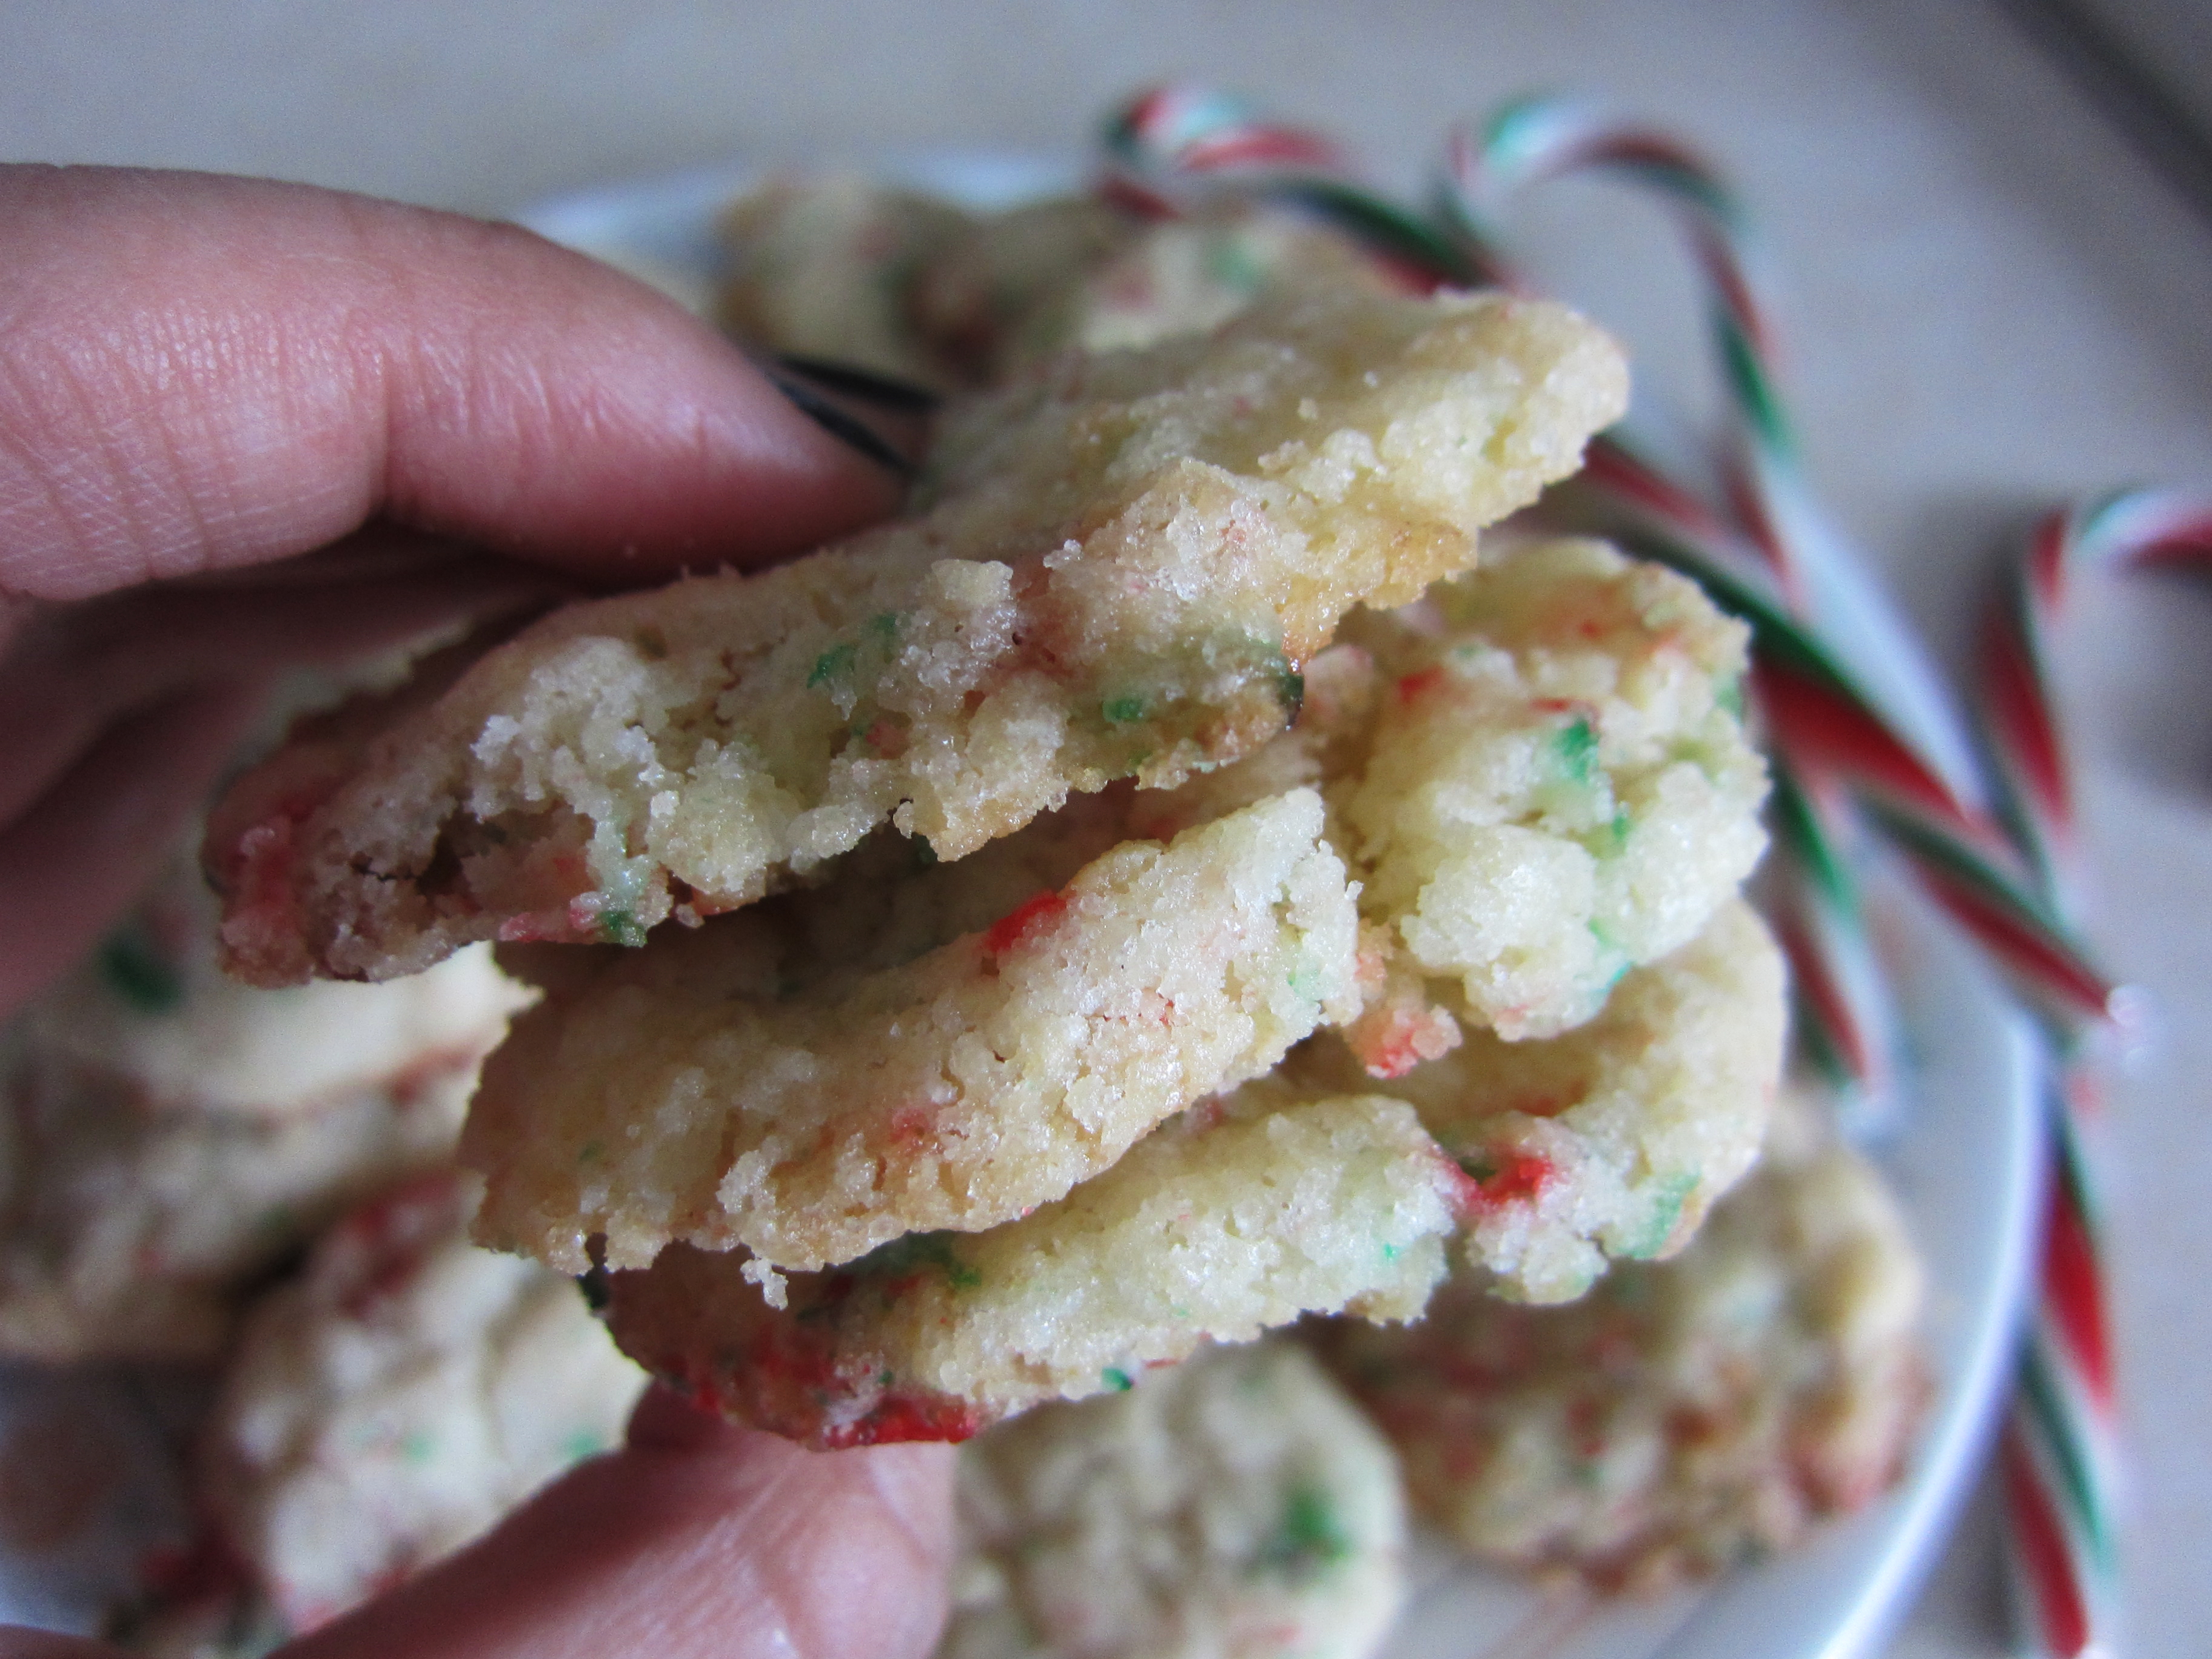
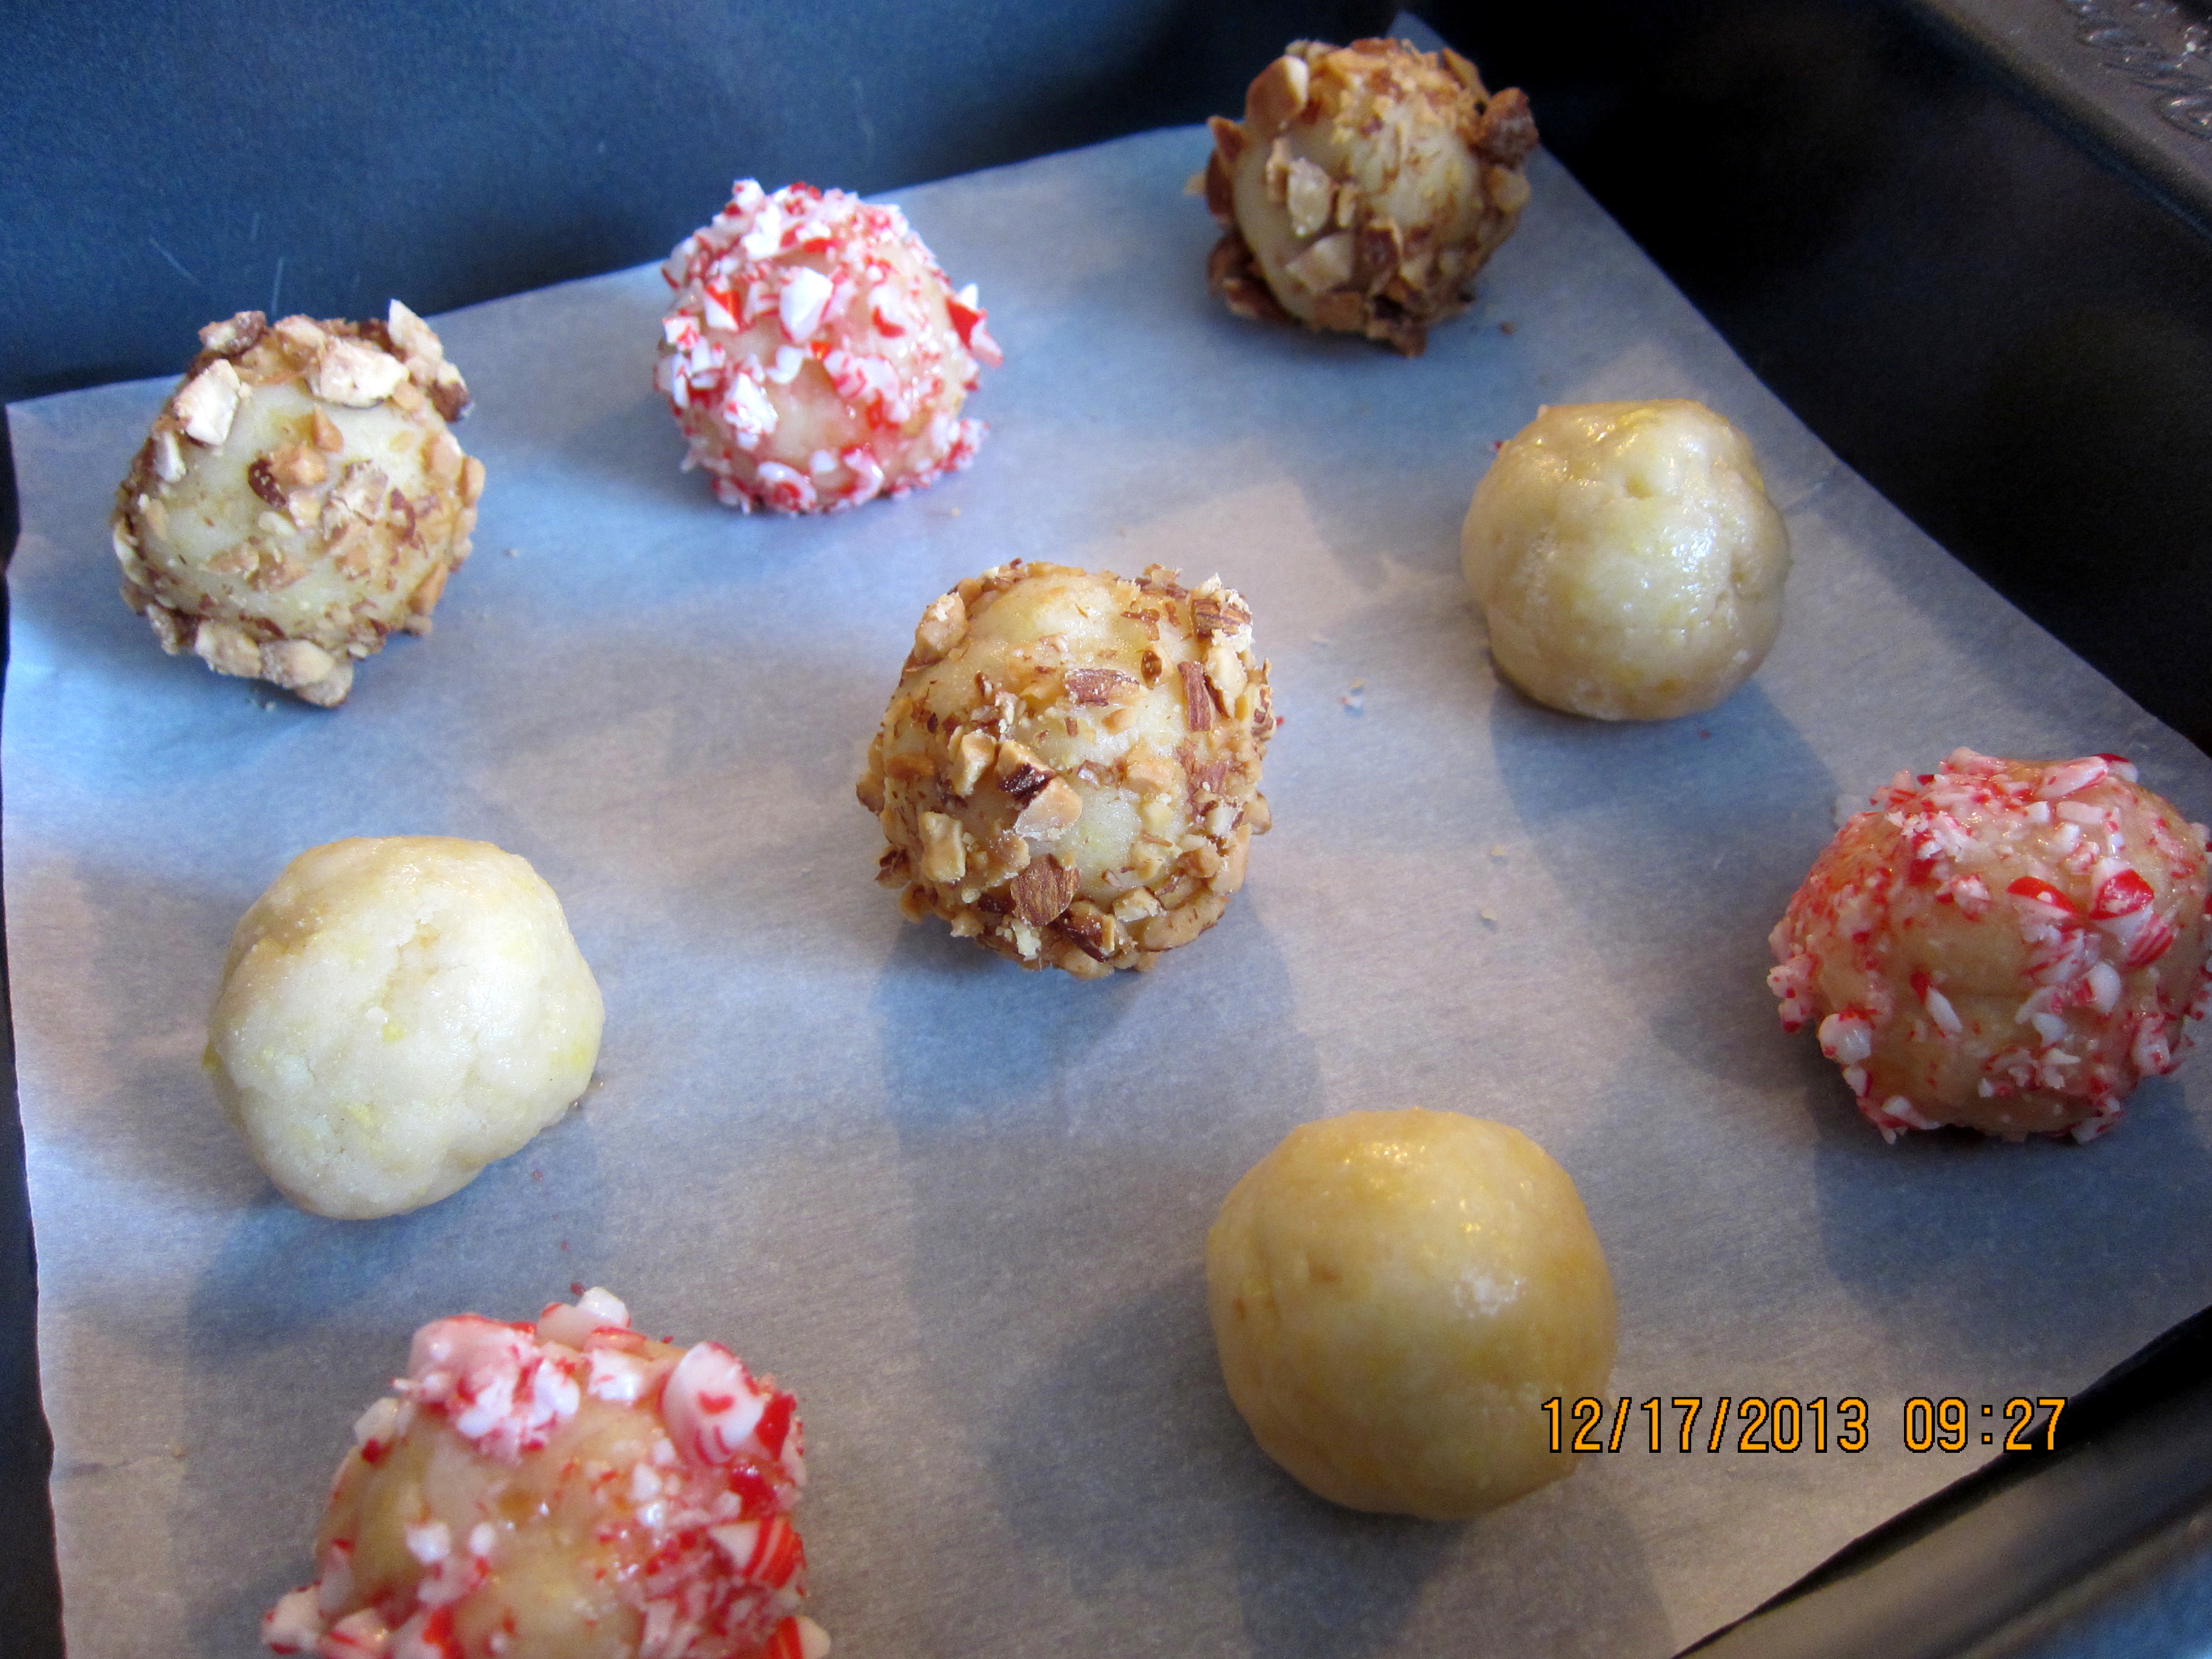
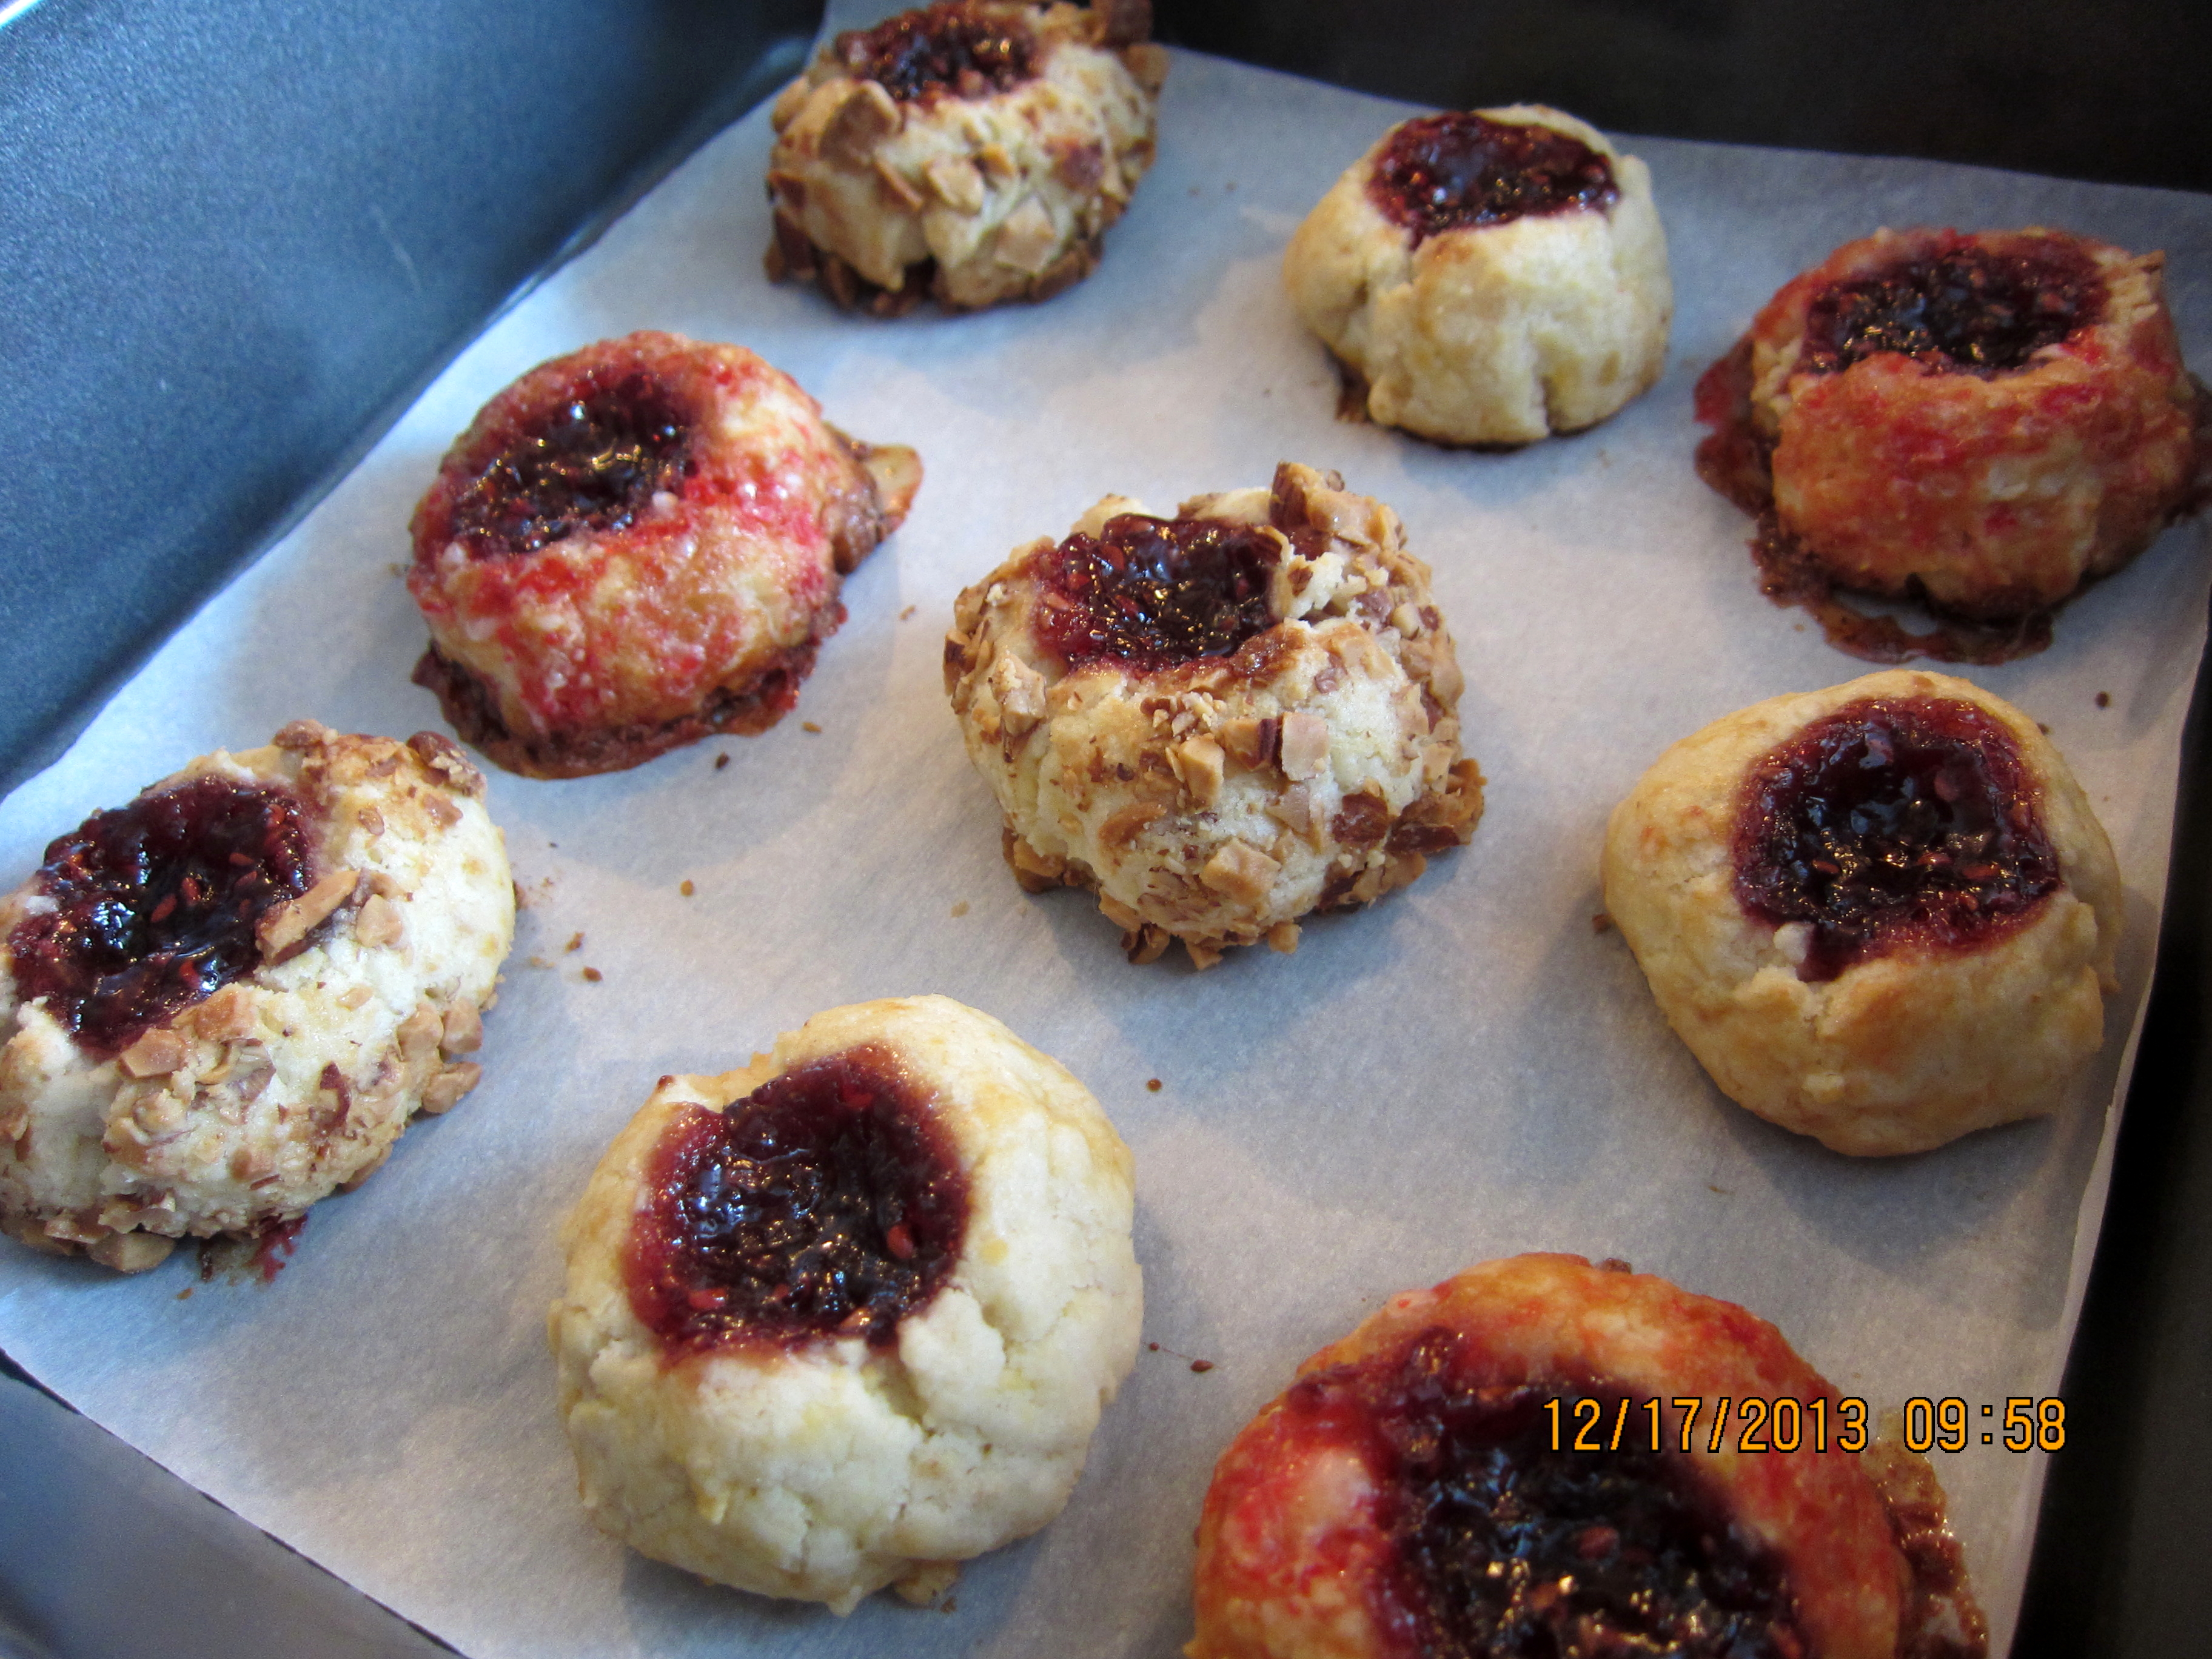
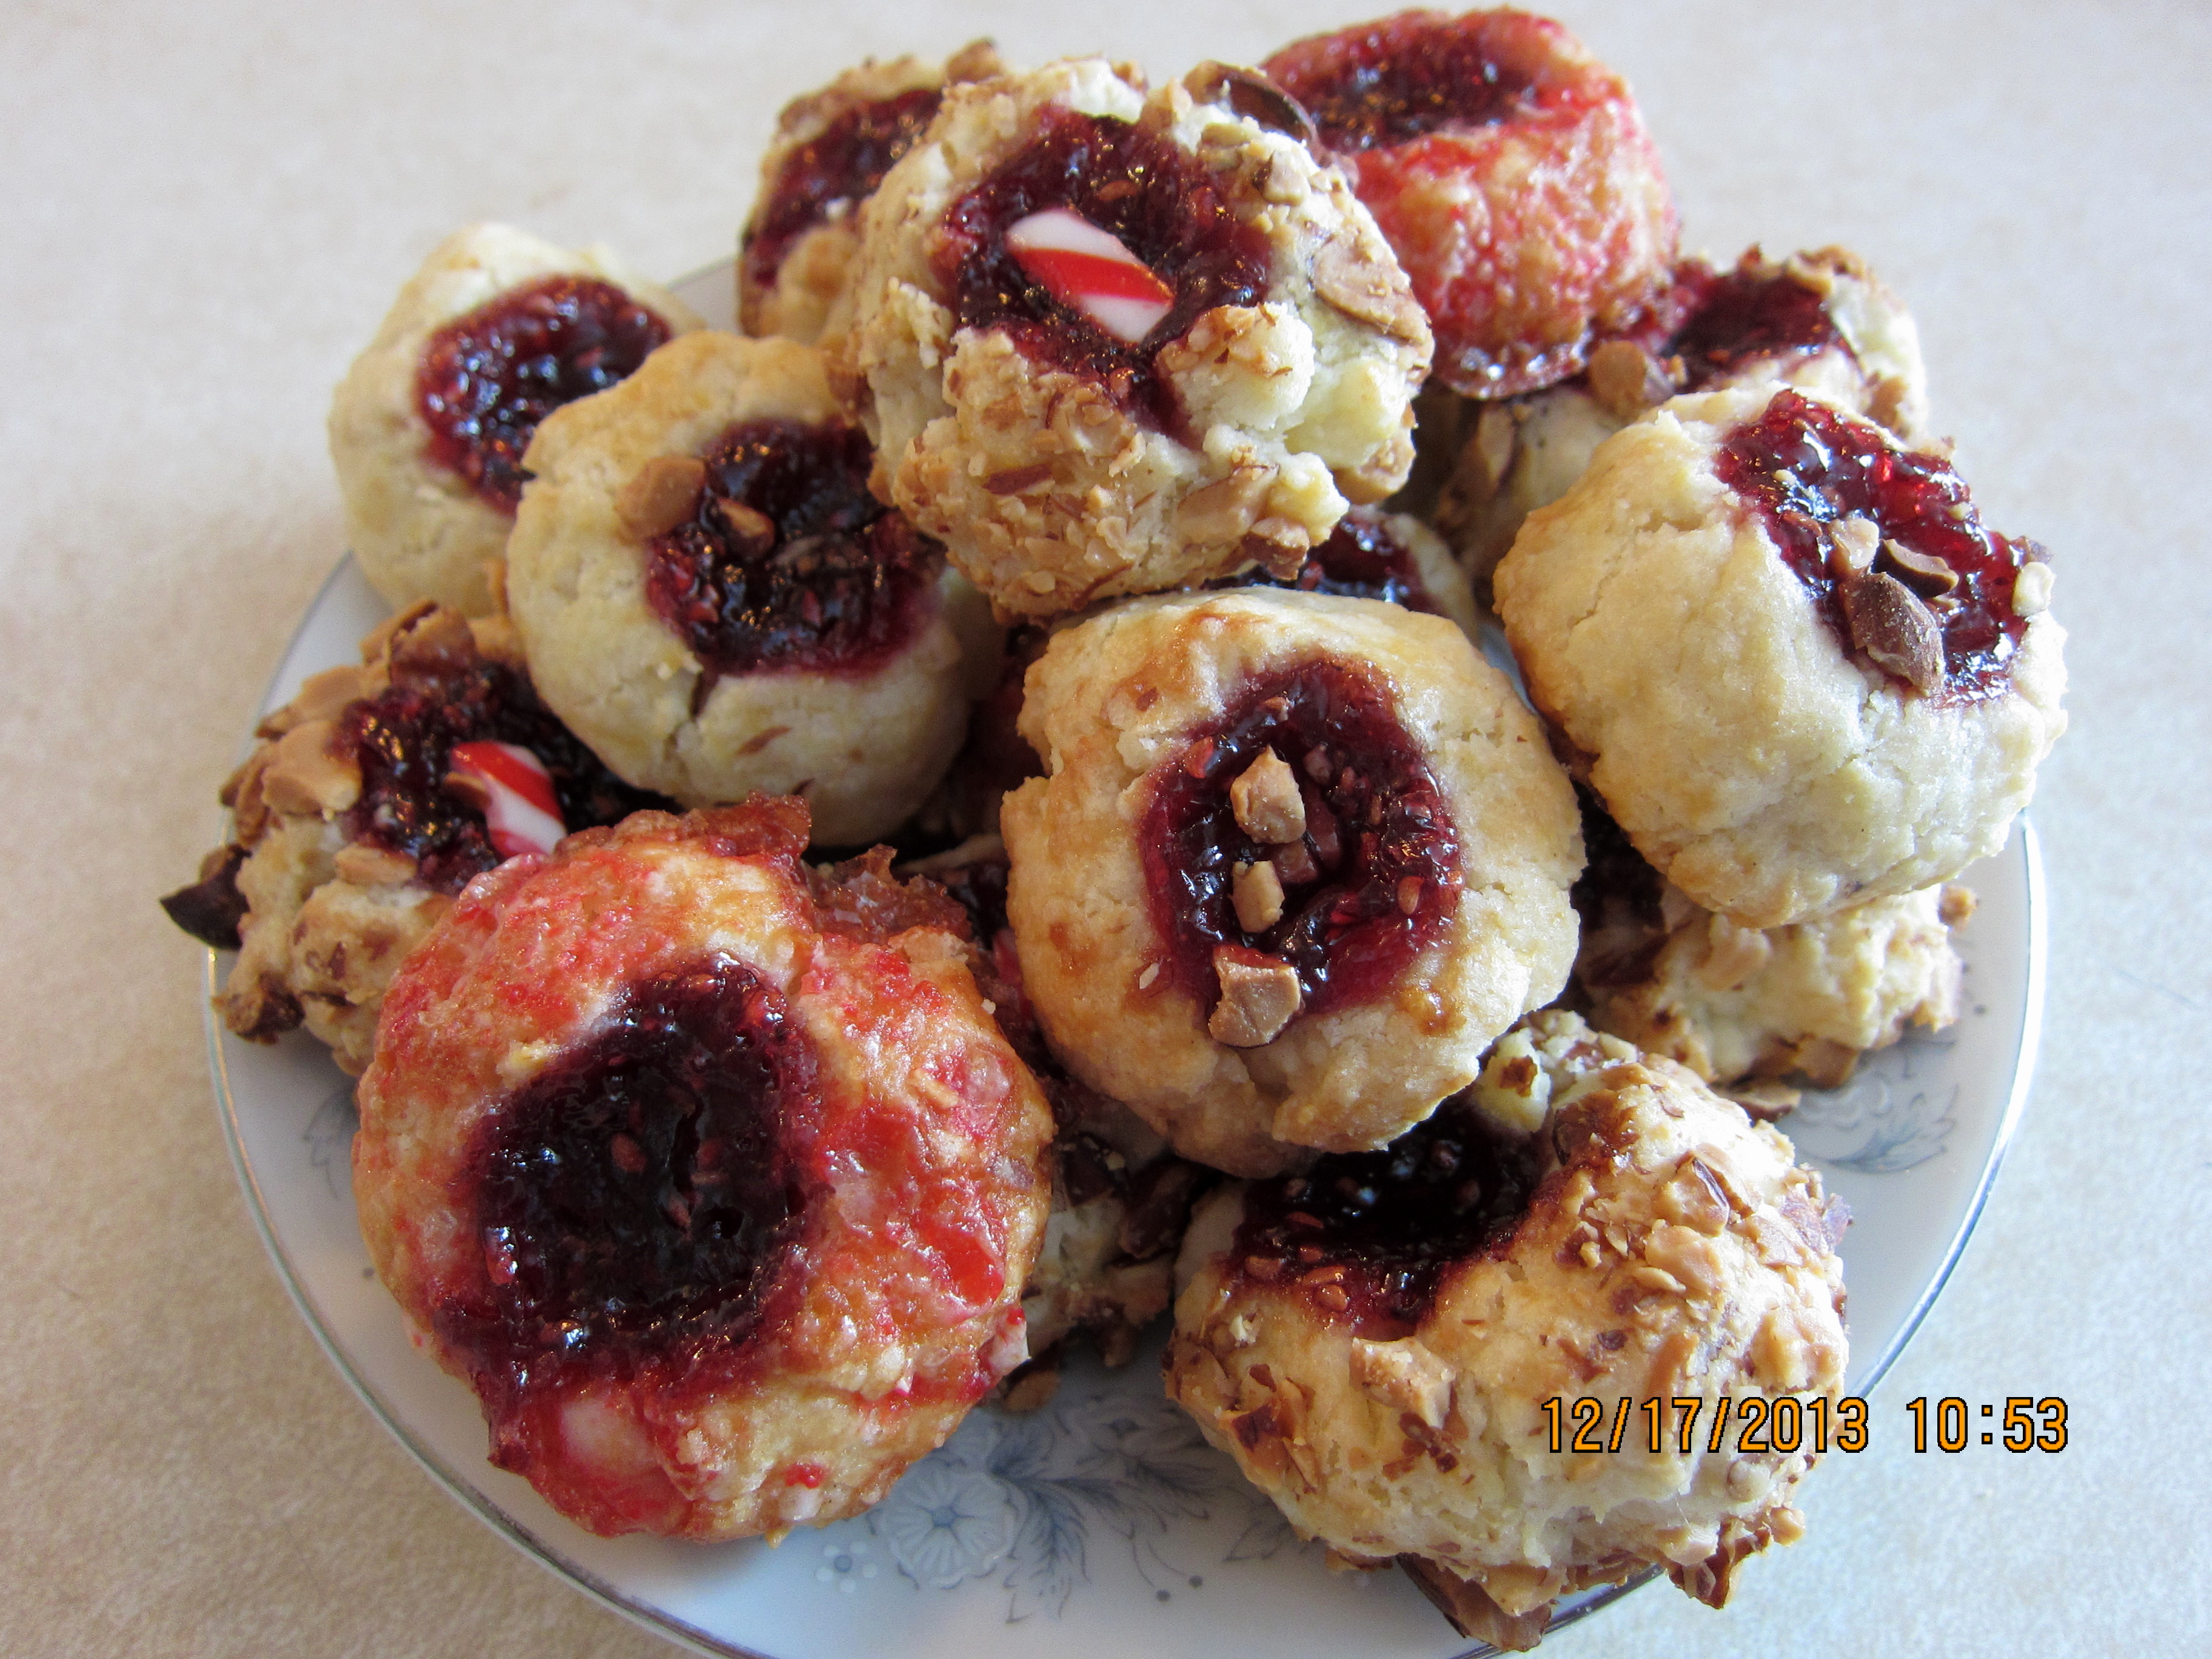
Thumbprint Cookies
A fan of all things jam-related, thumbprint cookies became the first contenders to occupy my holiday baking list, and I baked them for friends as a small holiday treat!
These cookies came out as cute as a button, particularly the almond-, orange-, and candy cane-coated ones, with their colourful personalities which added a charming and festive touch to the holiday theme. They were just as delicious, too!
The first time I baked them though, the texture was a tad dry and crumbly. However, the second time they turned out just how I like them — soft and buttery. And with a touch of orange zest in the batter, the flavour popped significantly.
Ingredients
- 1/2 cup unsalted butter, room temperature
- 1/4 cup granulated white sugar
- 1 large egg, separated
- 1/2 teaspoon vanilla extract
- 1 cup all-purpose flour
- 1/8 teaspoon salt
- 1/4-1/2 cup raspberry jam
- 3/4 cup toasted almonds, finely chopped
- 1/4 cup crushed candy canes
- orange zest (optional)
Directions
- In a bowl, beat the butter and sugar until light and fluffy. Add the egg yolk and vanilla extract and beat until combined.
- In a separate bowl, whisk together the flour and salt. Add the flour mixture to the batter and beat just until combined. If the batter is too soft to roll into balls, refrigerate for about 30-60 minutes.
- Preheat oven to 350 degrees F (177 degrees C) and line baking sheet with parchment paper.
- In a small bowl, whisk the egg white until frothy. Place crushed almonds and candy canes on separate plates. Roll the dough into 1 inch (2.5 cm balls) and dip them into the egg white and then lightly roll them in almonds or candy canes.
- Place balls on baking sheet. Using your thumb or end of a wooden spoon, make an indentation into the center of each cookie and fill holes with jam.
- Bake for about 12-15 minutes, or until cookies have nicely browned. Remove from oven and place on wire rack to cool.
For recipe: http://www.joyofbaking.com/ThumbprintCookies.html#ixzz2n2EB9hBs
 W
W
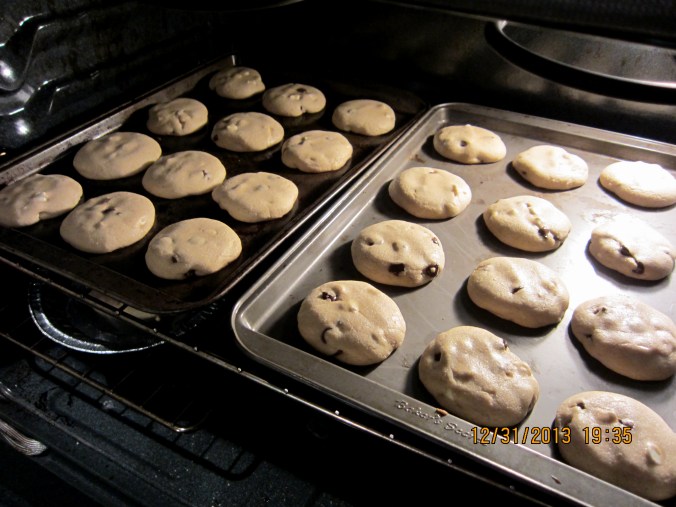
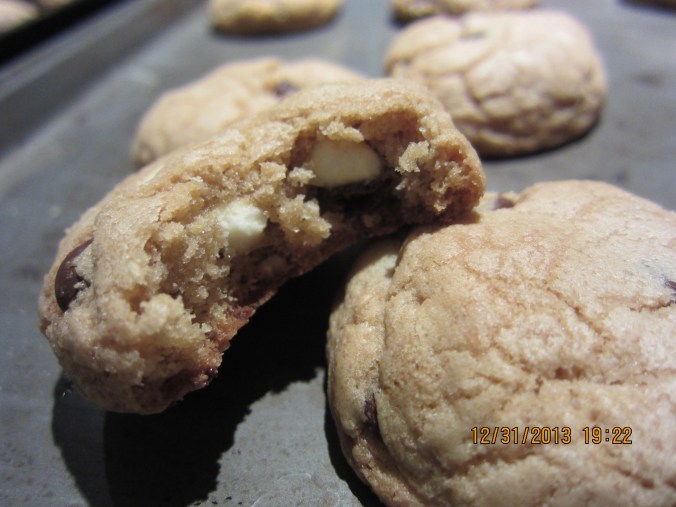
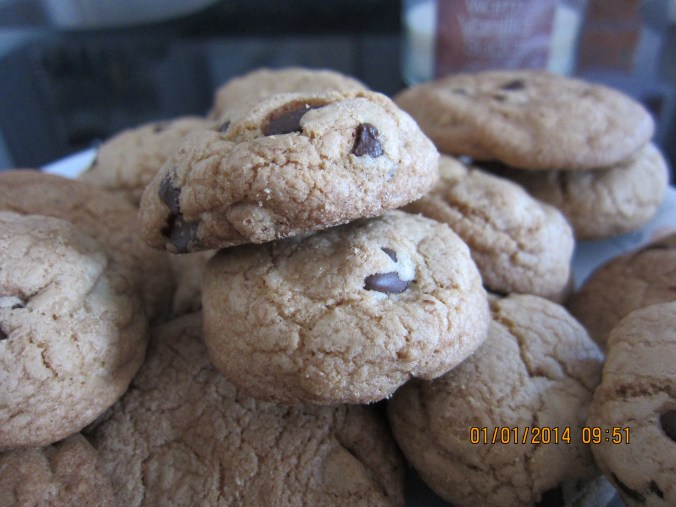
Chocolate Chip Cookies Pt. 2
Baking these sweet-smelling chocolate chip cookies with my sister to bring to a friend’s gathering for New Year’s was a blast, especially while enjoying a few sips of Jack Daniels, listening to lively music, and being surrounded by the relaxing ambiance of candles.
For these cookies, I used the same recipe from August but also mixed in white chocolate chips. Unfortunately, because I left the cookies in the oven a little too long — even a minute can make a difference — they turned out hard and crunchy, rather than soft and chewy. But if you appreciate soft cookies like me, you can microwave them for about 20 to 40 seconds for some gooey galore. Couple these goodies with a glass of milk, and you’re set.
Ingredients
- 1/2 cup unsalted butter, softened
- 1/2 cup white sugar
- 1 /2 cup packed brown sugar
- 1 egg
- 1 teaspoon vanilla extract
- 1 1/2 cups all-purpose flour
- 1/2 teaspoon baking soda
- 1 teaspoon hot water
- 1/4 teaspoon salt
- 1 cup semisweet chocolate chips (black and white)
Directions
- Preheat oven to 350 degrees F (175 degrees C).
- Cream together the butter, white sugar, and brown sugar until smooth. Beat in the egg, then stir in the vanilla. Dissolve baking soda in hot water. Add to batter along with salt. Stir in flour and chocolate chips. Drop by large spoonfuls onto ungreased pans.
- Bake for about 10 minutes, or until edges are nicely browned.
For recipe: http://allrecipes.com/recipe/best-chocolate-chip-cookies/


 W
W